Uncategorized

Happy Summer!

Here are the pro-shots of yesterday’s post: surrounds for tealights, to place around plant pots or simply display and enjoy! And introducing a coordinating votive/vase/display. This one is 6.5″h x 10″w x 2.5″diameter base. Find them at Picture This Hermitage Gallery and Harpeth Art Gallery, locations here: Find My Work. Also check my online store or give me a shout!

Art Events, Uncategorized

ARTable 2015

Pictures speak volumes! Here is my wonderful evening as a presenter for ARTable.  Thank you Nashville Arts Magazine and Paul Polycarpou for the coverage and fun auction. My sincere gratitude to Matt Fischer (Picture This) and Deann Bradford (Leadership Donelson-Hermitage) for this opportunity; and to Danielle “The Clay Lady” (Clay Lady Studios) and Tami Archer (Mid-South Ceramics) for being such gracious hosts at their gorgeous campus.

Thanks also to everyone who helped and to those who came out in support!  I hope you all enjoy your new artworks!  More pieces are available now at Picture This (my gallery page on their website is being updated as I write).Picture This Fall 2015 Display

In the meantime you can browse my website under Current Work for info and pricing. Let me hear from you and be sure to share pics!  Contact me here or at Artwork Cubed on Facebook and enjoy your fall season!

Art Events, Kiln Formed Glass

Fused Glass Mosaic Chosen for Permanent Collection!!!

12"d Sunburst Mosaic; Astral Musings Collection, 2015
12″d Sunburst Mosaic; Astral Musings Collection, 2015

I am absolutely thrilled to announce that during my presentation at ARTable last Saturday night, one of the pieces from my new “Astral Musings” collection was chosen to become part of the permanent collection for Nashville’s “Arts at the Airport“!

I am deeply humbled by this privilege. My sincere thanks to Deann Bradford (Exec Director, Leadership-Donelson Hermitage) and Matt Fischer (Chair, Metro Nashville Arts Commission) for this honor.  And uncharacteristically at a loss for other words to express my gratitude and excitement!  Stay tuned for more info and pics of 2015 ARTable!!!

Art Events, Bowls, Kiln Formed Glass, Uncategorized

The Birthstone Collection – Now Available Online!

Hey Cube’sters!

I have two exciting things to share:  First, my Special Edition Collection of kiln sculpted glass is on display for purchase at Picture This Creative Framing and Gallery.  The new location is celebrating a grand re-opening on Dec 4th from 5:00p to 8:00p and I look forward to seeing everyone!   The works are also available for online purchase at http://www.picturethis-gallery.com/alice-e-shepherd-kiln-formed-glass/ thanks to Matt Fischer!  Be sure to click on the “View Details” button in the “Quick View” window to get the whole story.  I do love a good story, don’t you ?      🙂

Say hello to Turquoise Sky, the birthstone of December.  The visual effect of the mix of brilliant blues and sunset colors made it easy to choose her name.  And there’s a piece for every month of the year!  These substantial bowls weigh 22 ounces and are approximately 8-1/2″ in diameter by 2-3″ deep.

Dec - Turquoise Sky
Dec – Turquoise Sky

AND if that isn’t enough…I am just back from setting up at Treasures for the Holidays at Gaylord Hotel and Resort (https://www.facebook.com/treasuresfortheholidays) with the “Birthstone Keepsake Collection”, mini versions (5″ diameter) of the gallery pieces complete with the most precious little “hat box” you’ve ever seen!  It has self-threaded, replaceable ribbon.  You just tie the bow and voila!  Gift!  These are perfect for bedside, bureau, or sink-side as a safe place to hold your valuable rings, earrings and other jewelry while you get on with your busy life.  You might say they’re “Gems for Jewels”!

20141128_125430

I love it when a plan comes together.  Stay tuned for updates and enjoy your holidays!

Bowls, Kiln Formed Glass

Success with the Kiln-Pressed Glass Technique!

In my last post, the first of the year, I promised to do and THEN talk about it.  After several months of home renovation which put both my in-home studio space AND my garage workshop (and ME) out of commission I am FINALLY putting the pieces back together .  So without further ado I bring you —  drum roll please:

Finished Bowl

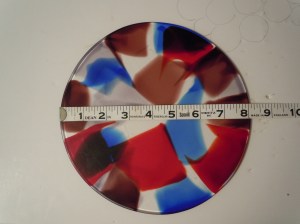
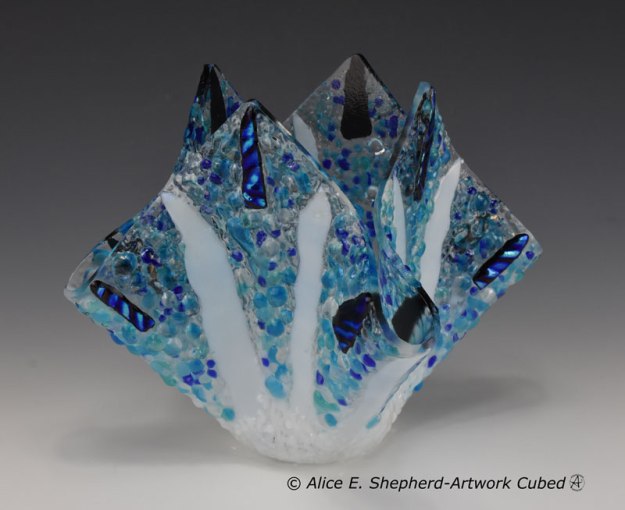
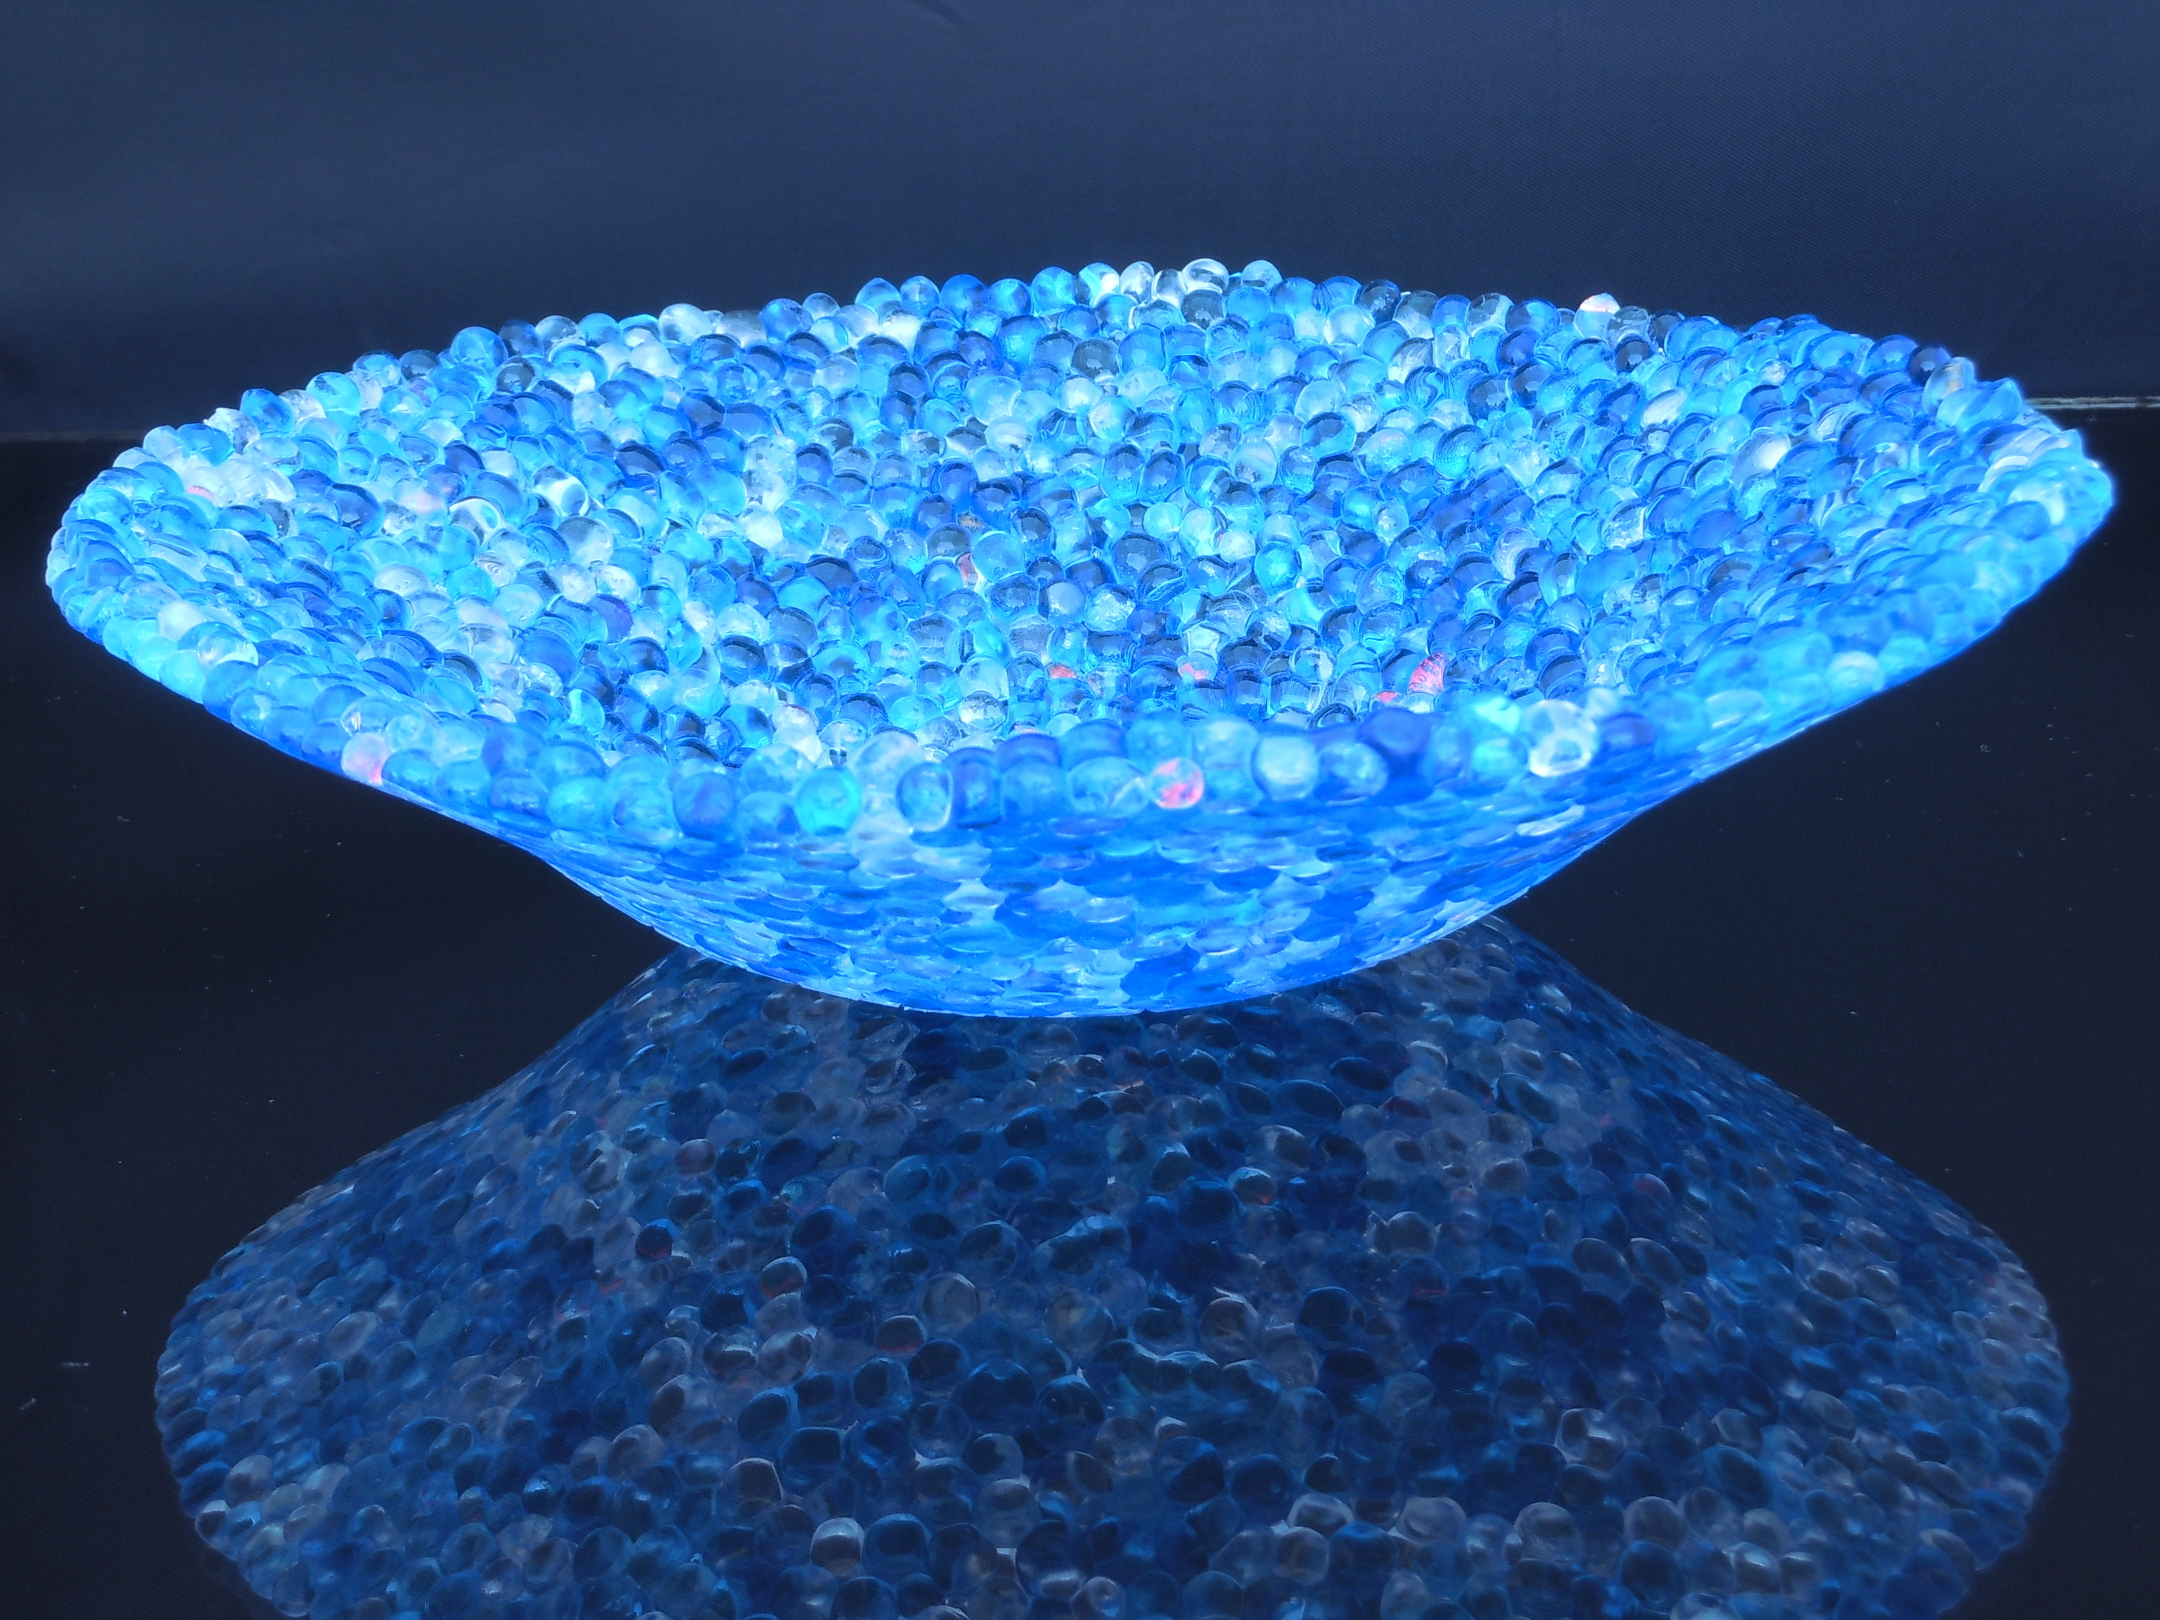
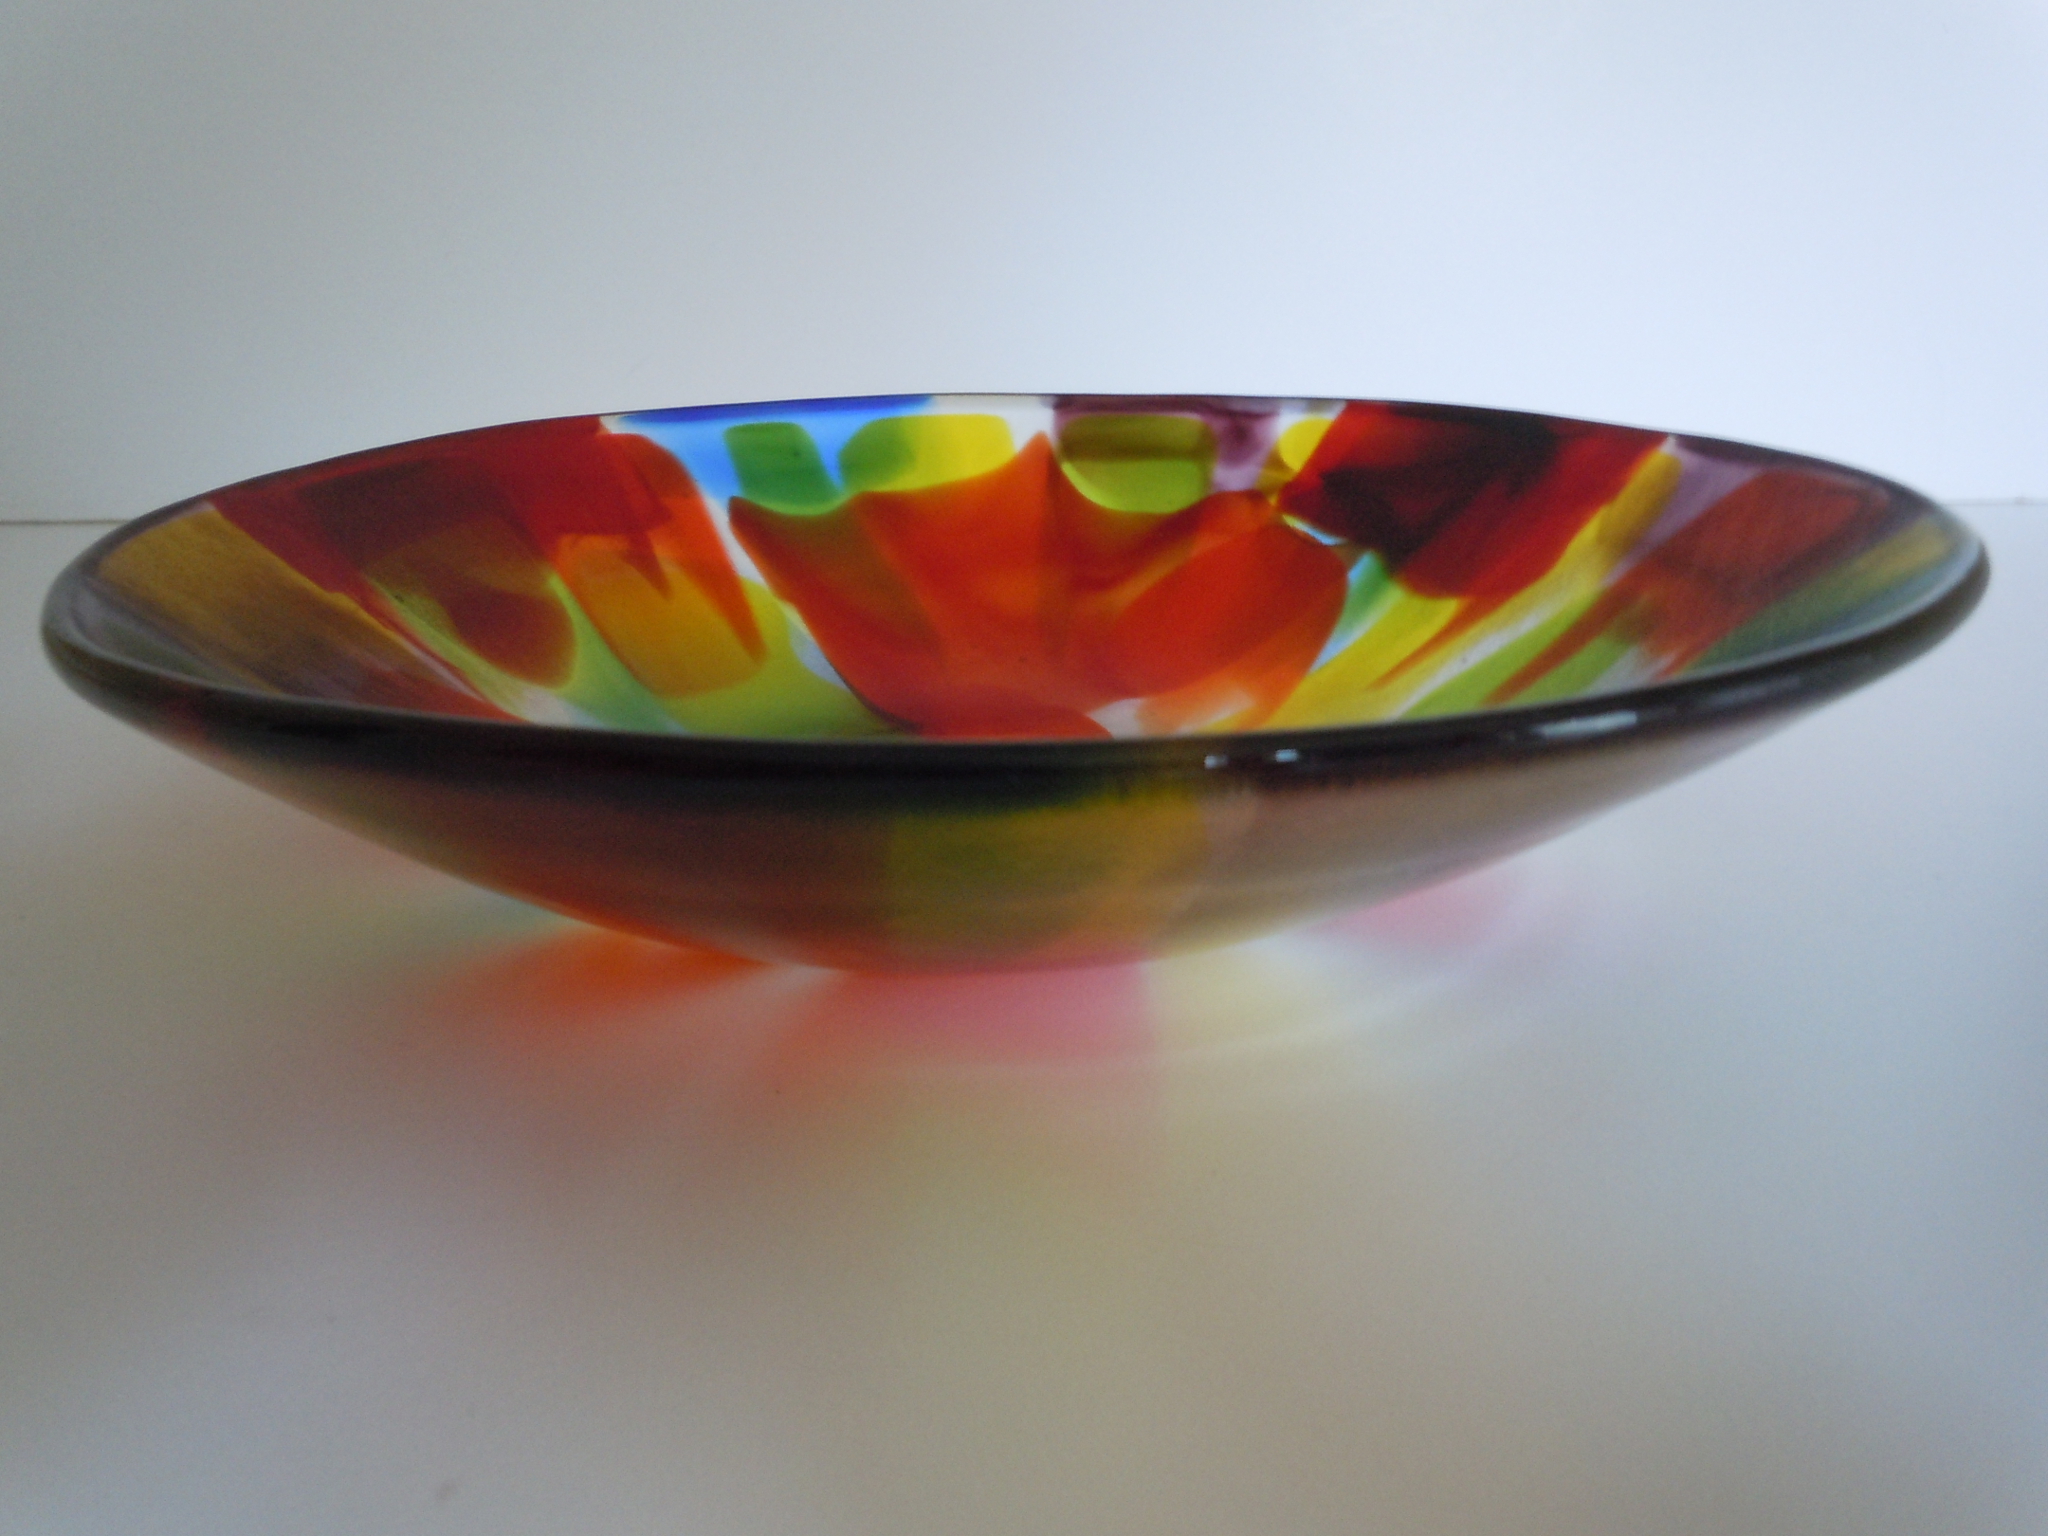
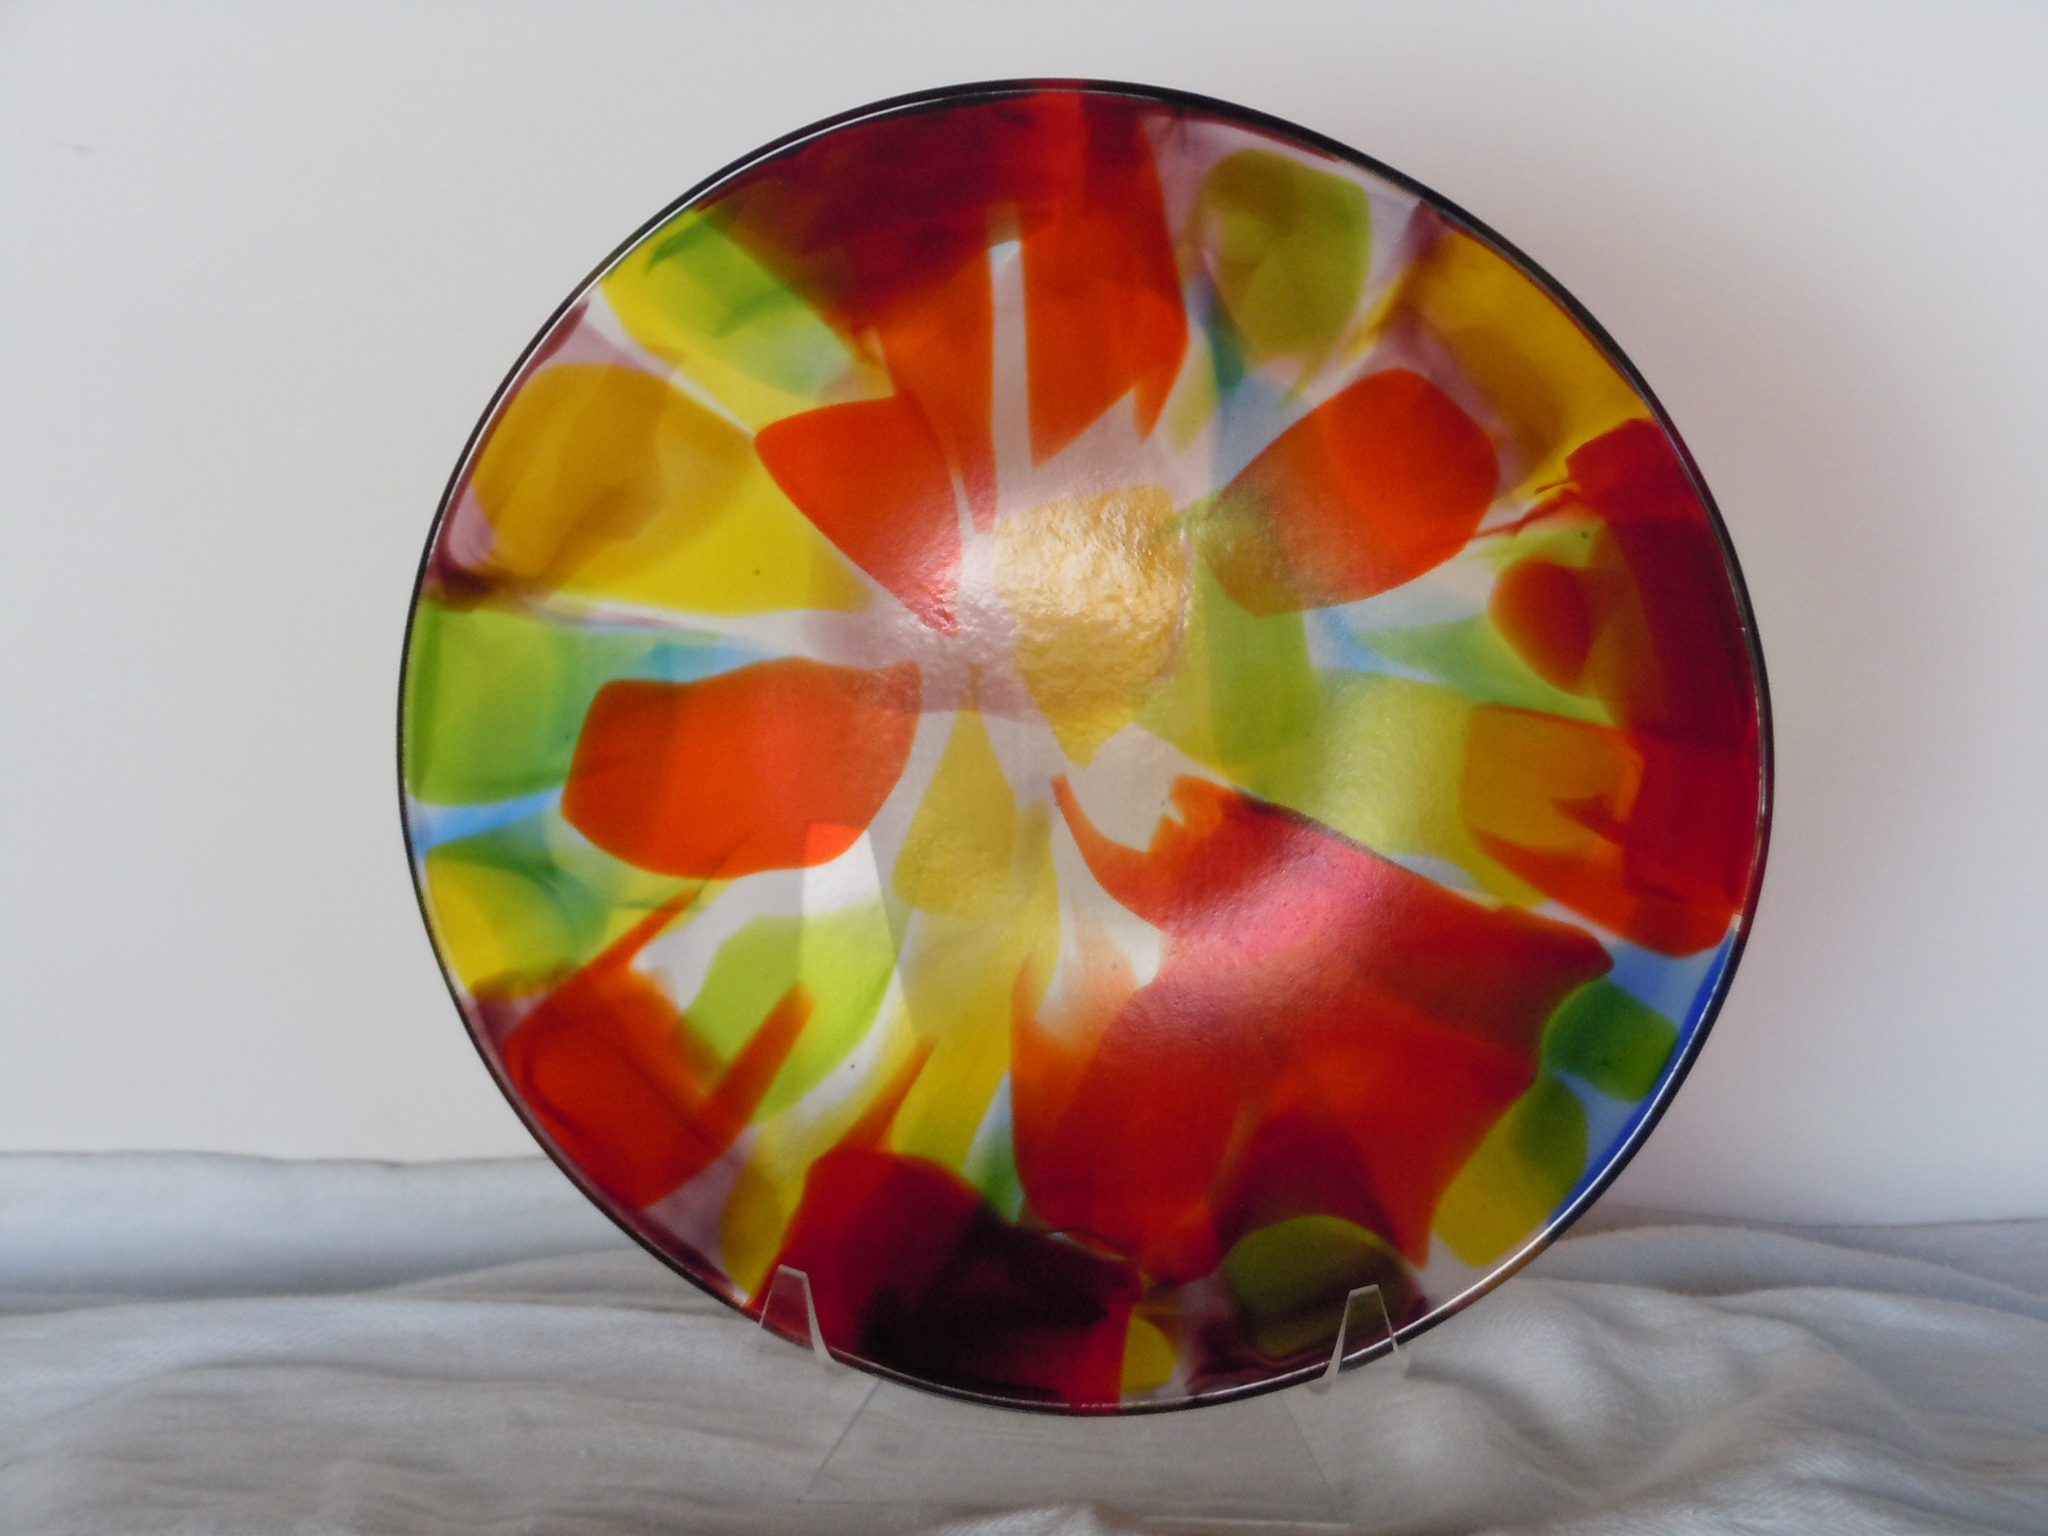
This 10″ diameter, vibrant bowl was created using the “Kiln Pressed Glass” technique generously shared online at http://www.fusedglass.org.  This multi-step, high temperature process is decidedly NOT for the faint of heart but the results are rewarding.  To my knowledge there is no other way to get this watercolor effect in kiln-formed glass.  For kindred spirits interested in process a picture(s) is worth a thousand words…

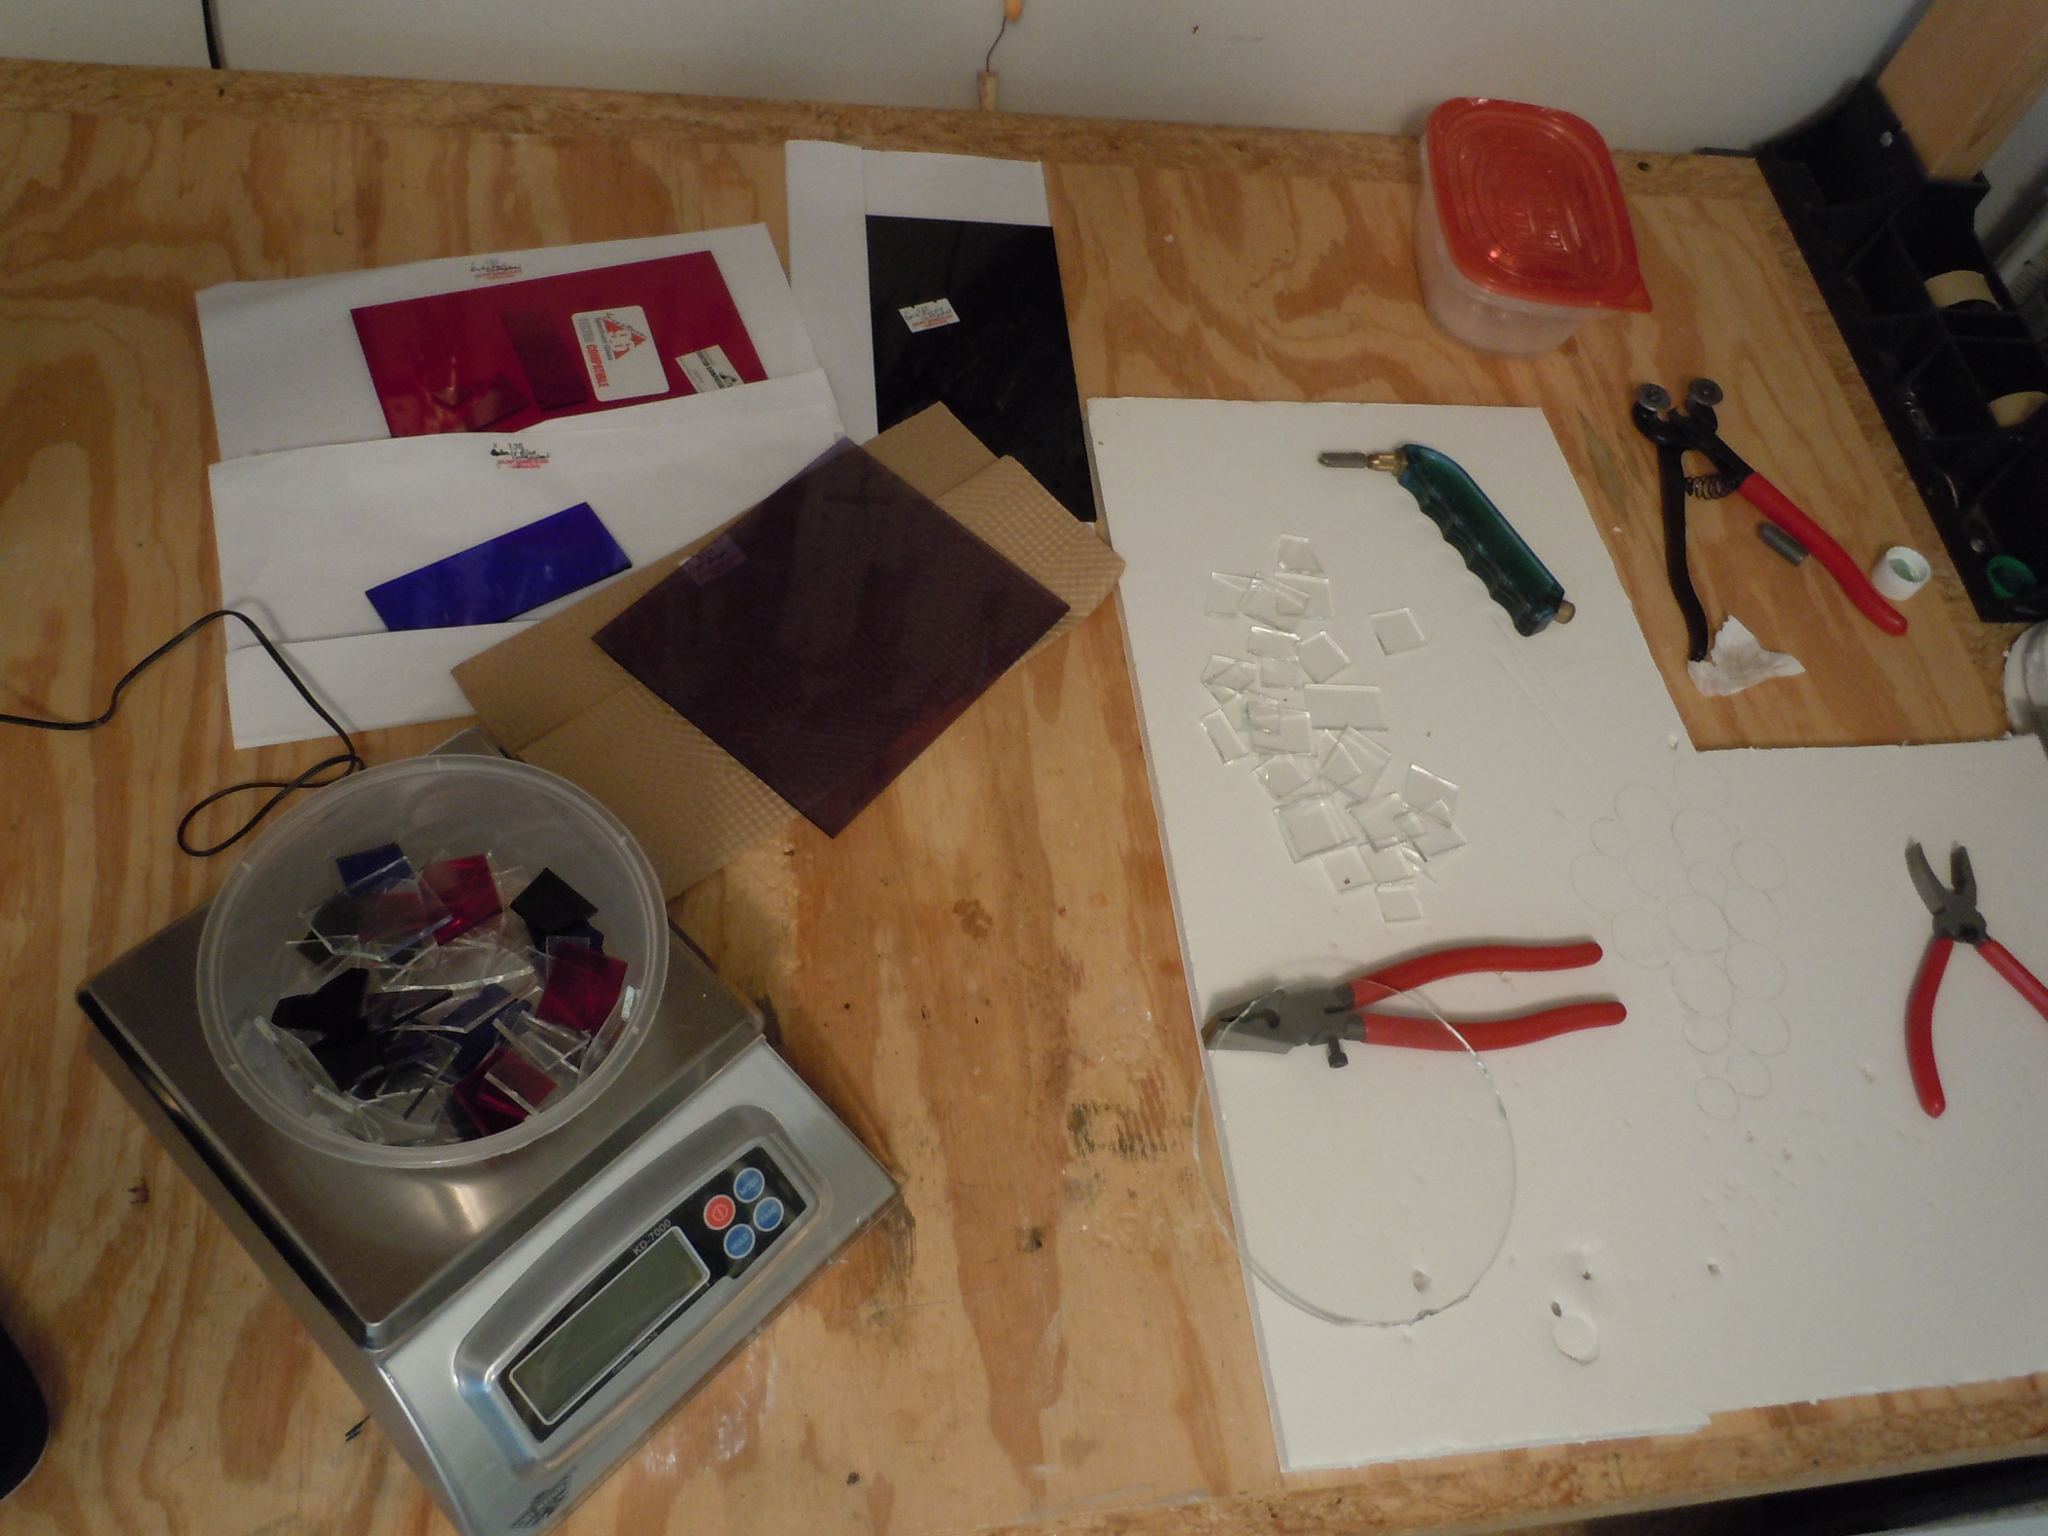
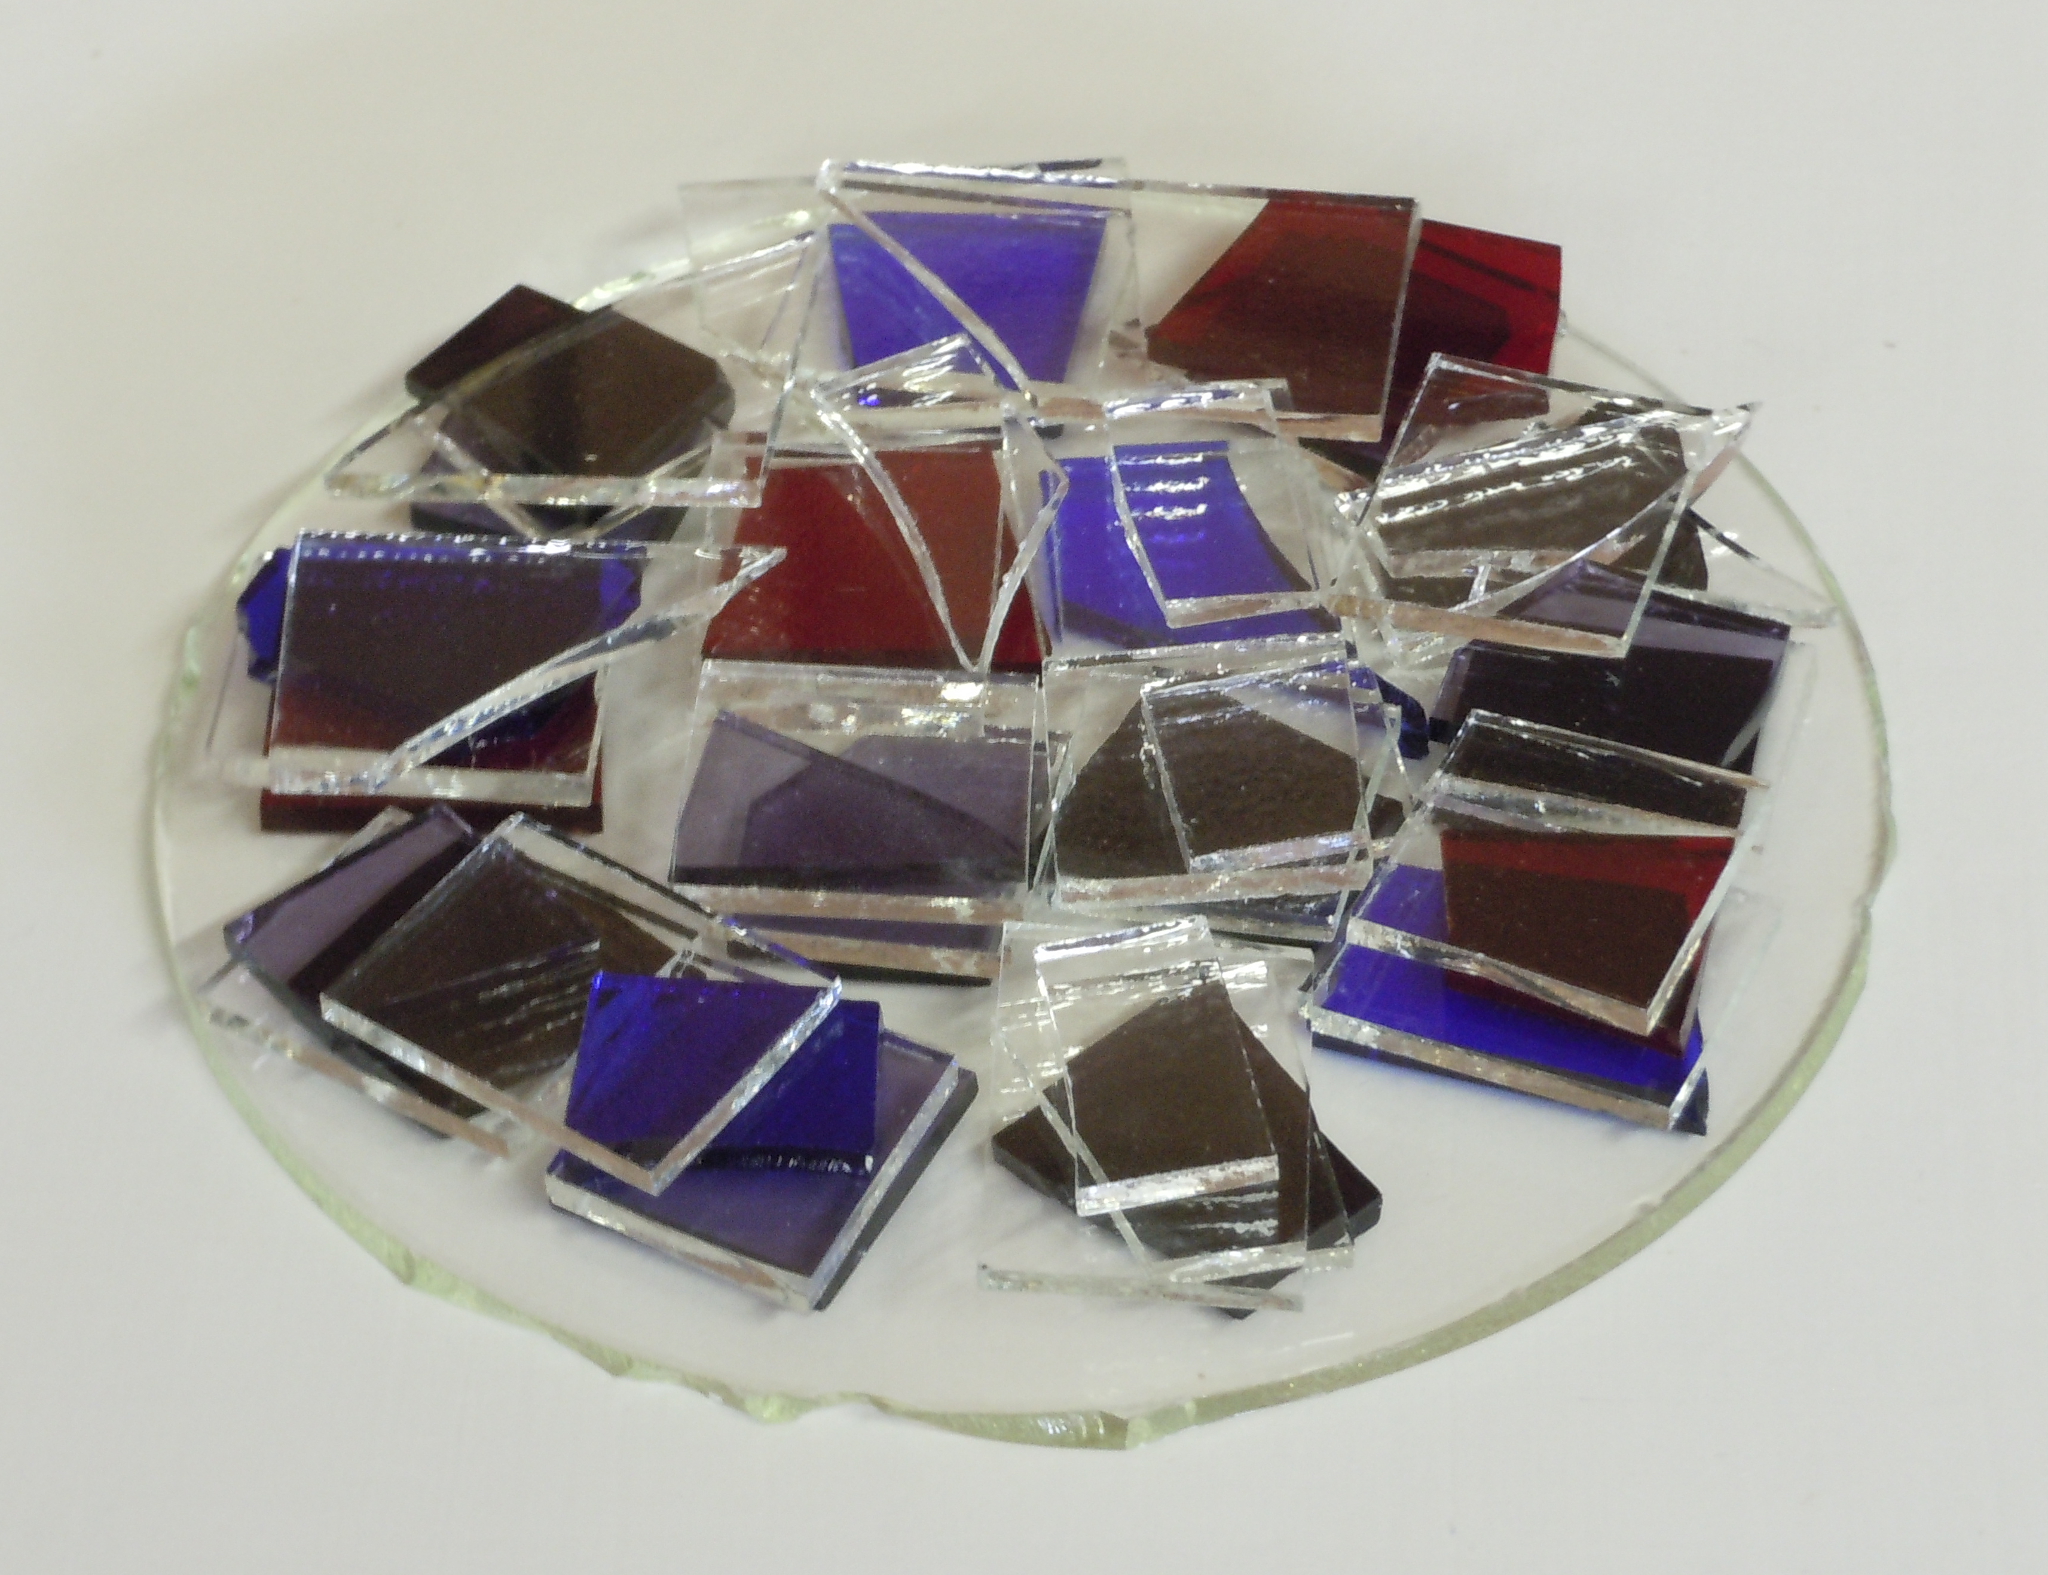
DAY 1: First comes the cutting and the weighing.

Assembly on 5.75 inch clear base

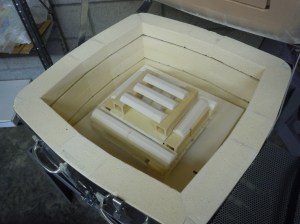
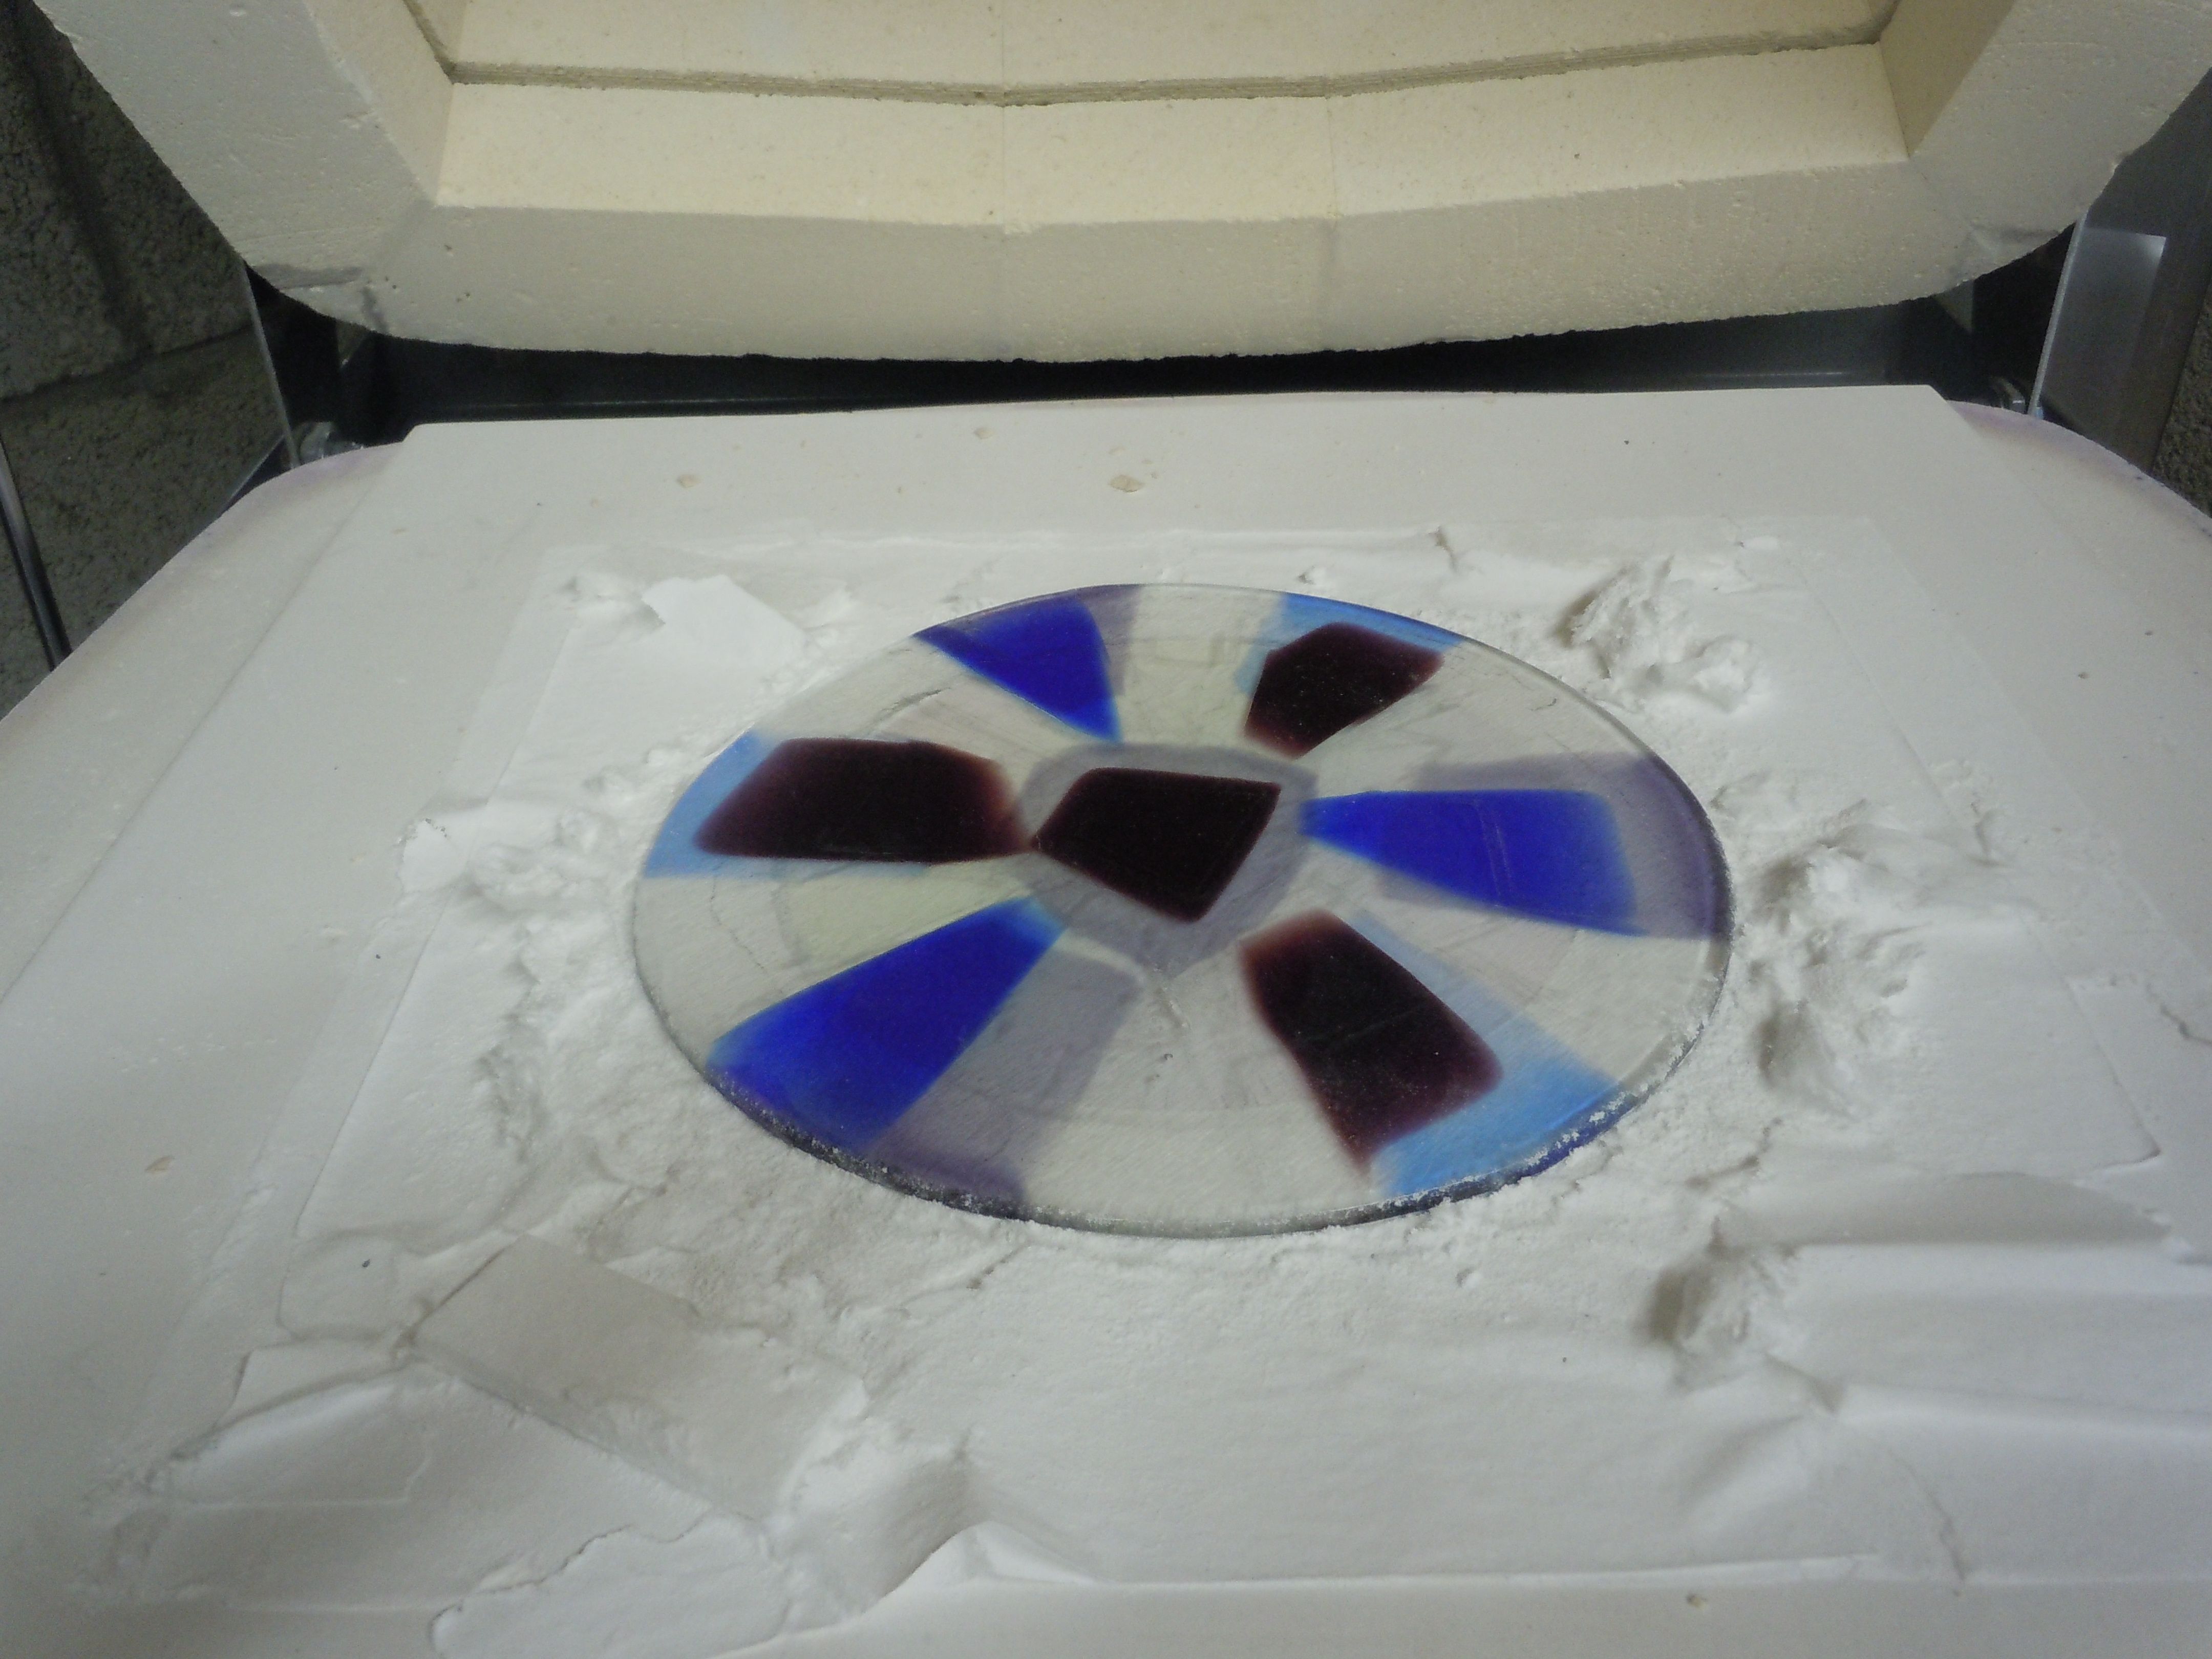
After cleaning the glass bits they’re set up in the kiln. Diameter starts at less than 6 inches:

Layup in Kiln 1st Firing

And here’s the “pressed” part: loads of weights are stacked ON TOP OF THE GLASS.  Yes, what you see above is indeed UNDER this:

Under Weights 1st Firing

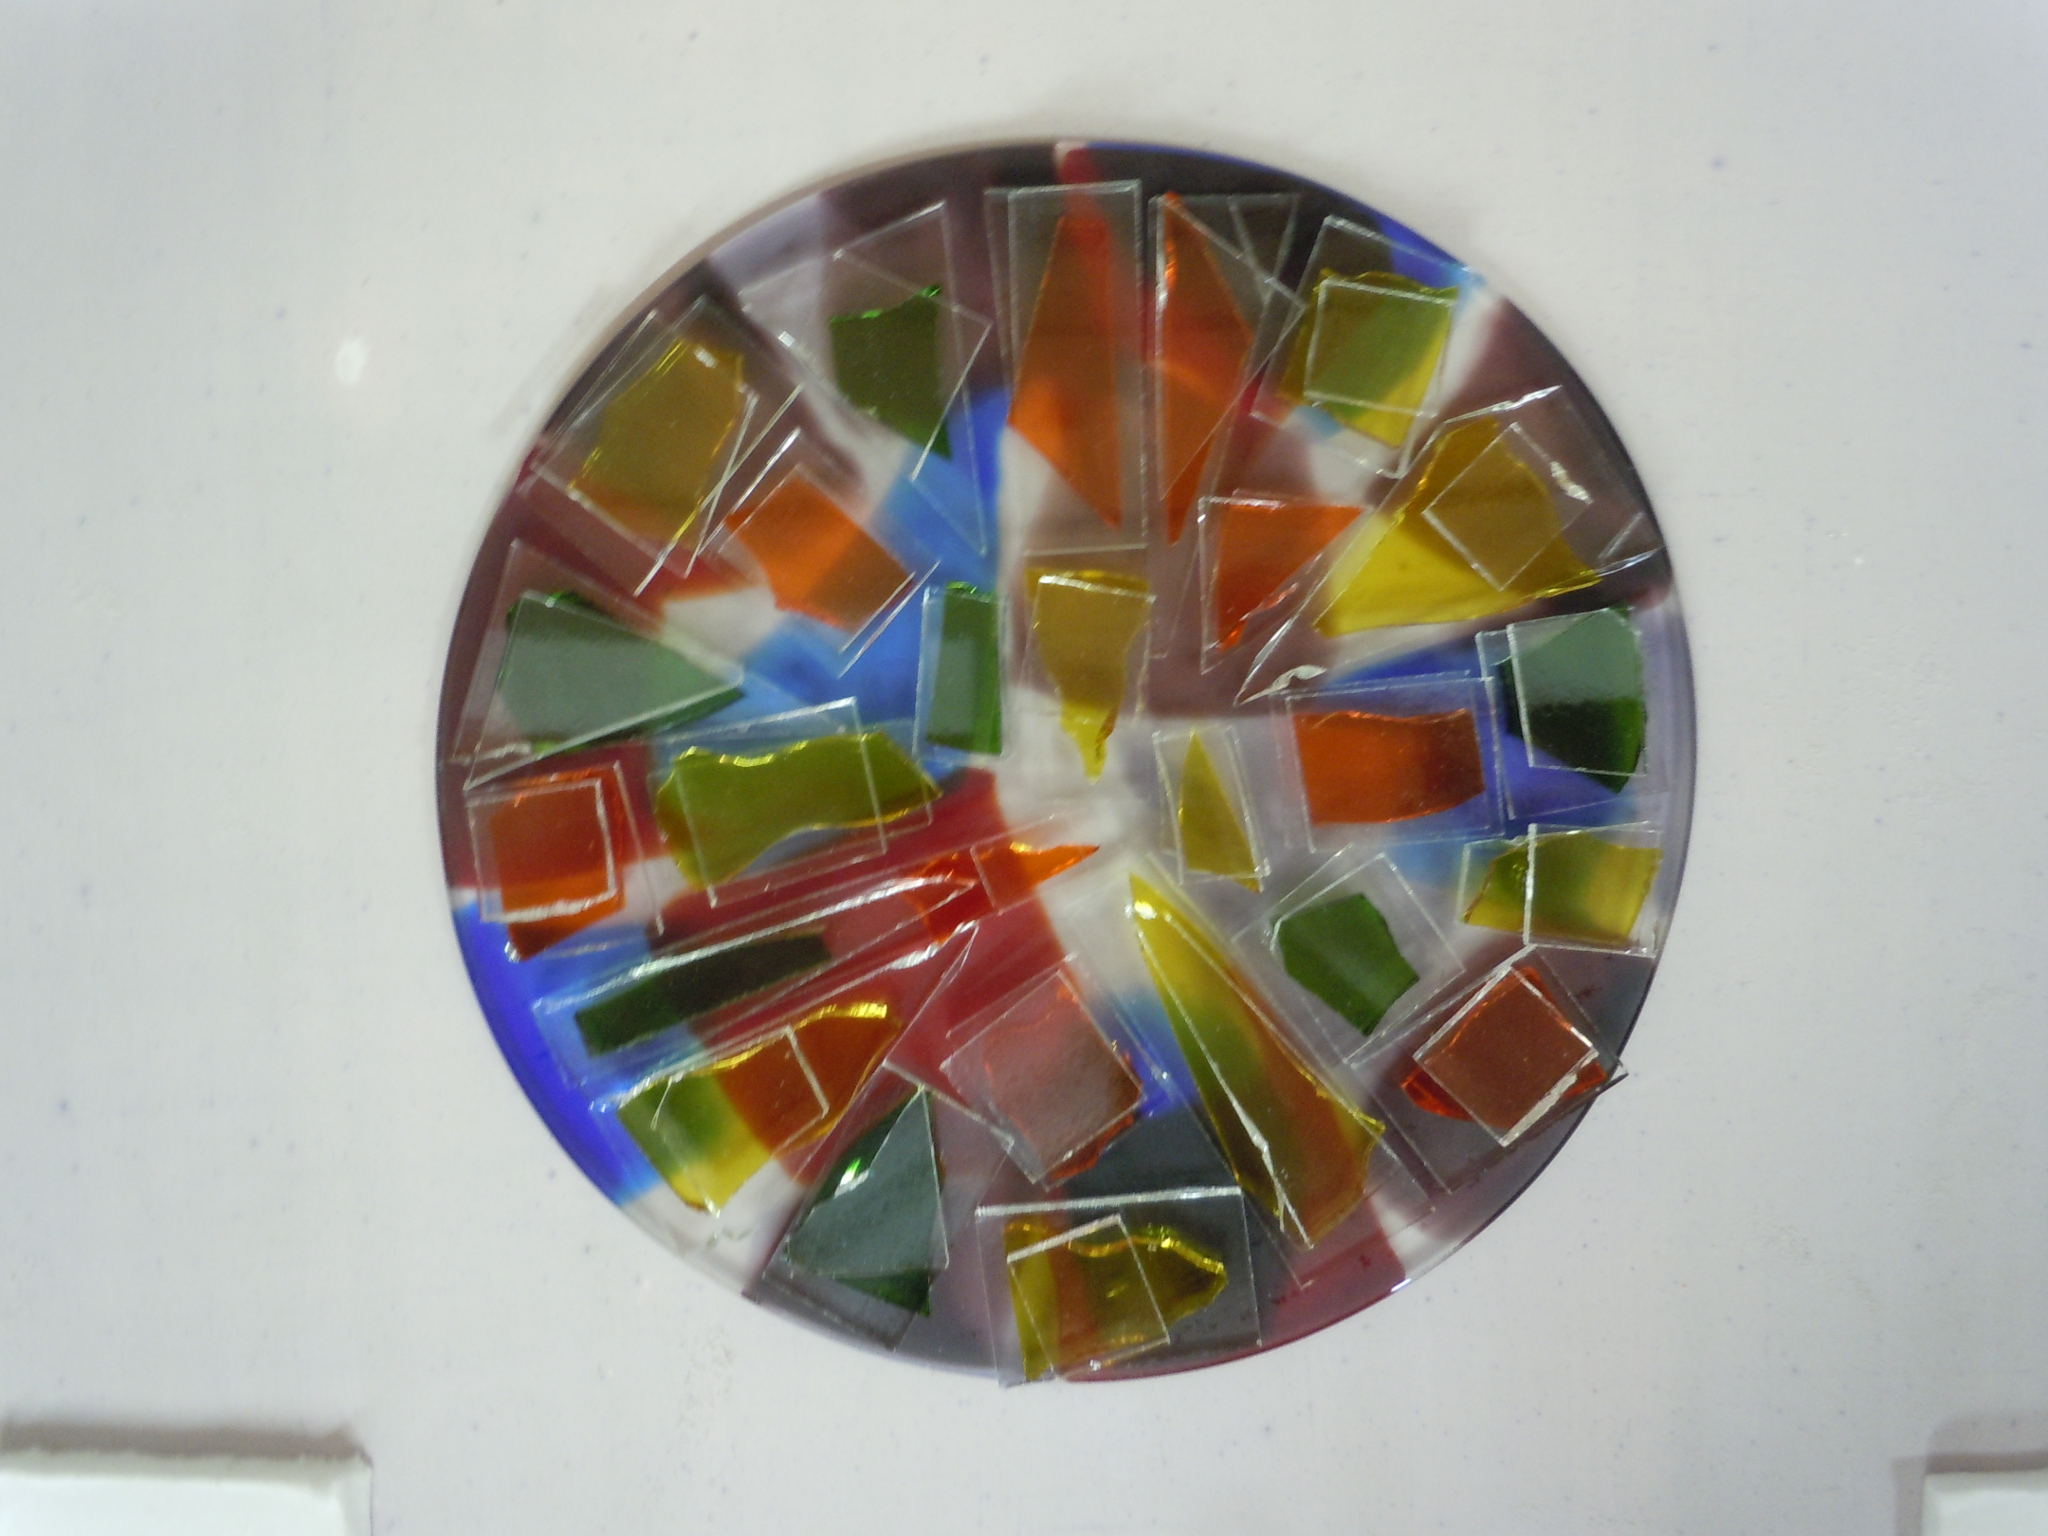
With breath held and fingers crossed, the lid is closed and the firing cycle is programmed. Target temp is 1500 degrees with a lengthy hold.  Entire cycle lasts nearly 24 hours.  The result is over 8 inches in diameter, nearly 3 inches larger than the start:

After 1st FiringBut wait, there’s more…

DAY 2:  After soaking to remove stuck on kiln wash, coldworking both surfaces with diamond hand laps then re-coating the kiln shelves and curing those (WHEW!) comes more glass cutting, cleaning and weighing (see step one) and THEN…

DAY 2 1/2:  back in the kiln with the additional glass for the second firing:

Layup in Kiln 2nd Firing

It, too, is completely covered with loads of weights:

Under Weights 2nd Firing

The next day…

After 2nd Firing

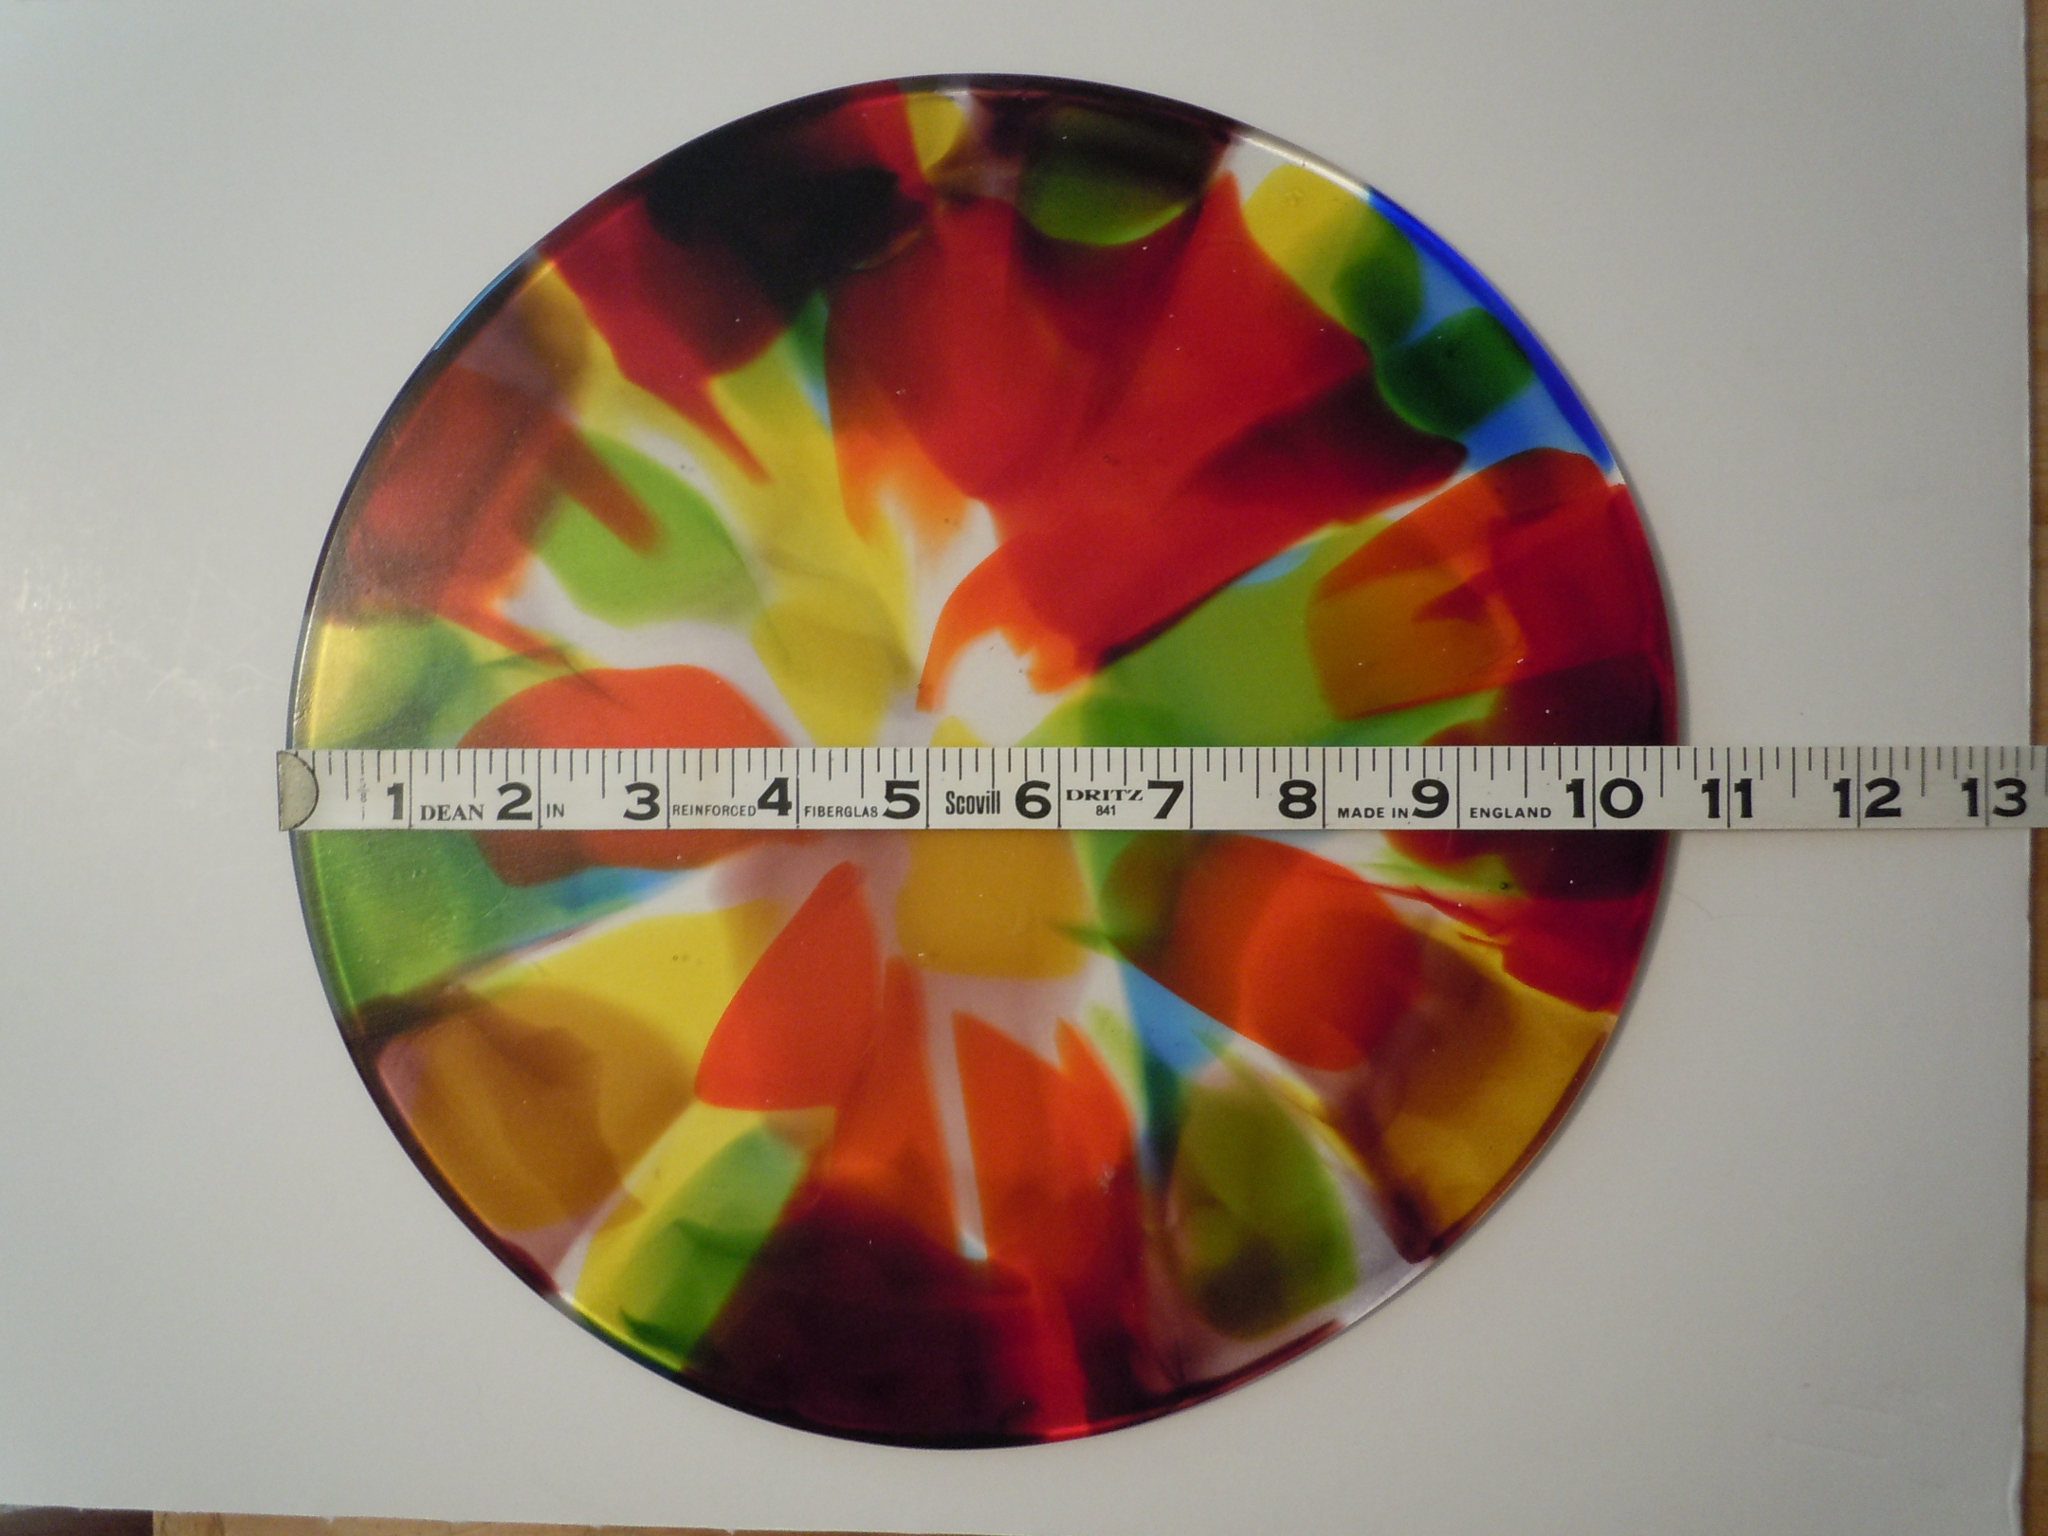
The piece that started at somewhere between 5 1/2″ – 5 3/4″ is now 10 1/2″D with an overall thickness averaging just under 1/4″ according to my trusty calipers.

DAY 3:  Next the piece went back into the kiln for a “Fire Polishing”: a lower temp and less lengthy process but basically adds a work day to the project.  This provided a glossy top surface and a satin bottom (see pics at end).

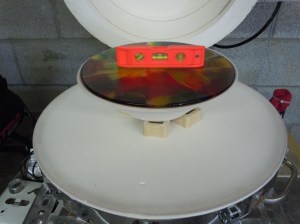
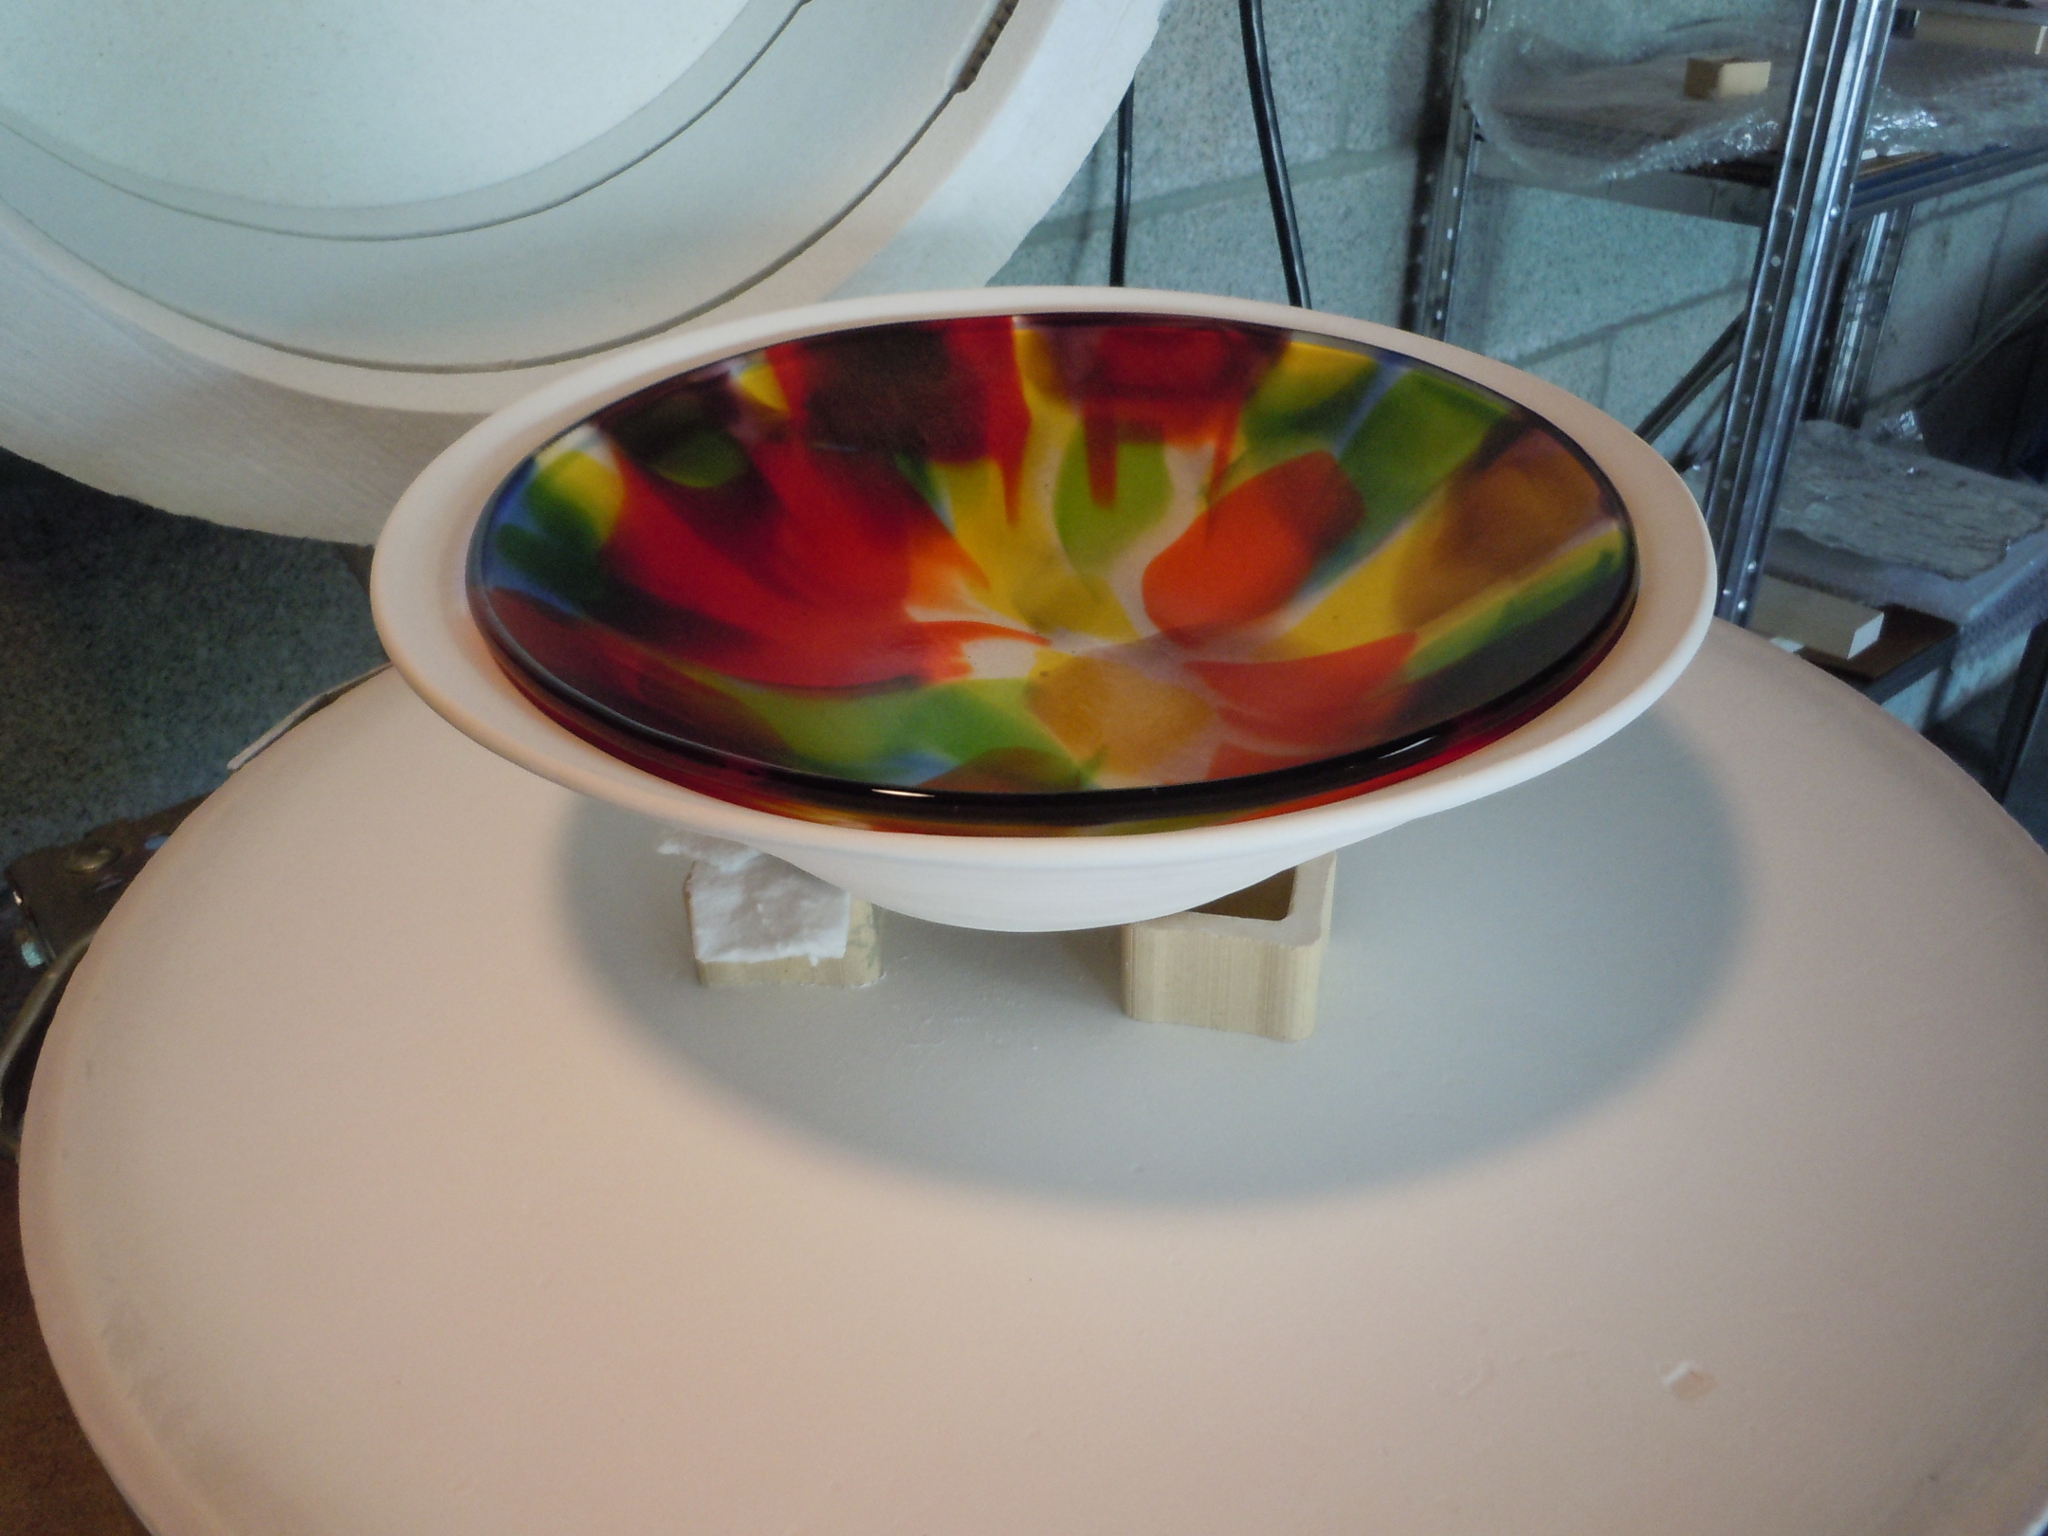
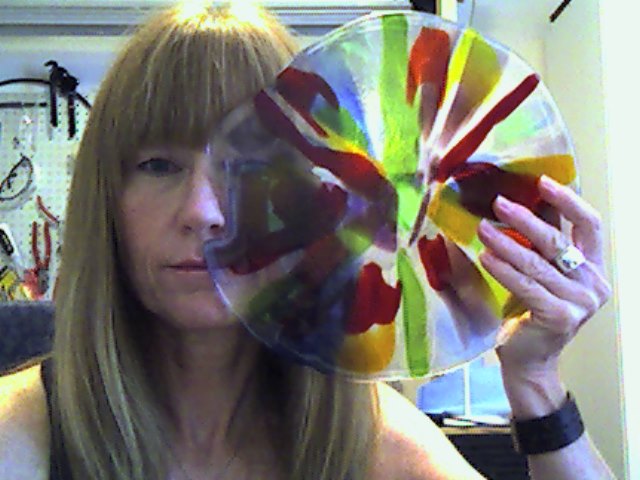
DAY 4:  Time to slump.  The piece was centered and leveled on a bowl mold inside the Jen-Ken fiber kiln.  Now when riding my motorcycle I endeavor to keep the shiny side up.  But in this case I decided to go shiny side down and satin finish up top:

Leveled on Slump Mold

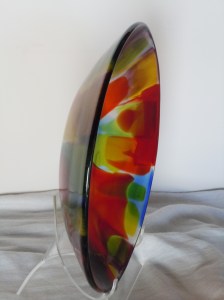
DAY 5:  Here’s what I got when I opened the kiln:

After Bowl Slump

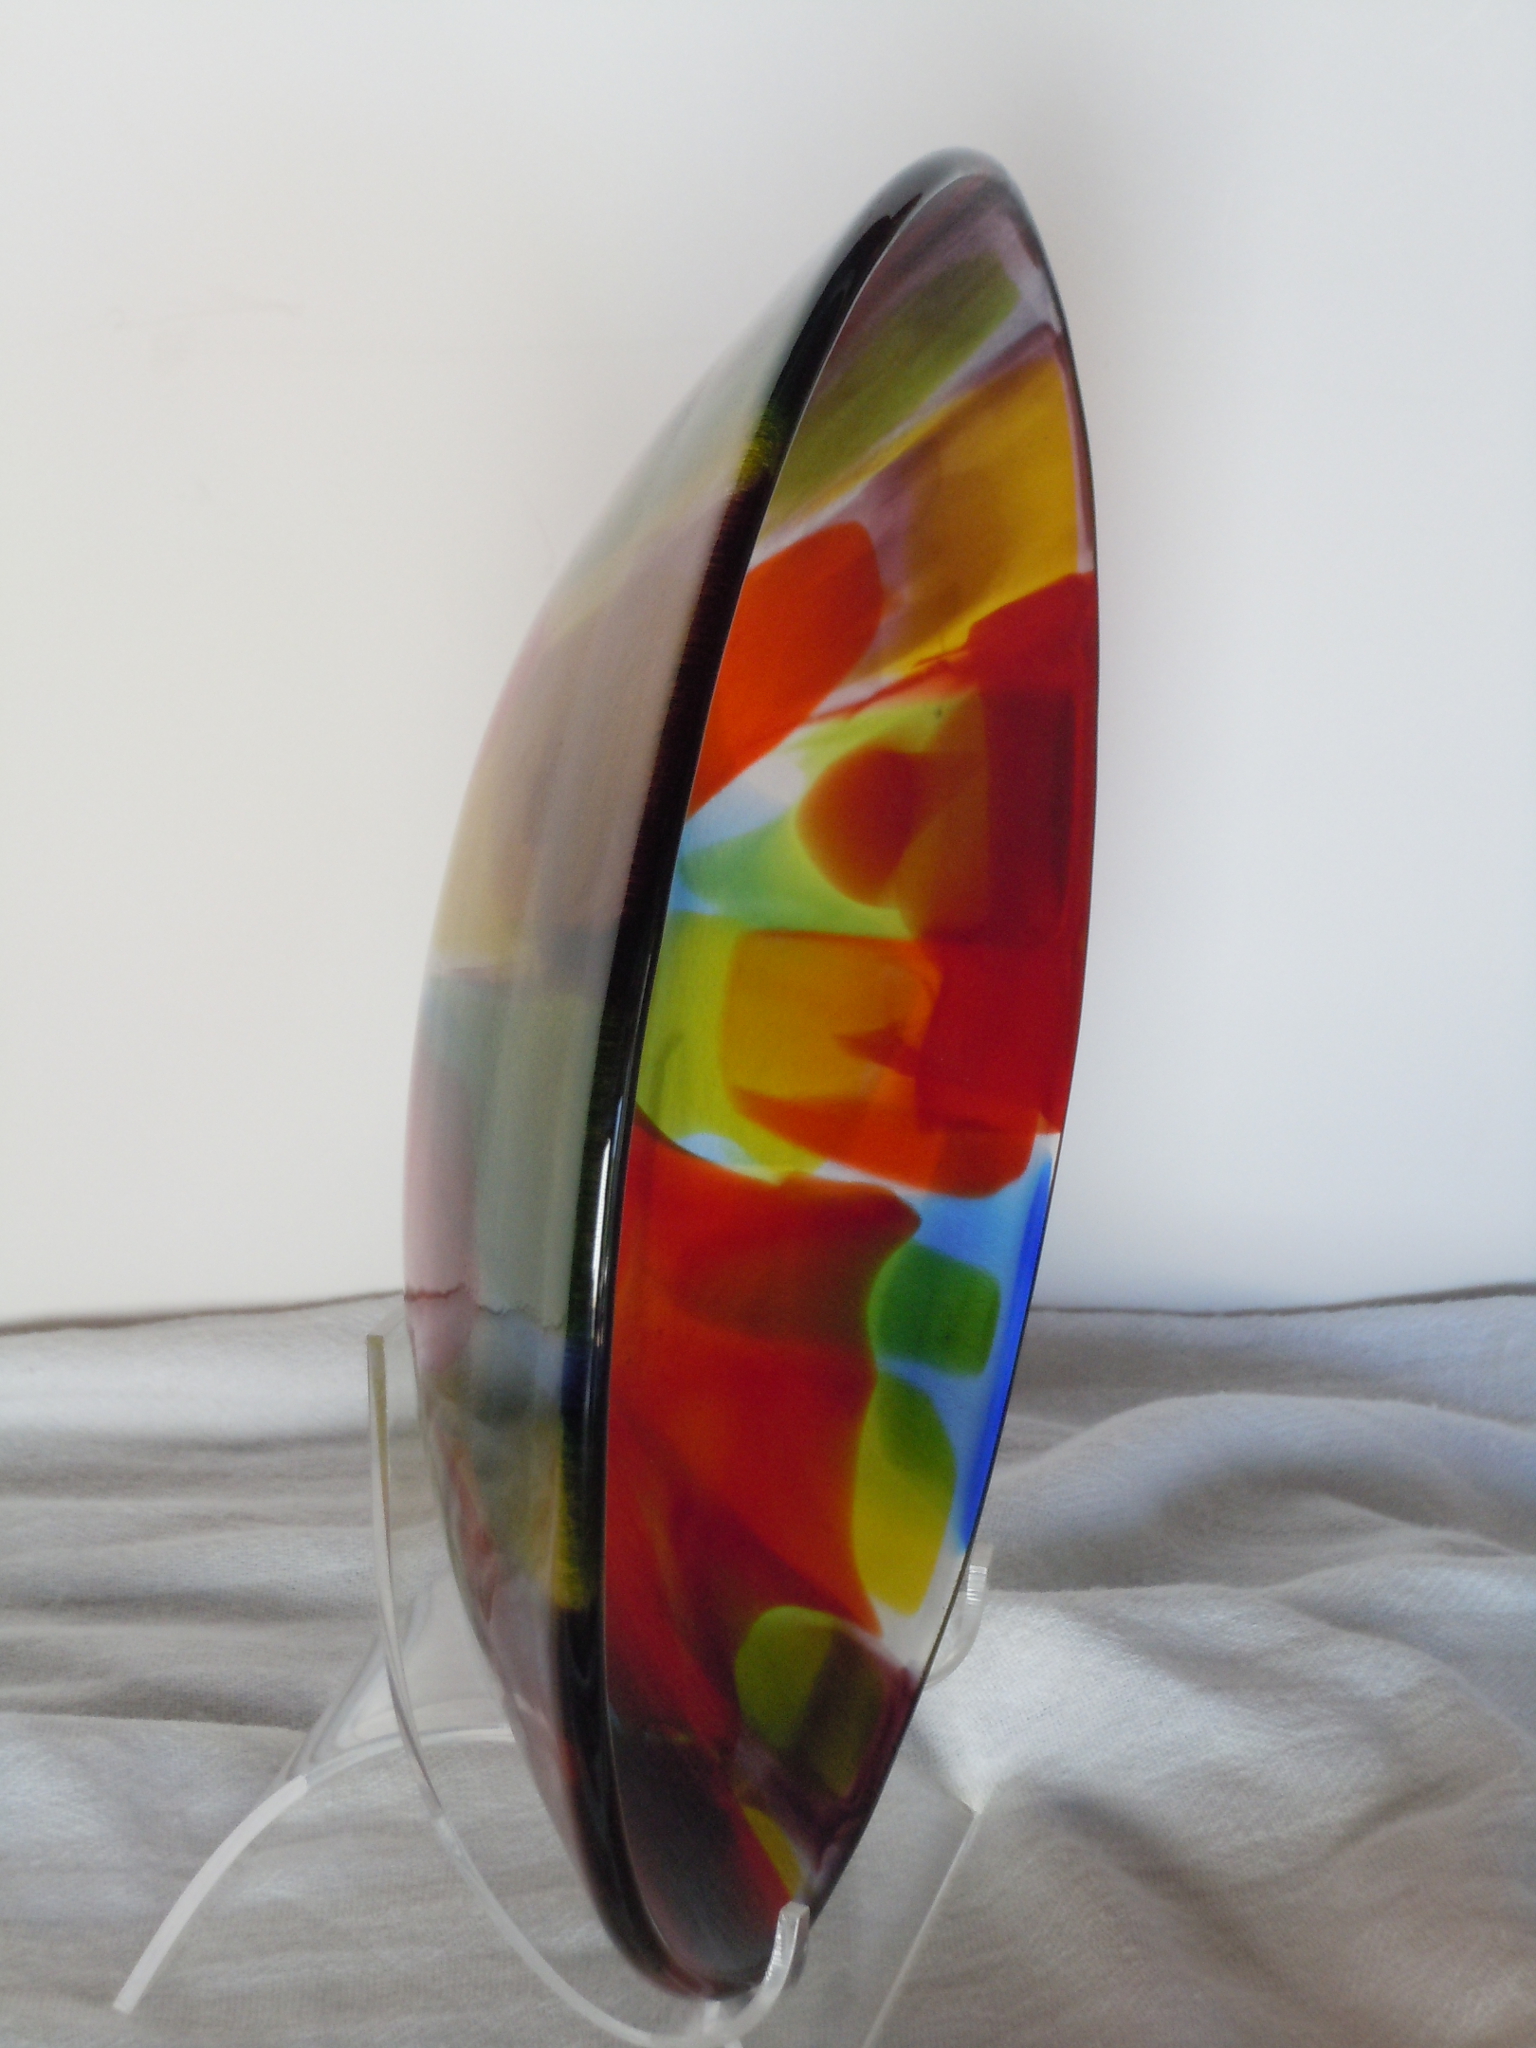
And here are alternate snapshots of the finished piece which hopefully show at least a little the glossy exterior vs. satin interior finishes I achieved:

Finished Bowl on Stand_Glossy Exterior_Satin Interior14 Finished Bowl Satin Interior REDUCED

I am thrilled with the results and can’t wait to see how this technique will figure into my craft as a whole. Thanks for reading and stay tuned, Cube’sters!


Uncategorized

“Pressed” for time :-)

Snapshot_20130724_14Hey Cube’sters!  Here’s an experimental piece I made using a fairly new technique from http://www.fusedglass.org called Kiln Pressed Glass. The goals are:  1)  to have the colors stacked without letting them mix up, 2) to have them spread like watercolors and, 3) all this without the piece becoming thick.  The light refraction is beautiful, like a kaleidoscope!  I’m such a metal head and any color not metal related doesn’t come naturally to me.  So, of course, I gotta master it, right?  🙂  This one took two full fuse firings up to 1500°F and held for – wait for it, ‘cuz I had to – one and a half hours!  The annealing (holding at app. 900 degrees to ensure stability/longevity of the piece) took two full hours.  The indention around my nose occurred because I didn’t plan my glass volume carefully enough on the 2nd run: the glass flowed around the fiber blanket squares used as a vertical spacer UNDER the kiln shelf which was on TOP of the glass which had a metric ton (well, not literally, but almost) of other kiln posts, bricks, shelves, etc on top of that; hence the “press” in the title. Plenty nerve-wracking.  Sorry I don’t have photos of the stack; maybe next time. The first firing looked like this after I opened the kiln and removed all the weights that were stacked on top:

1st attempt-1st firing-side view

Then I added more colored and clear glass pieces, stacked it up with tons of weight on top and repeated the process. This time I used as many colors as I had on hand for testing purposes.  I’m looking forward to other projects with planned color and pattern schemes to incorporate into mixed media works.  Stay tuned…