Uncategorized

“EM·BOD·I·MENT”- My spectacular evening at OZ Arts Nashville!

What a thrill and an honor to have my work in the company of such amazingly talented artists and creatives! (Click here for  some great candid shots by my dear and talented photographer friend Chris Scruggs (“The Other Chris Scruggs.)
I’m still basking and processing it all.  Stephanie Pruitt has pulled off the season’s most smashing art soiree!  Pre-ticket sales were record setting and last check there were over 600 visitors!  Wow!  What a whirlwind immersion experience.  I reconnected with folks I haven’t been able to speak with in a while and made some new friends, too.   I can’t thank Stephanie and everyone at OZ Arts Nashville for this unbelievable opportunity.  

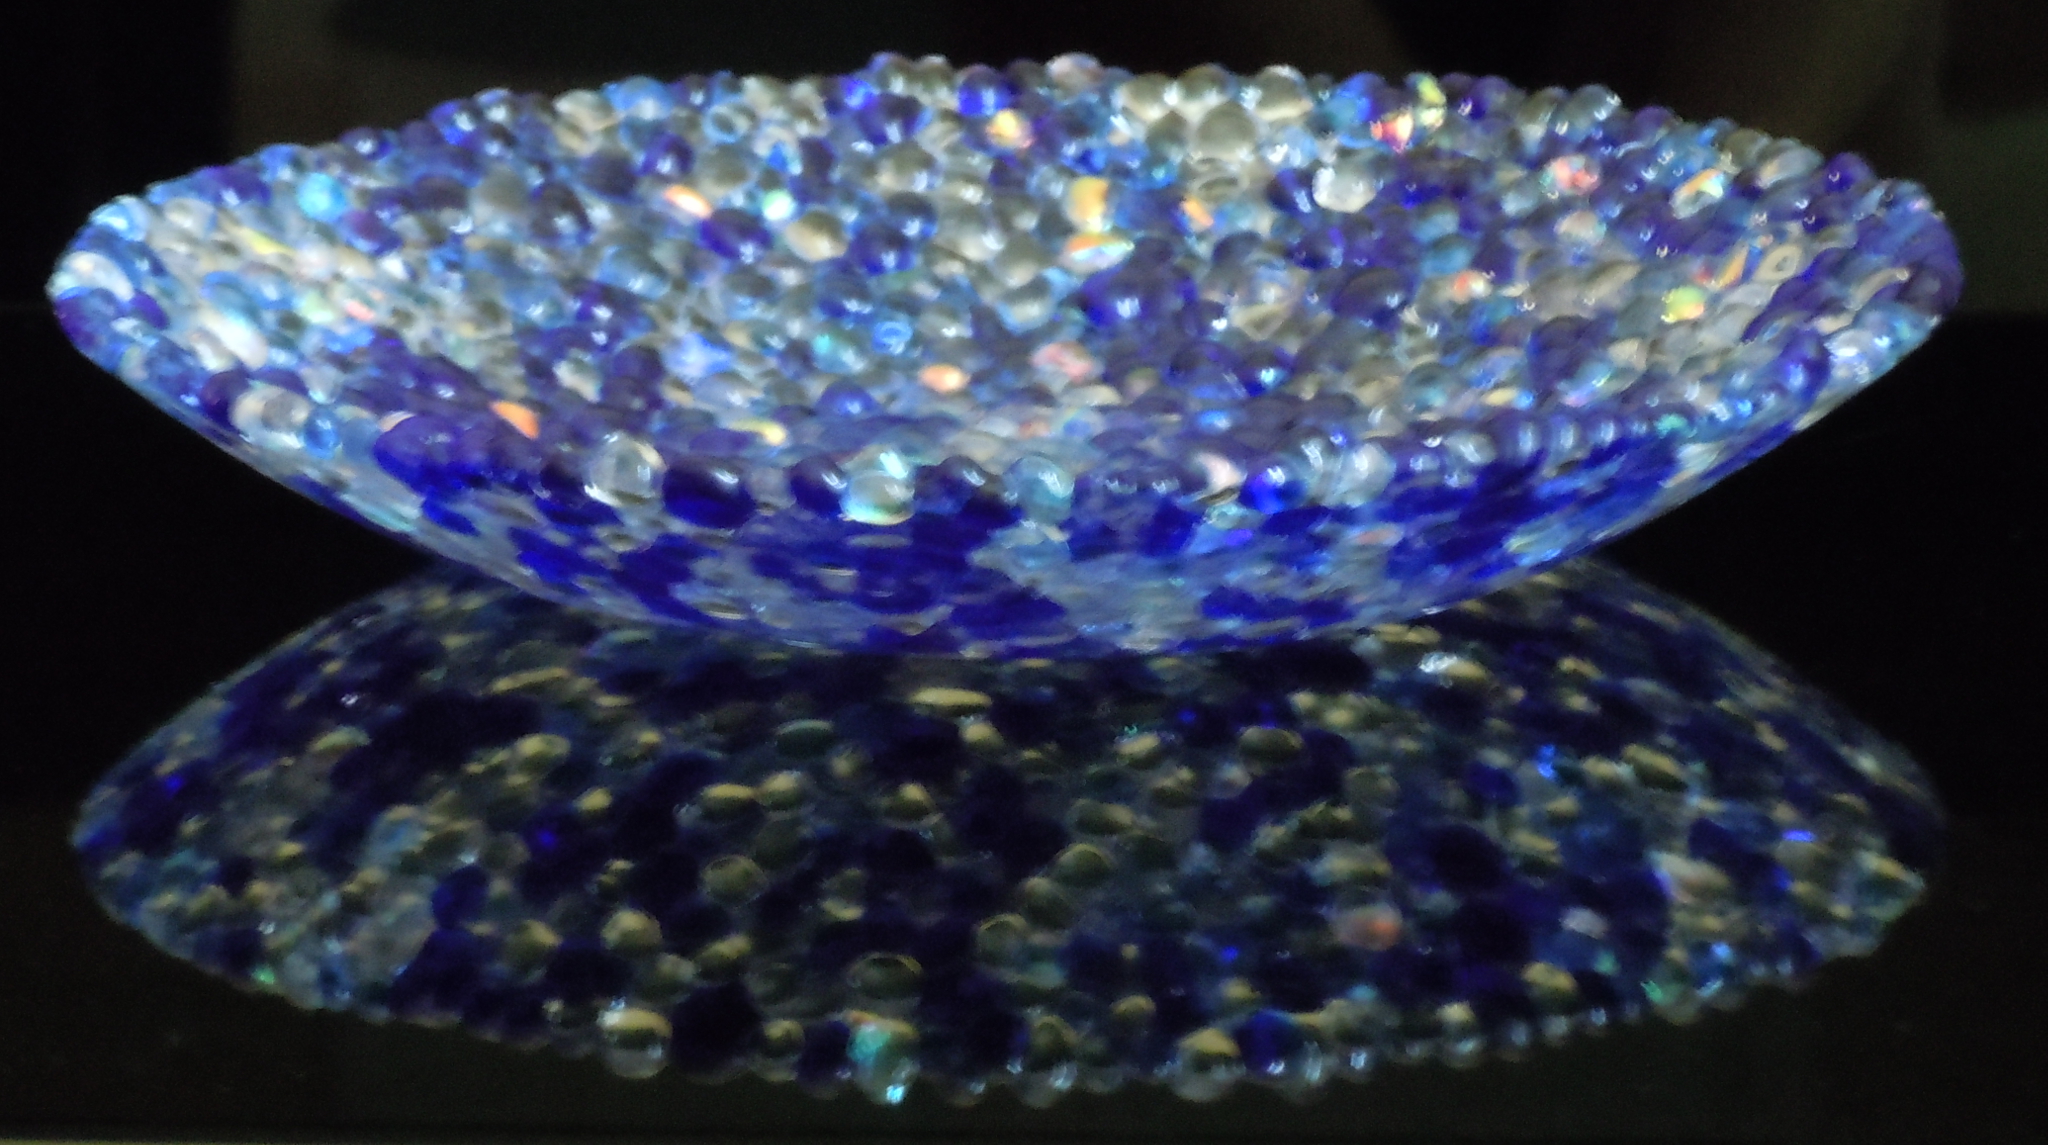
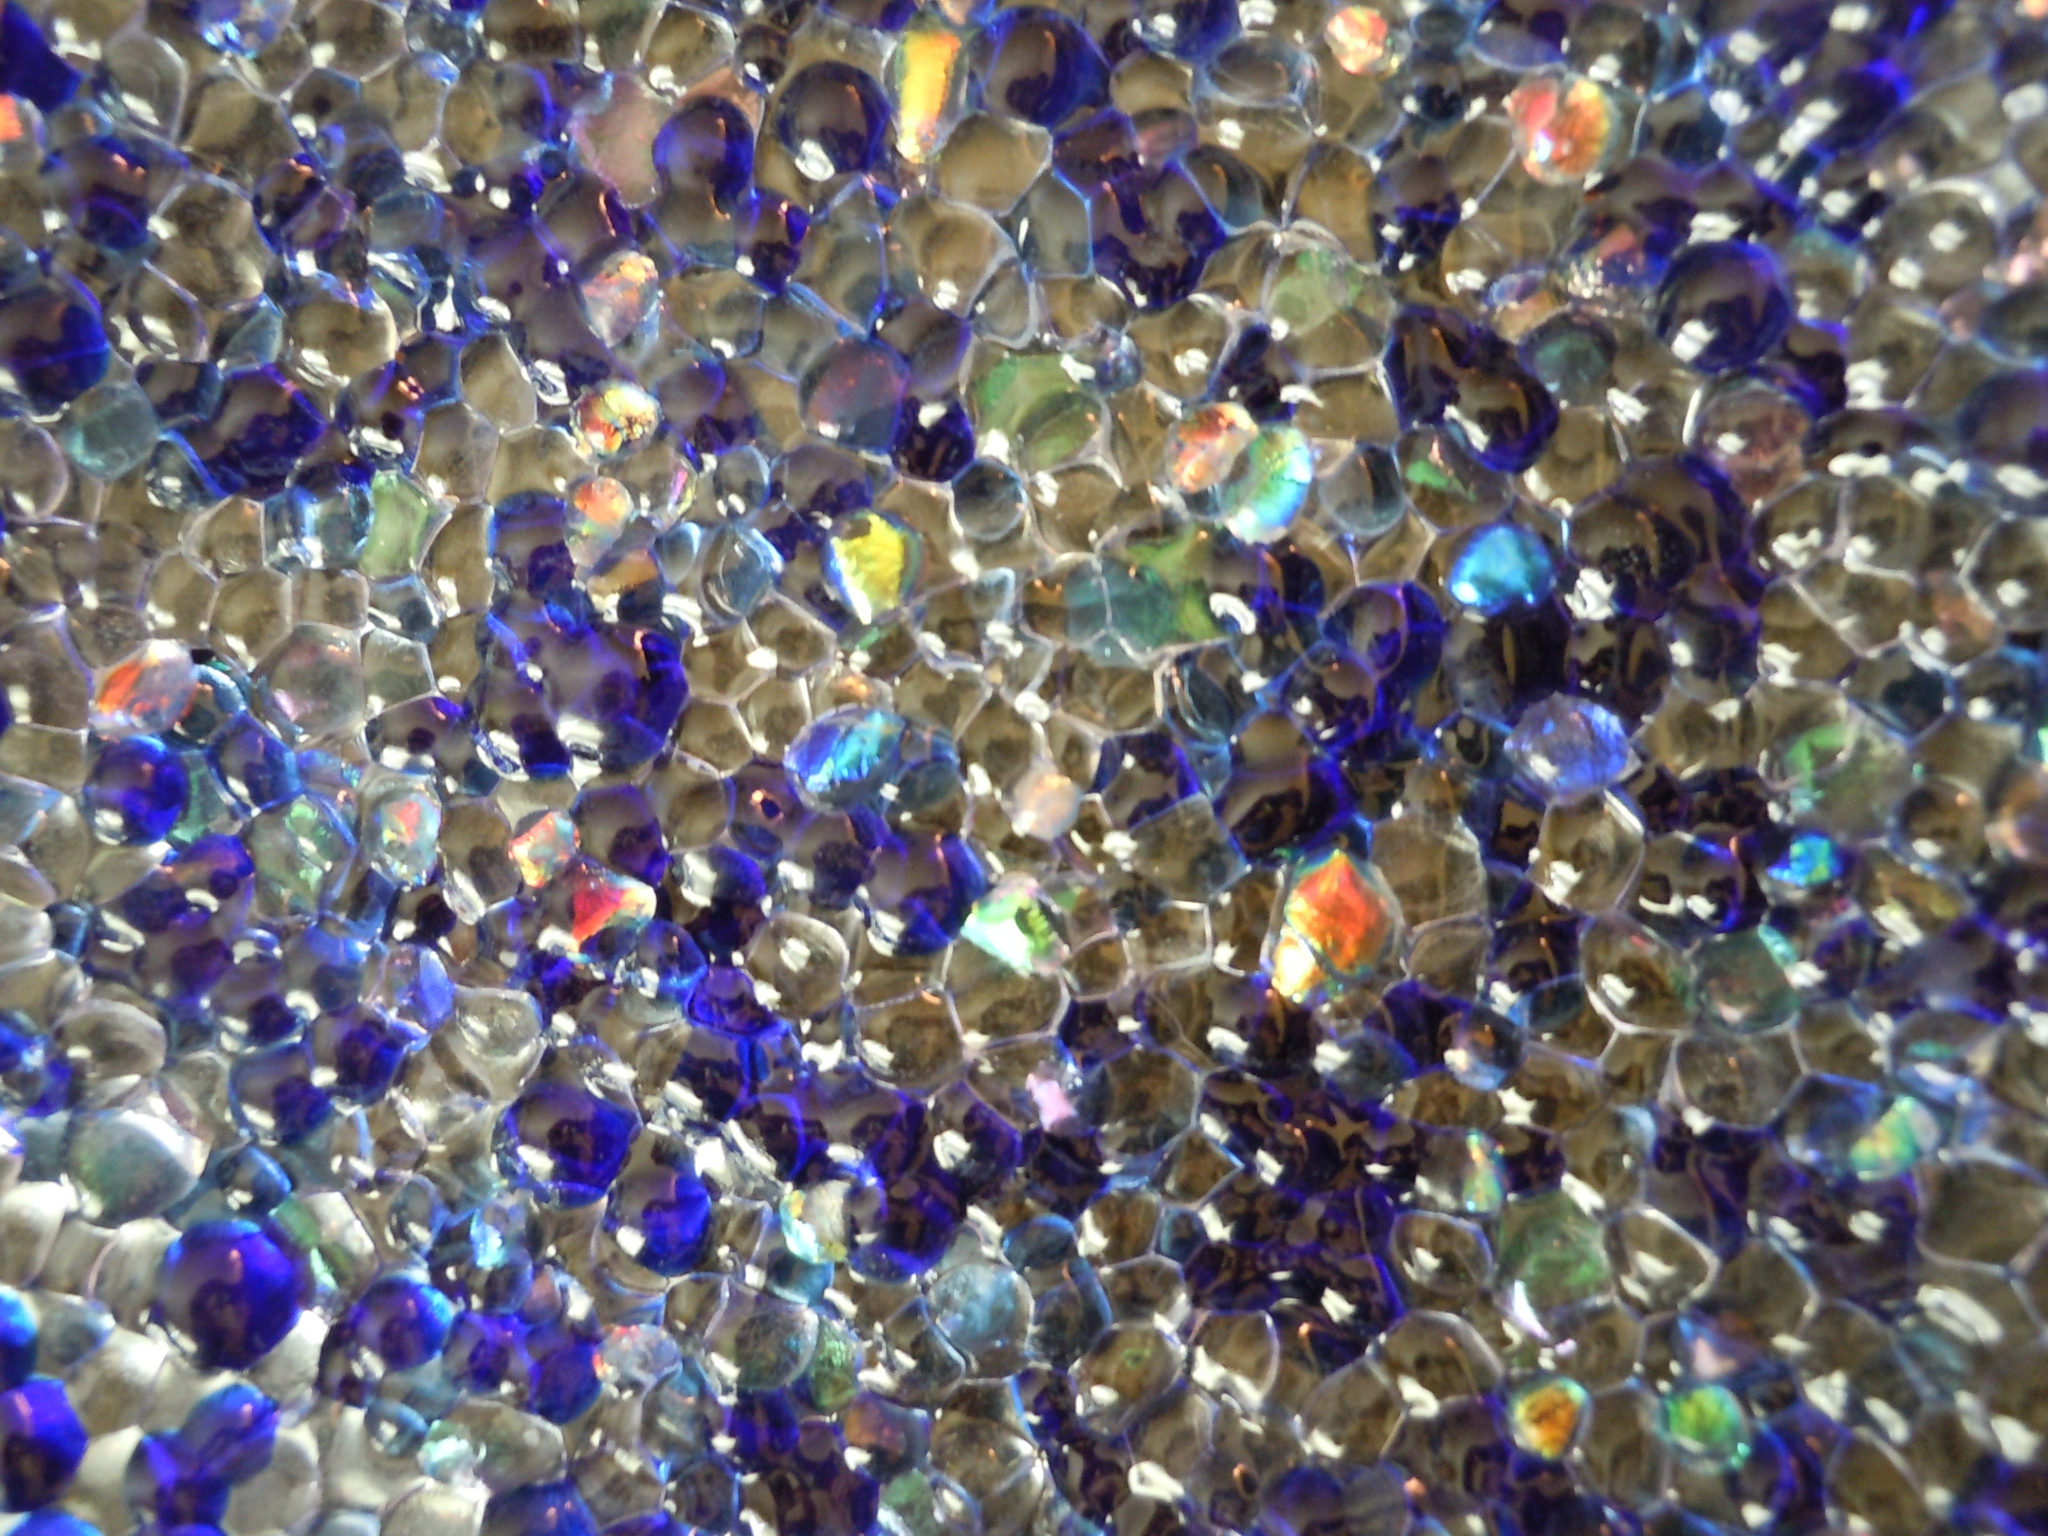
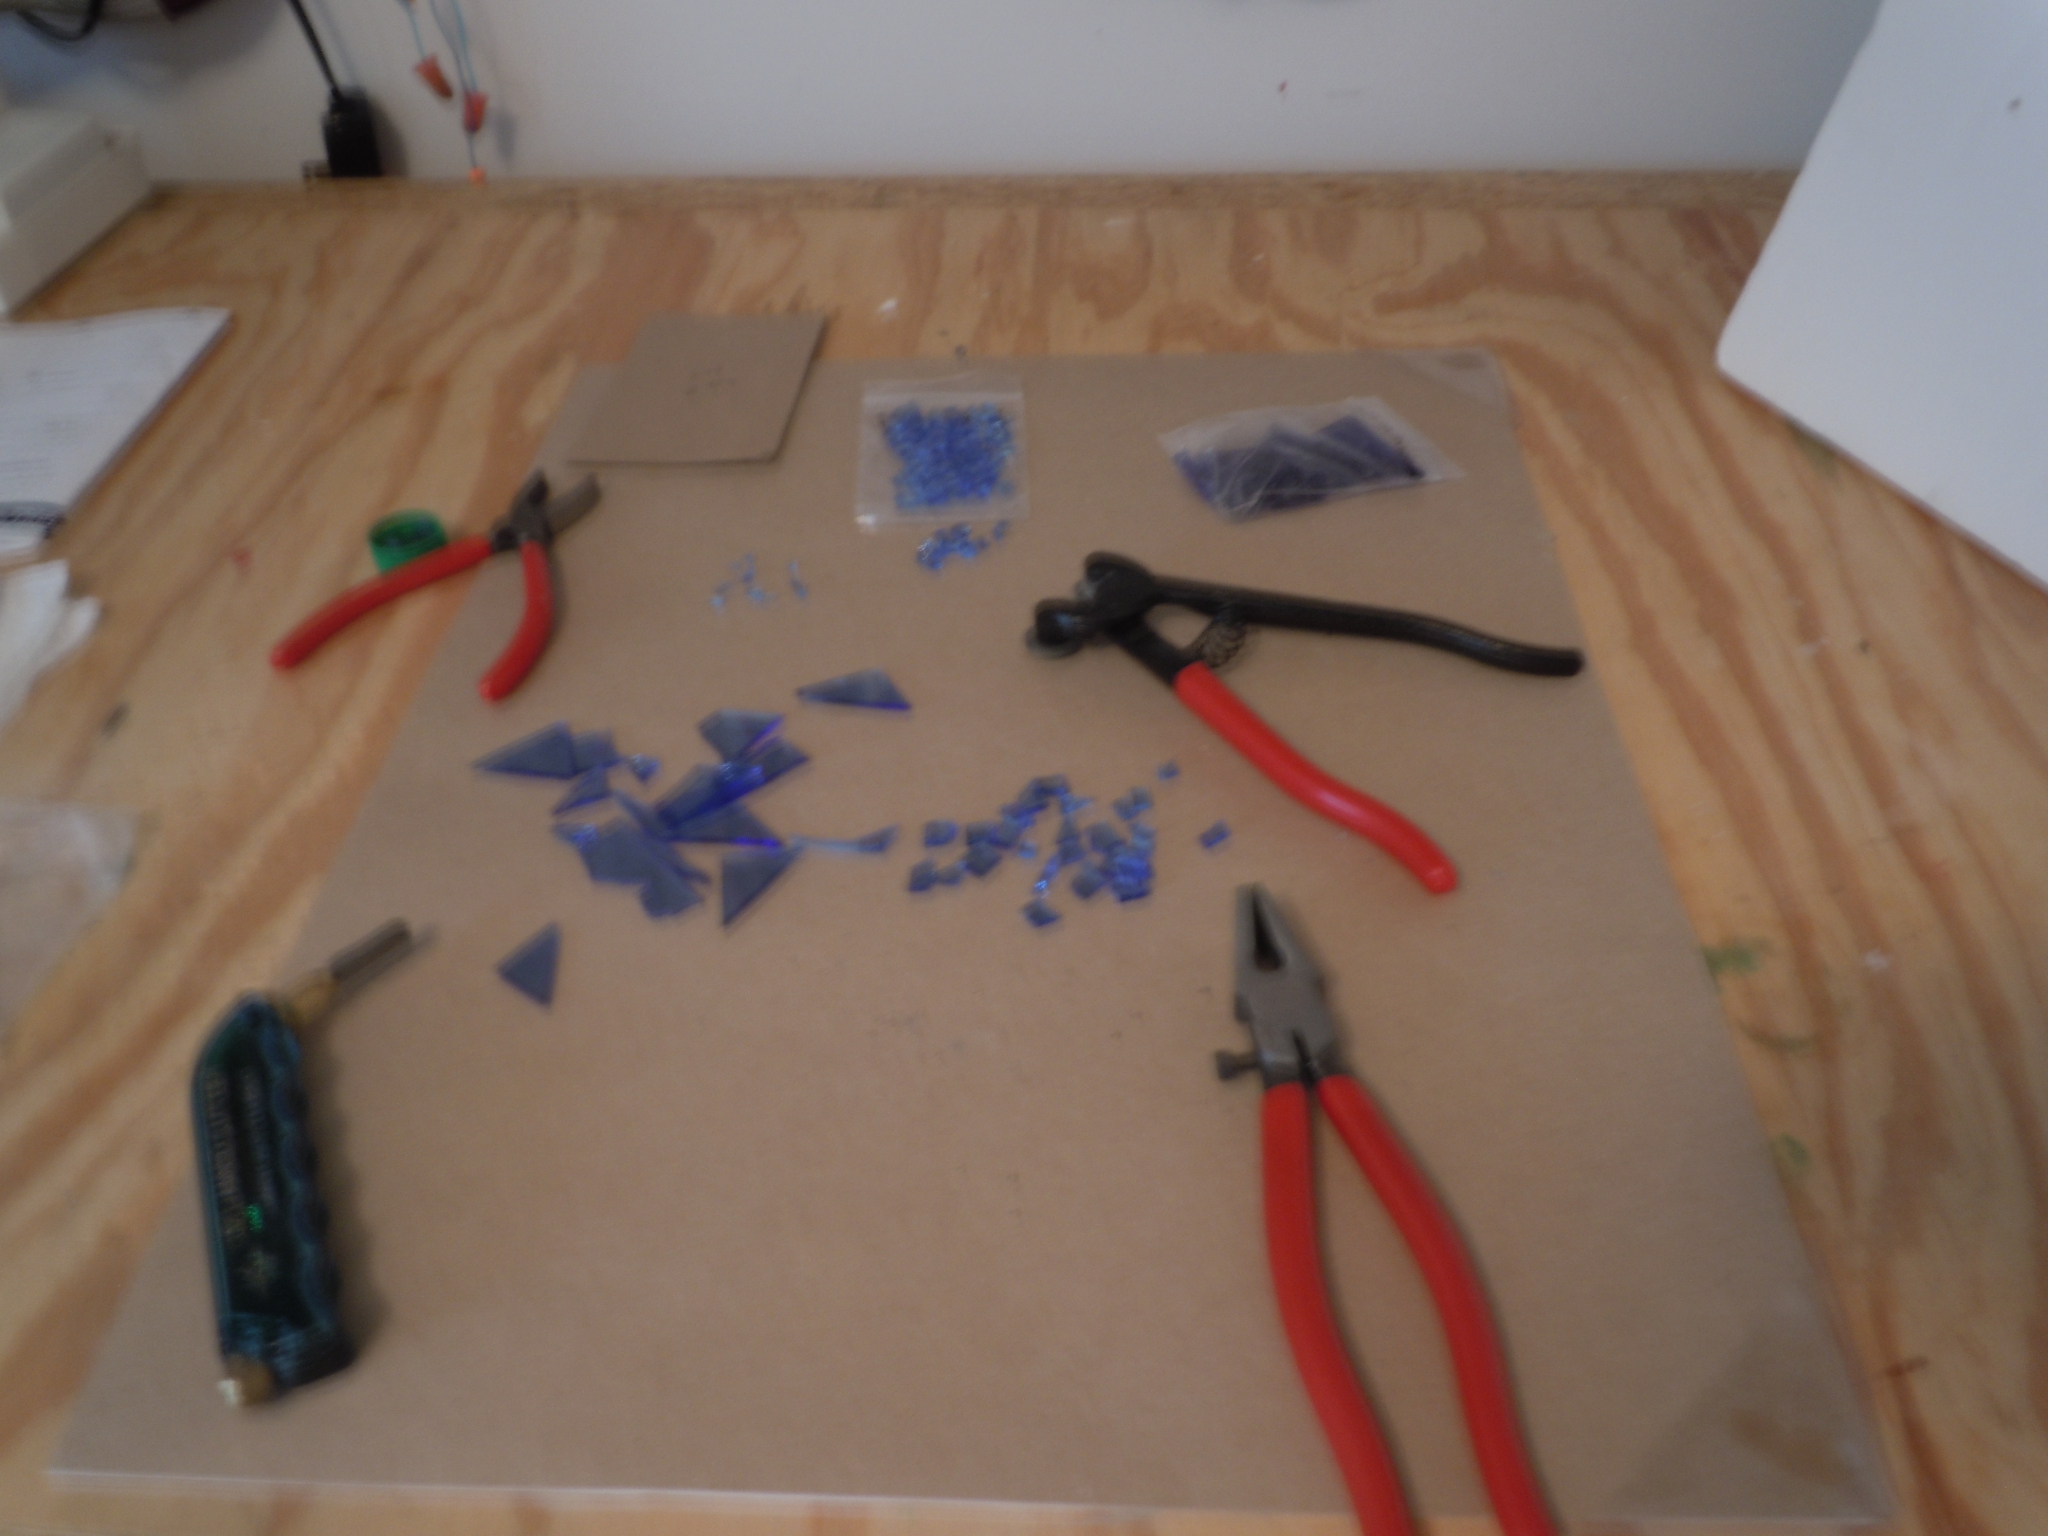
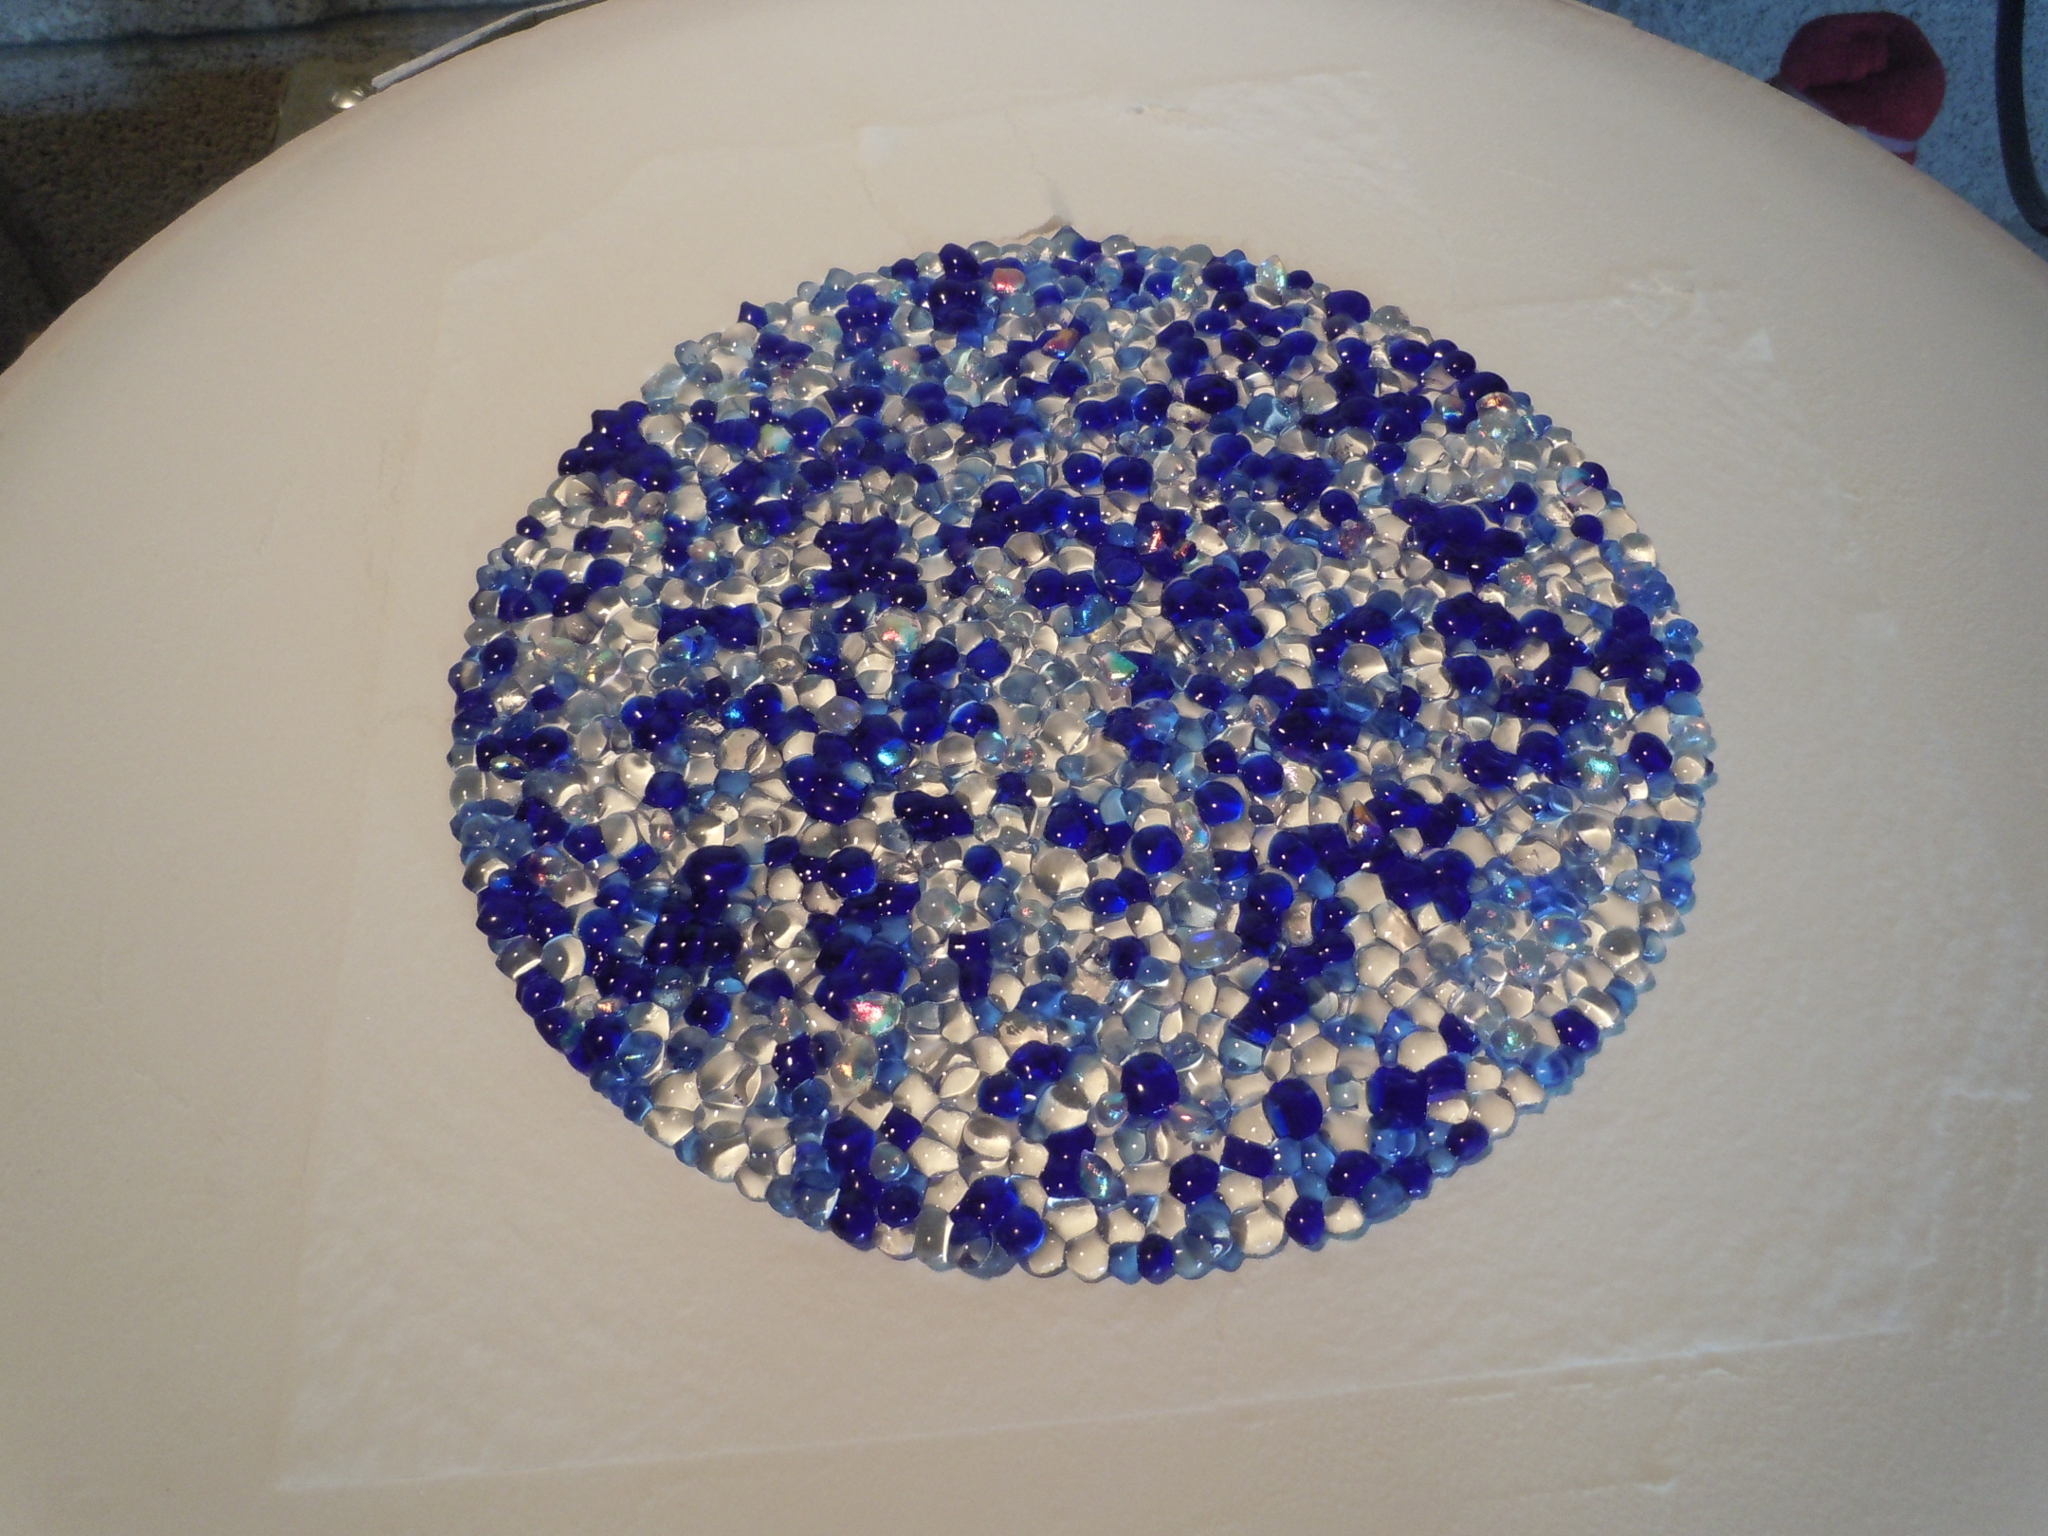
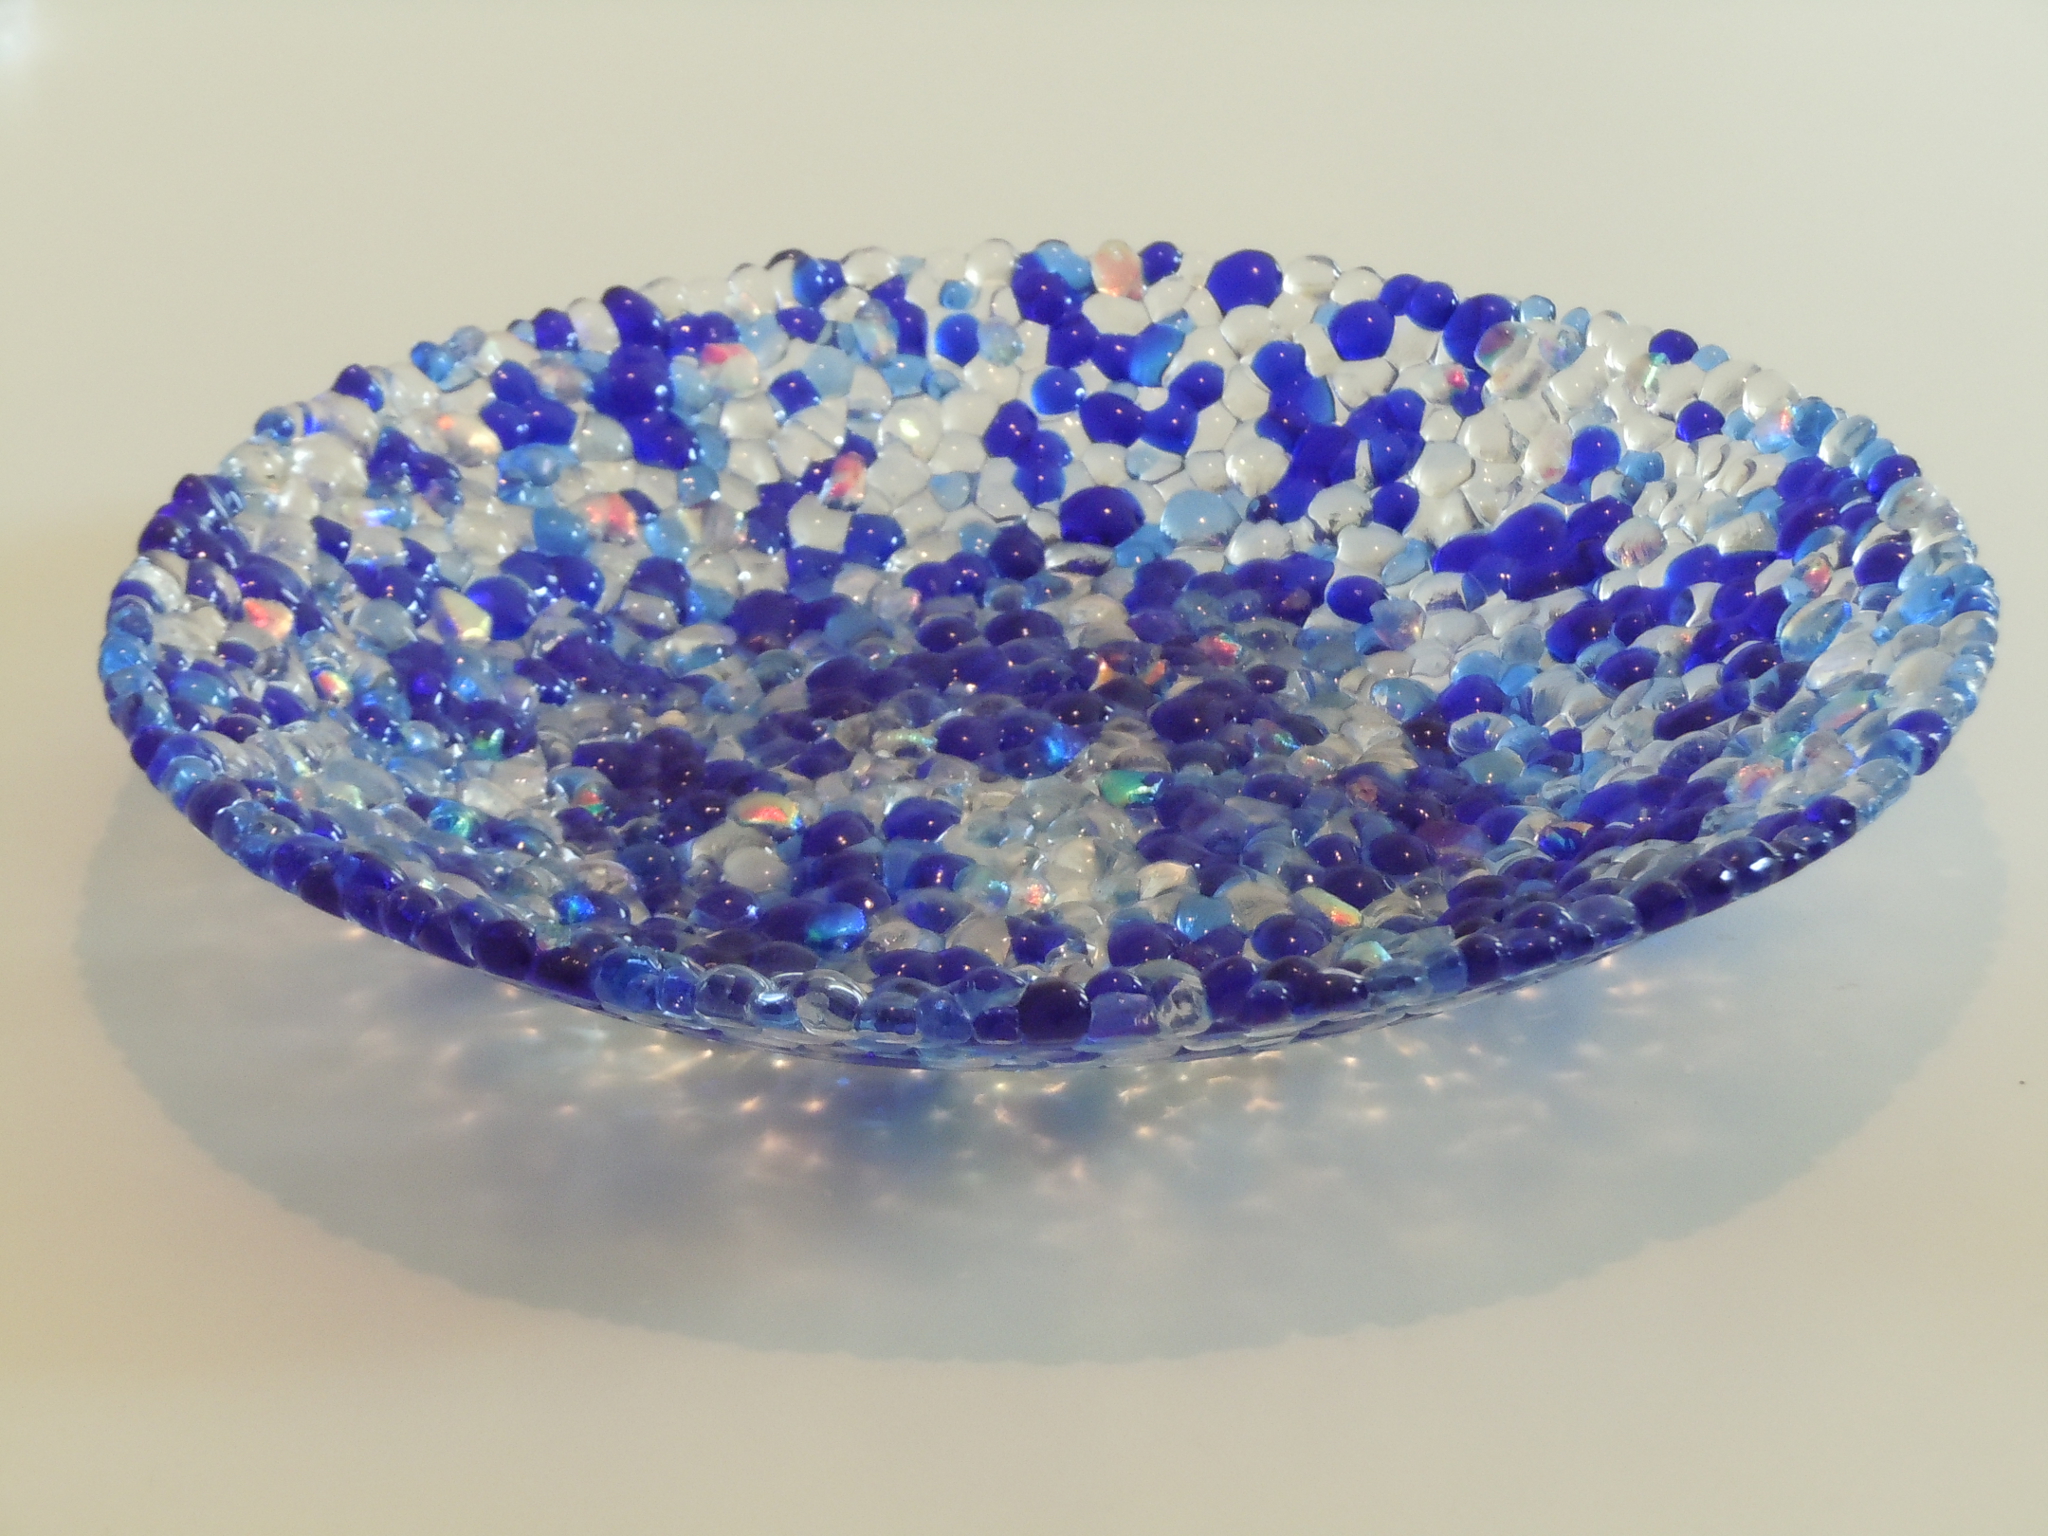
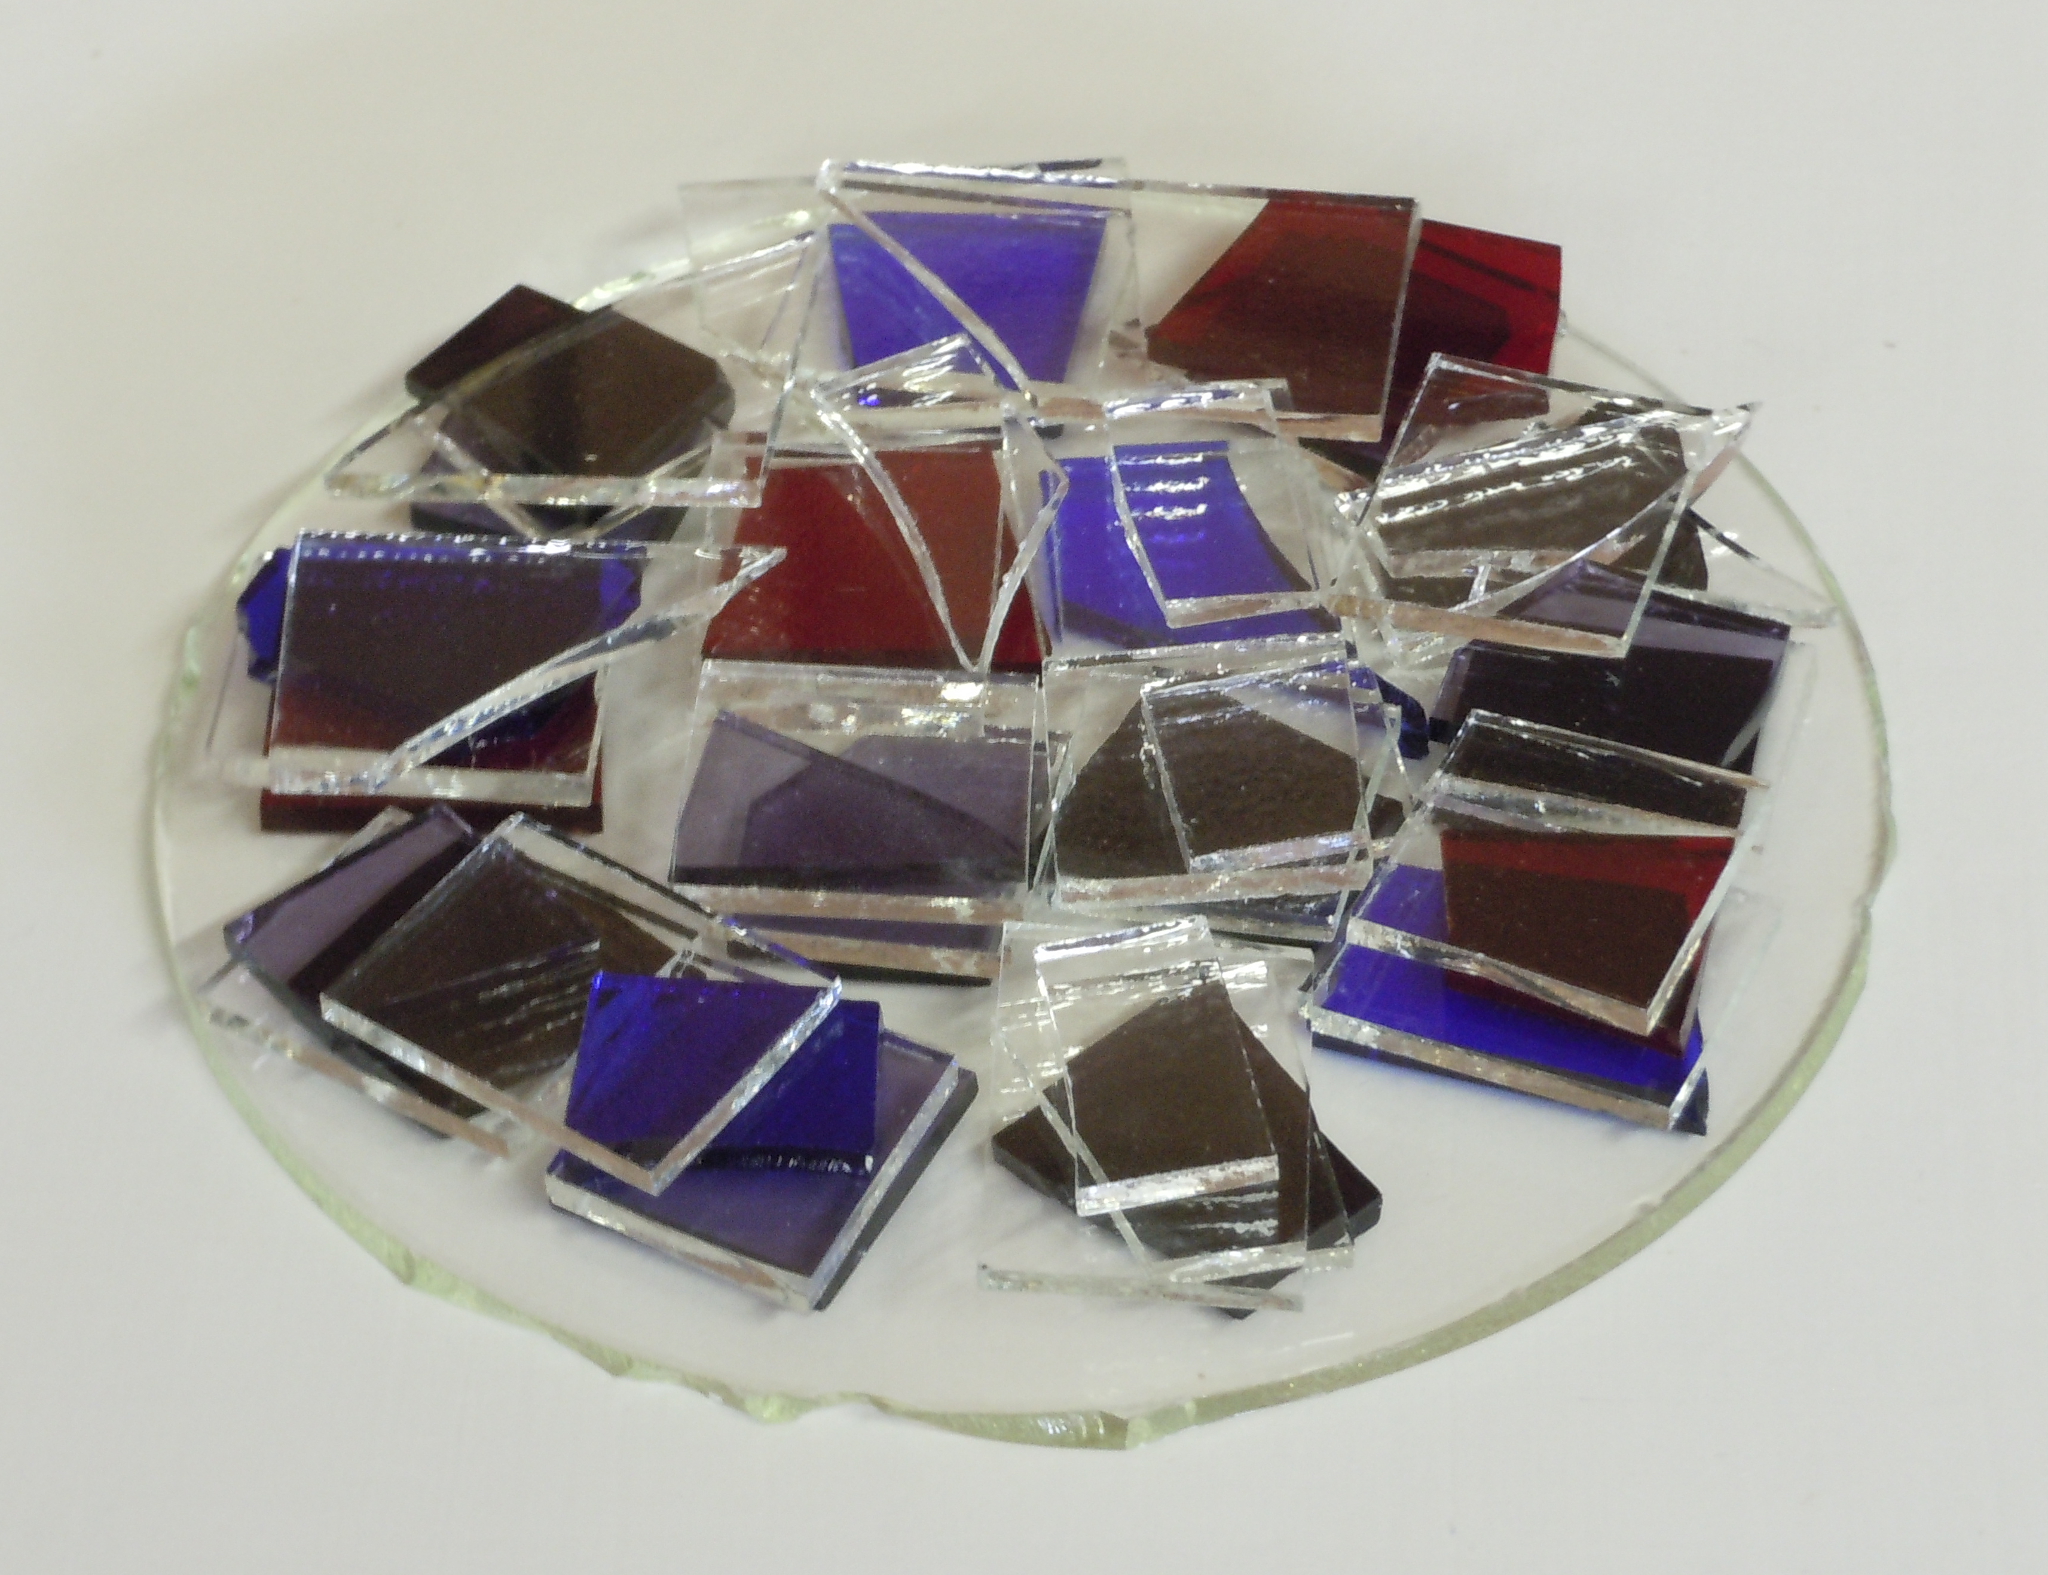
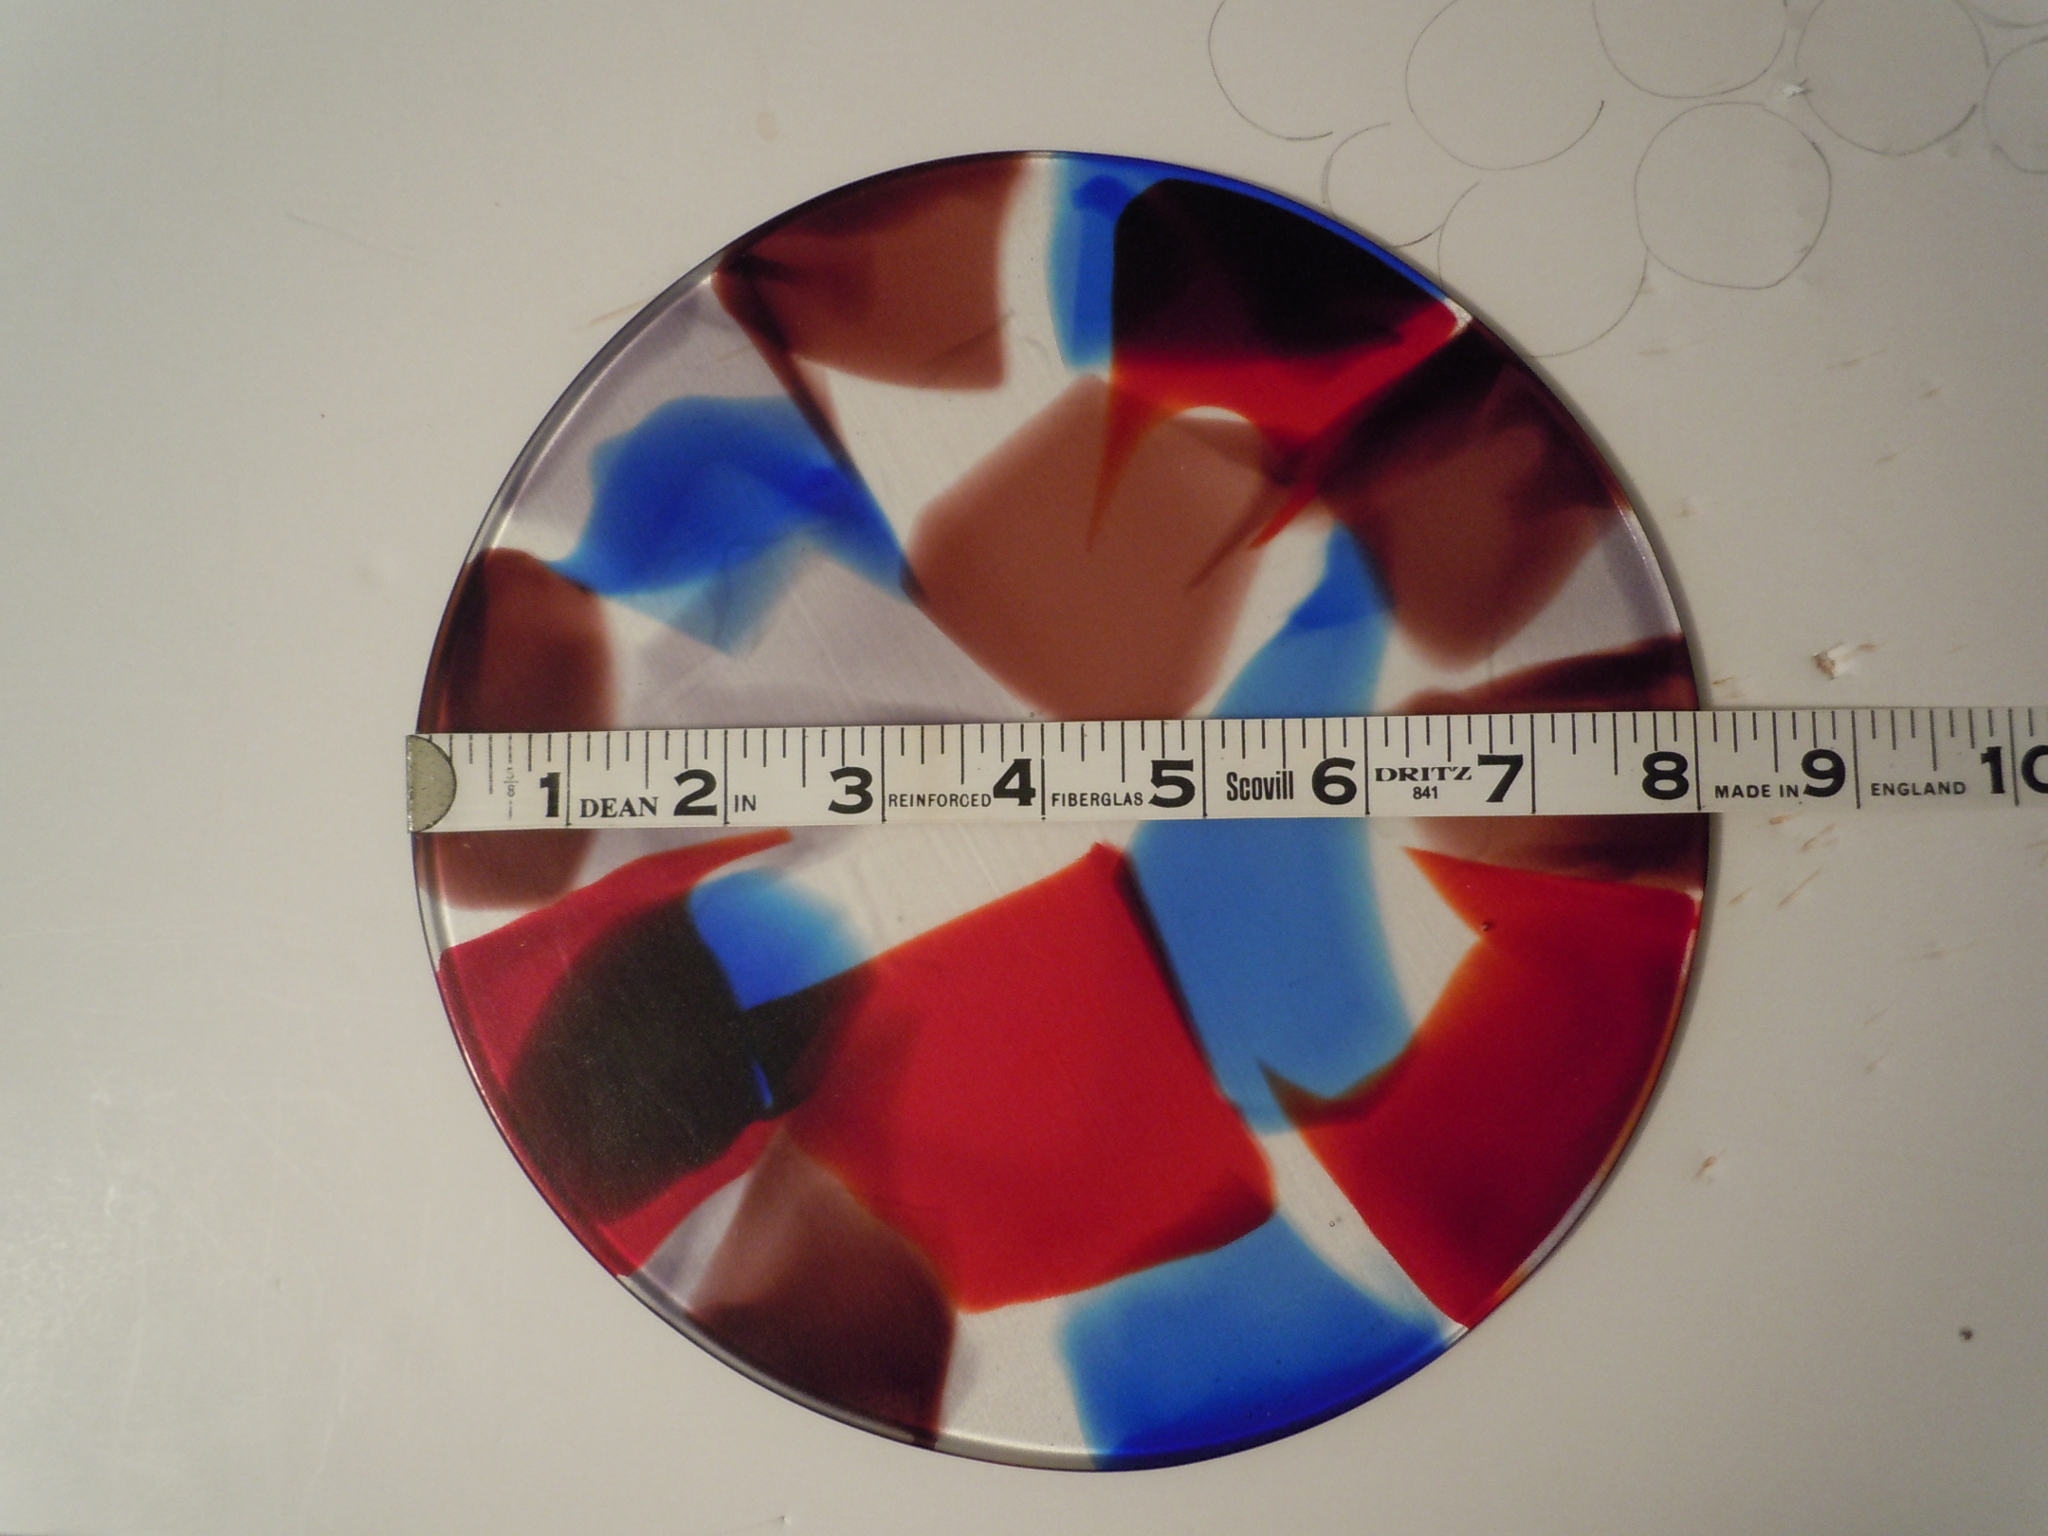
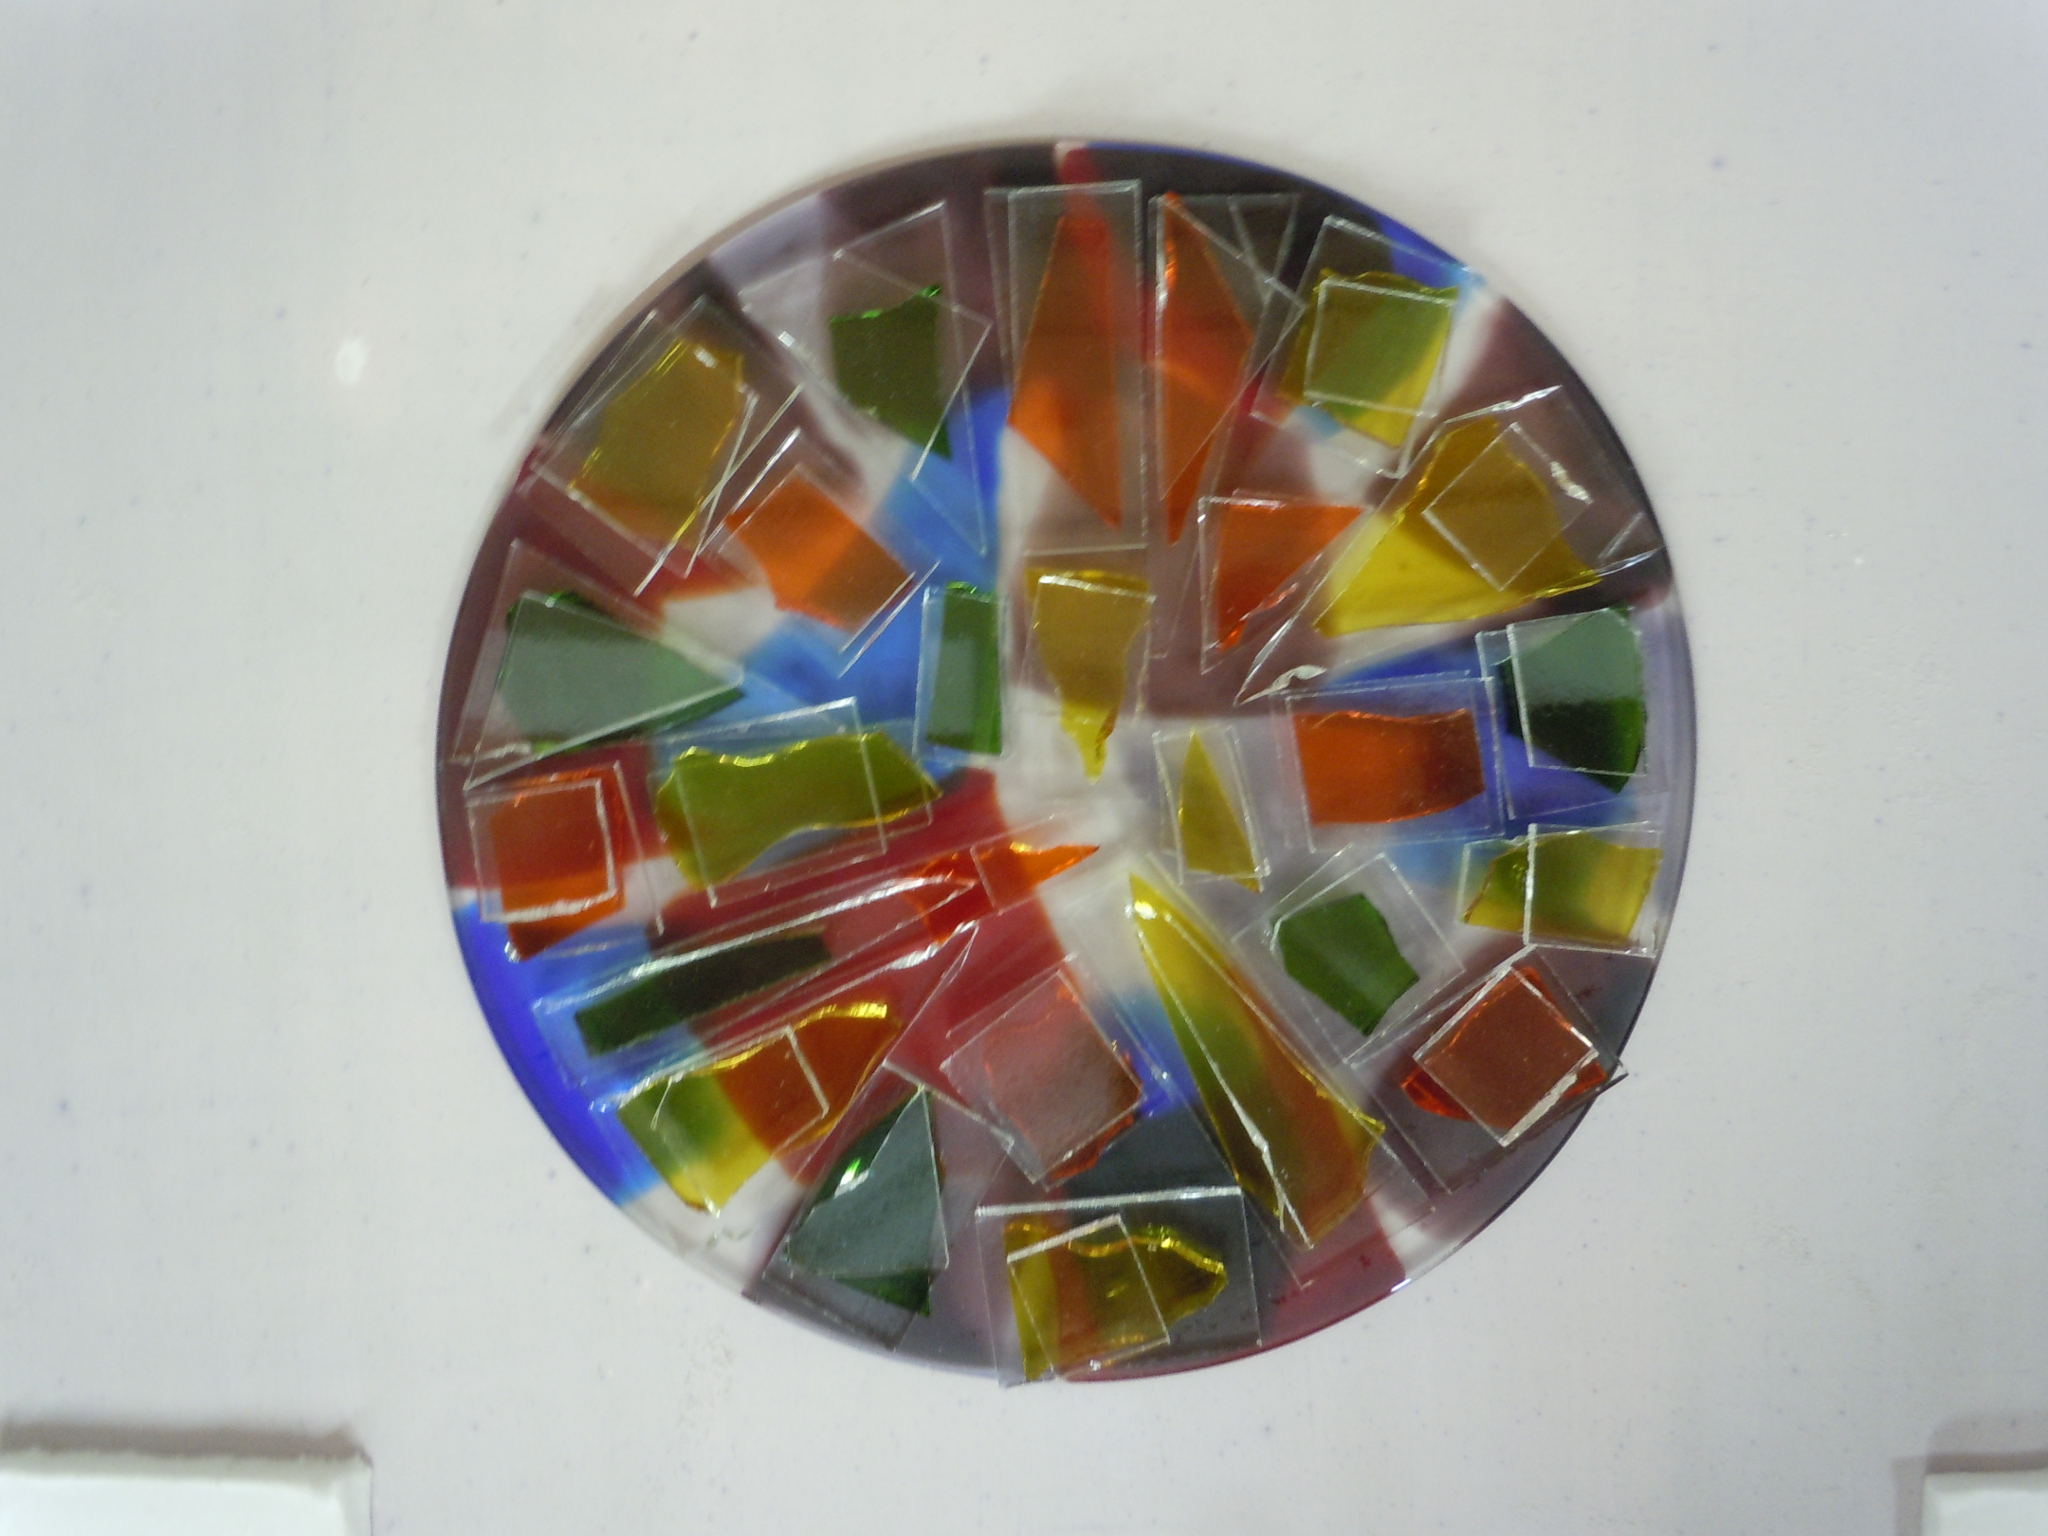
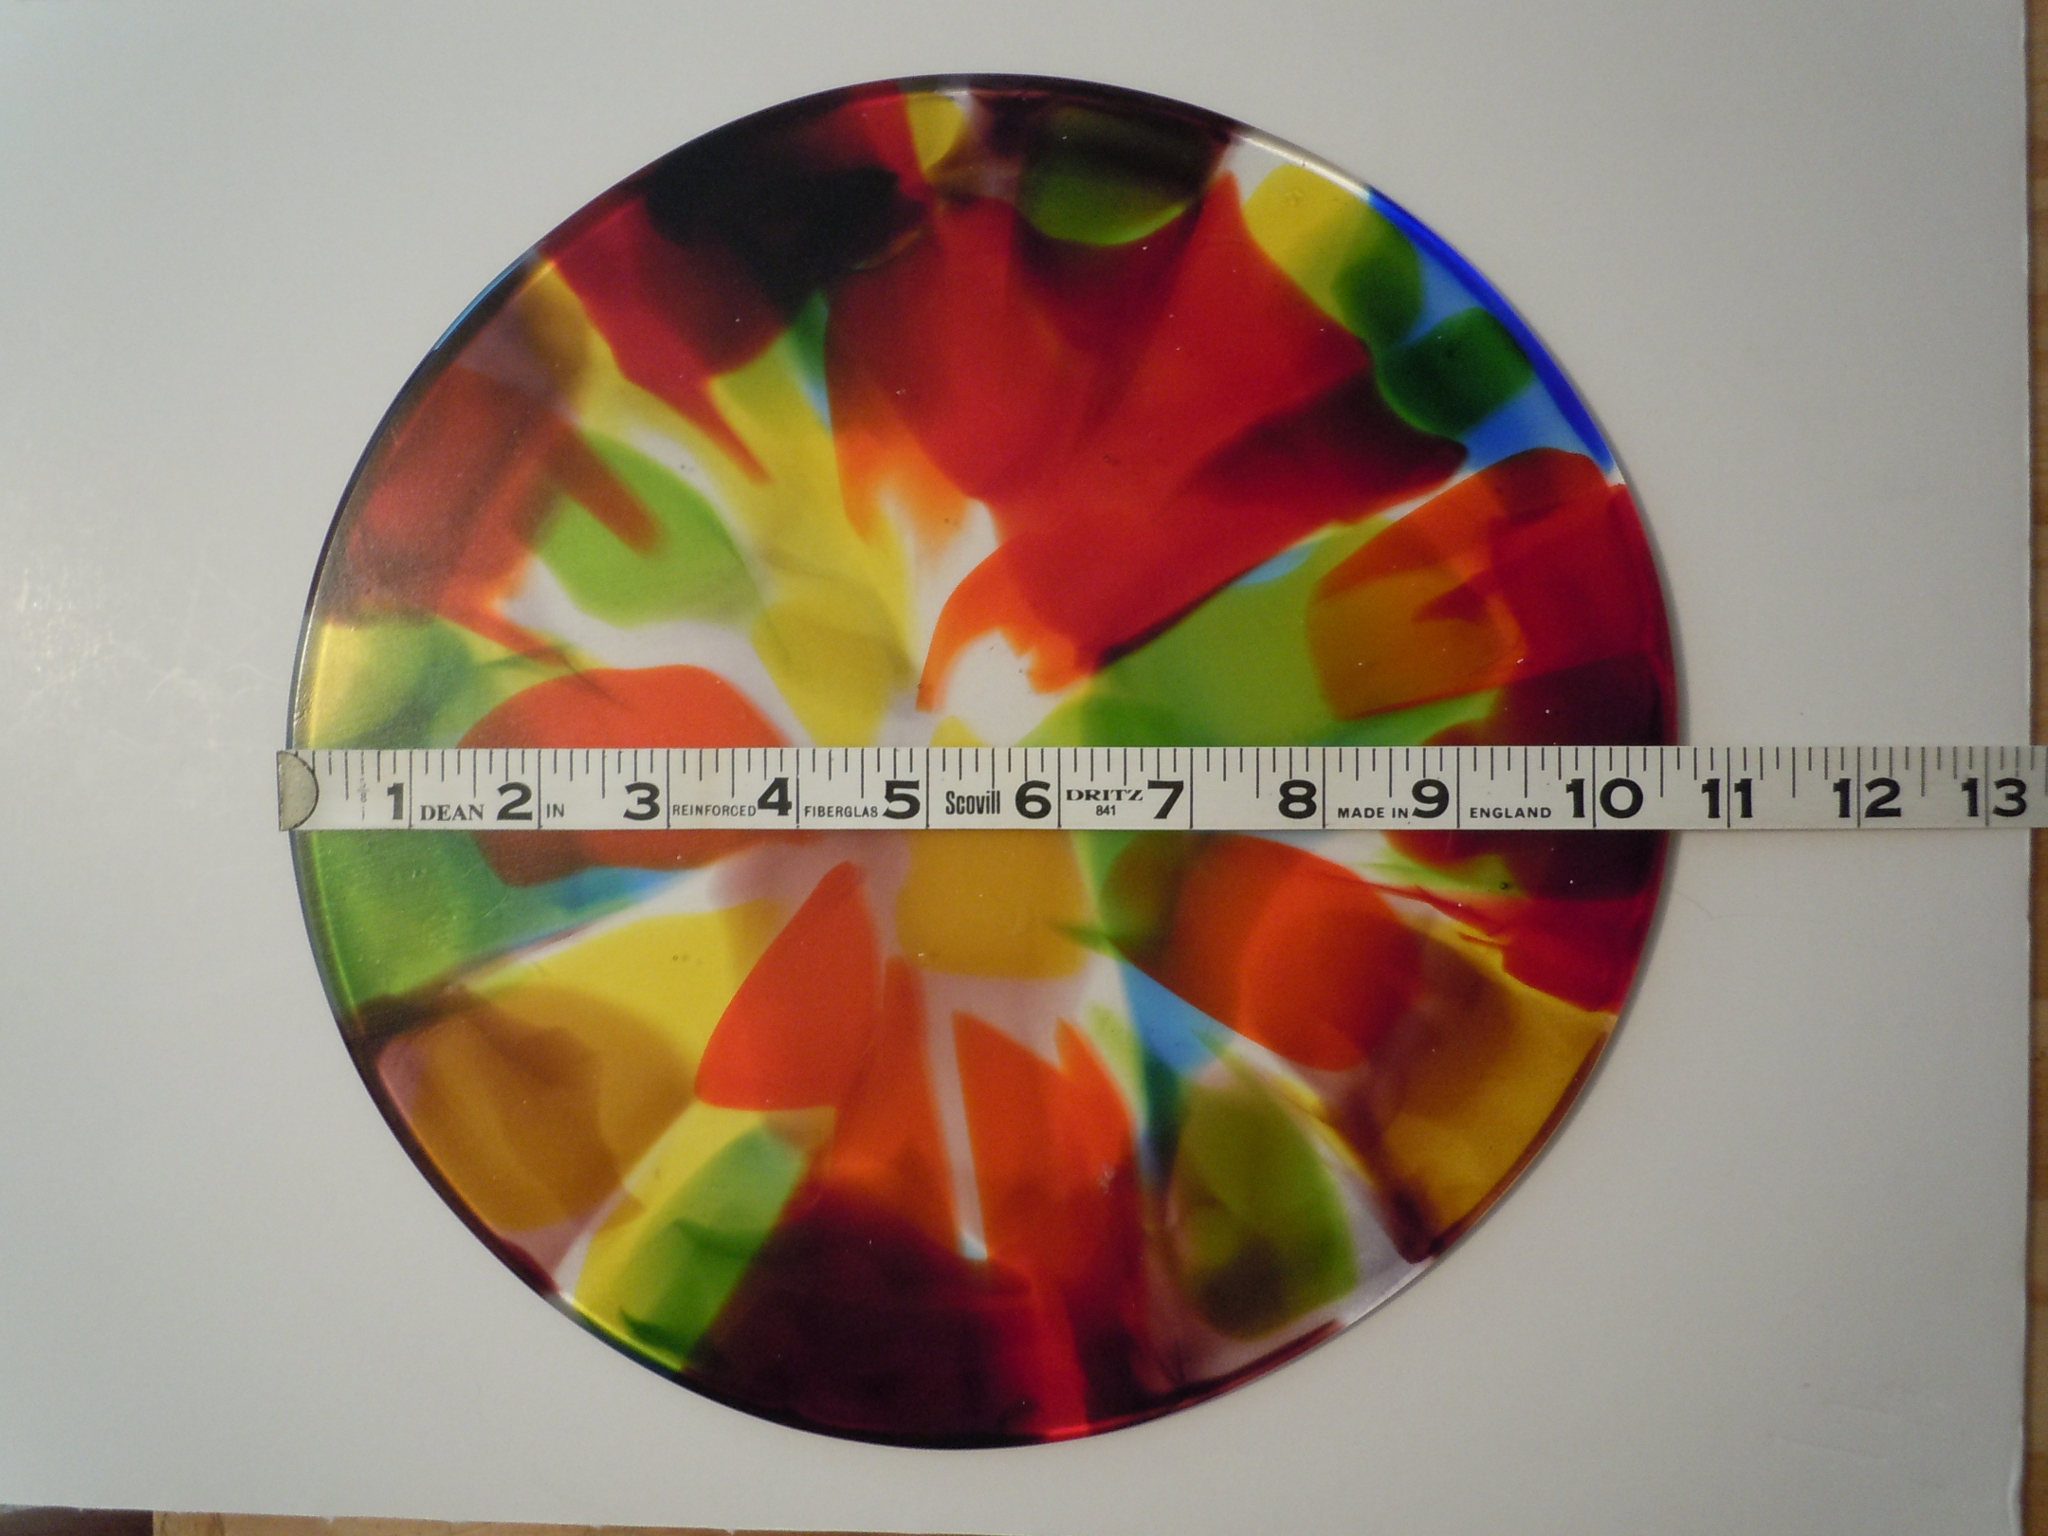
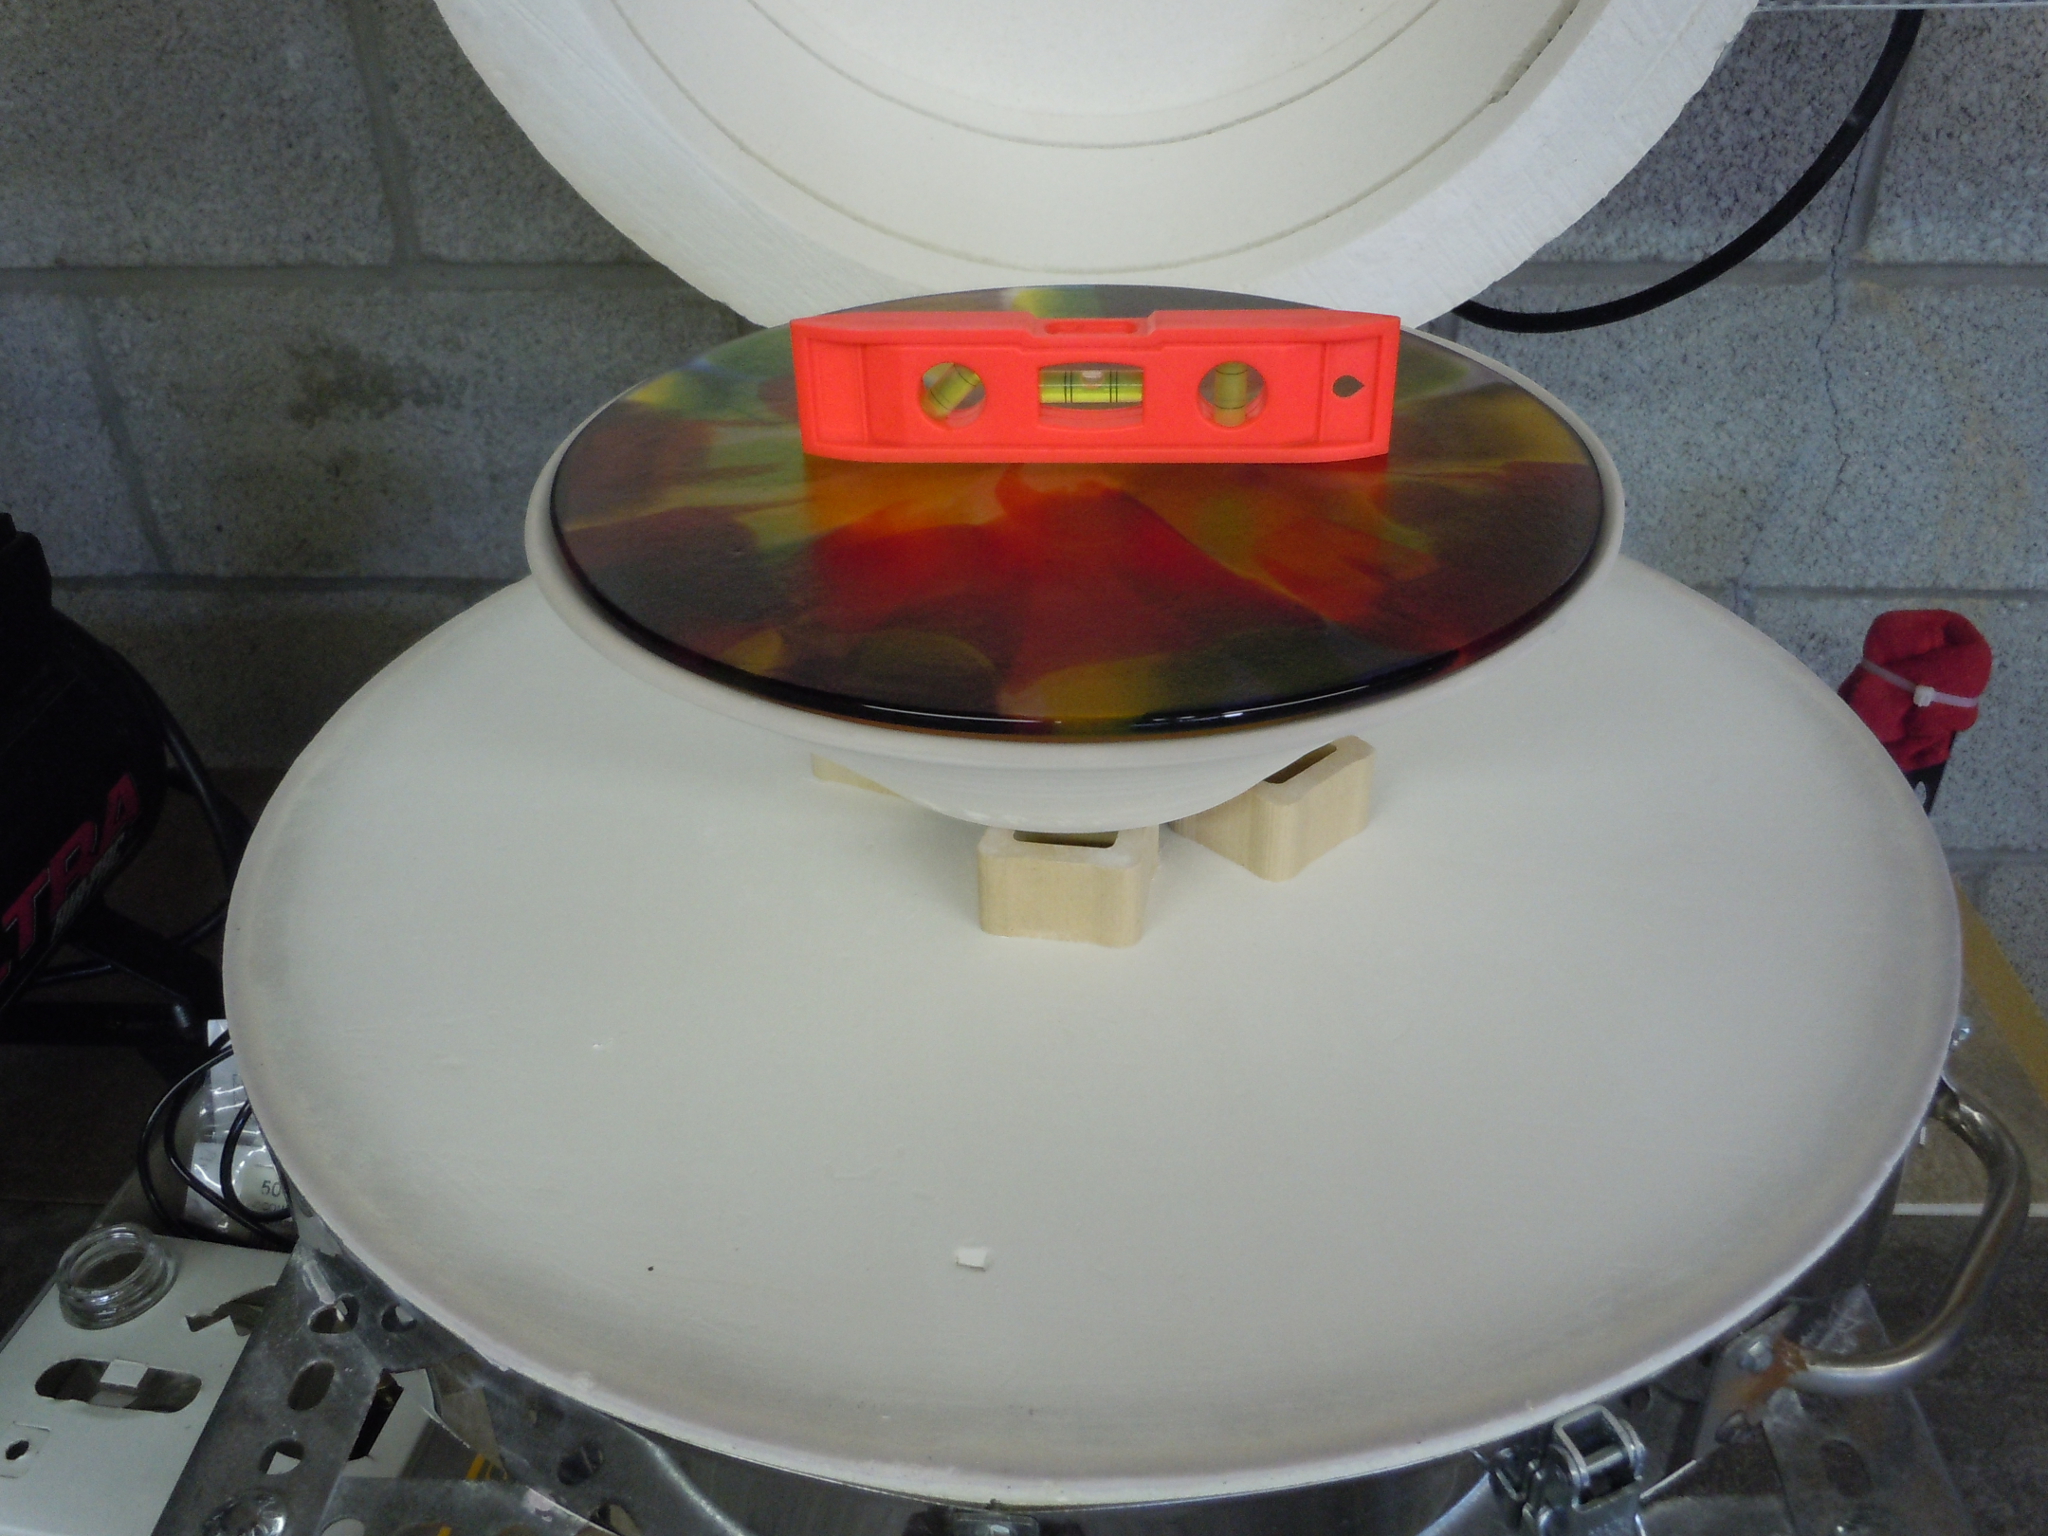
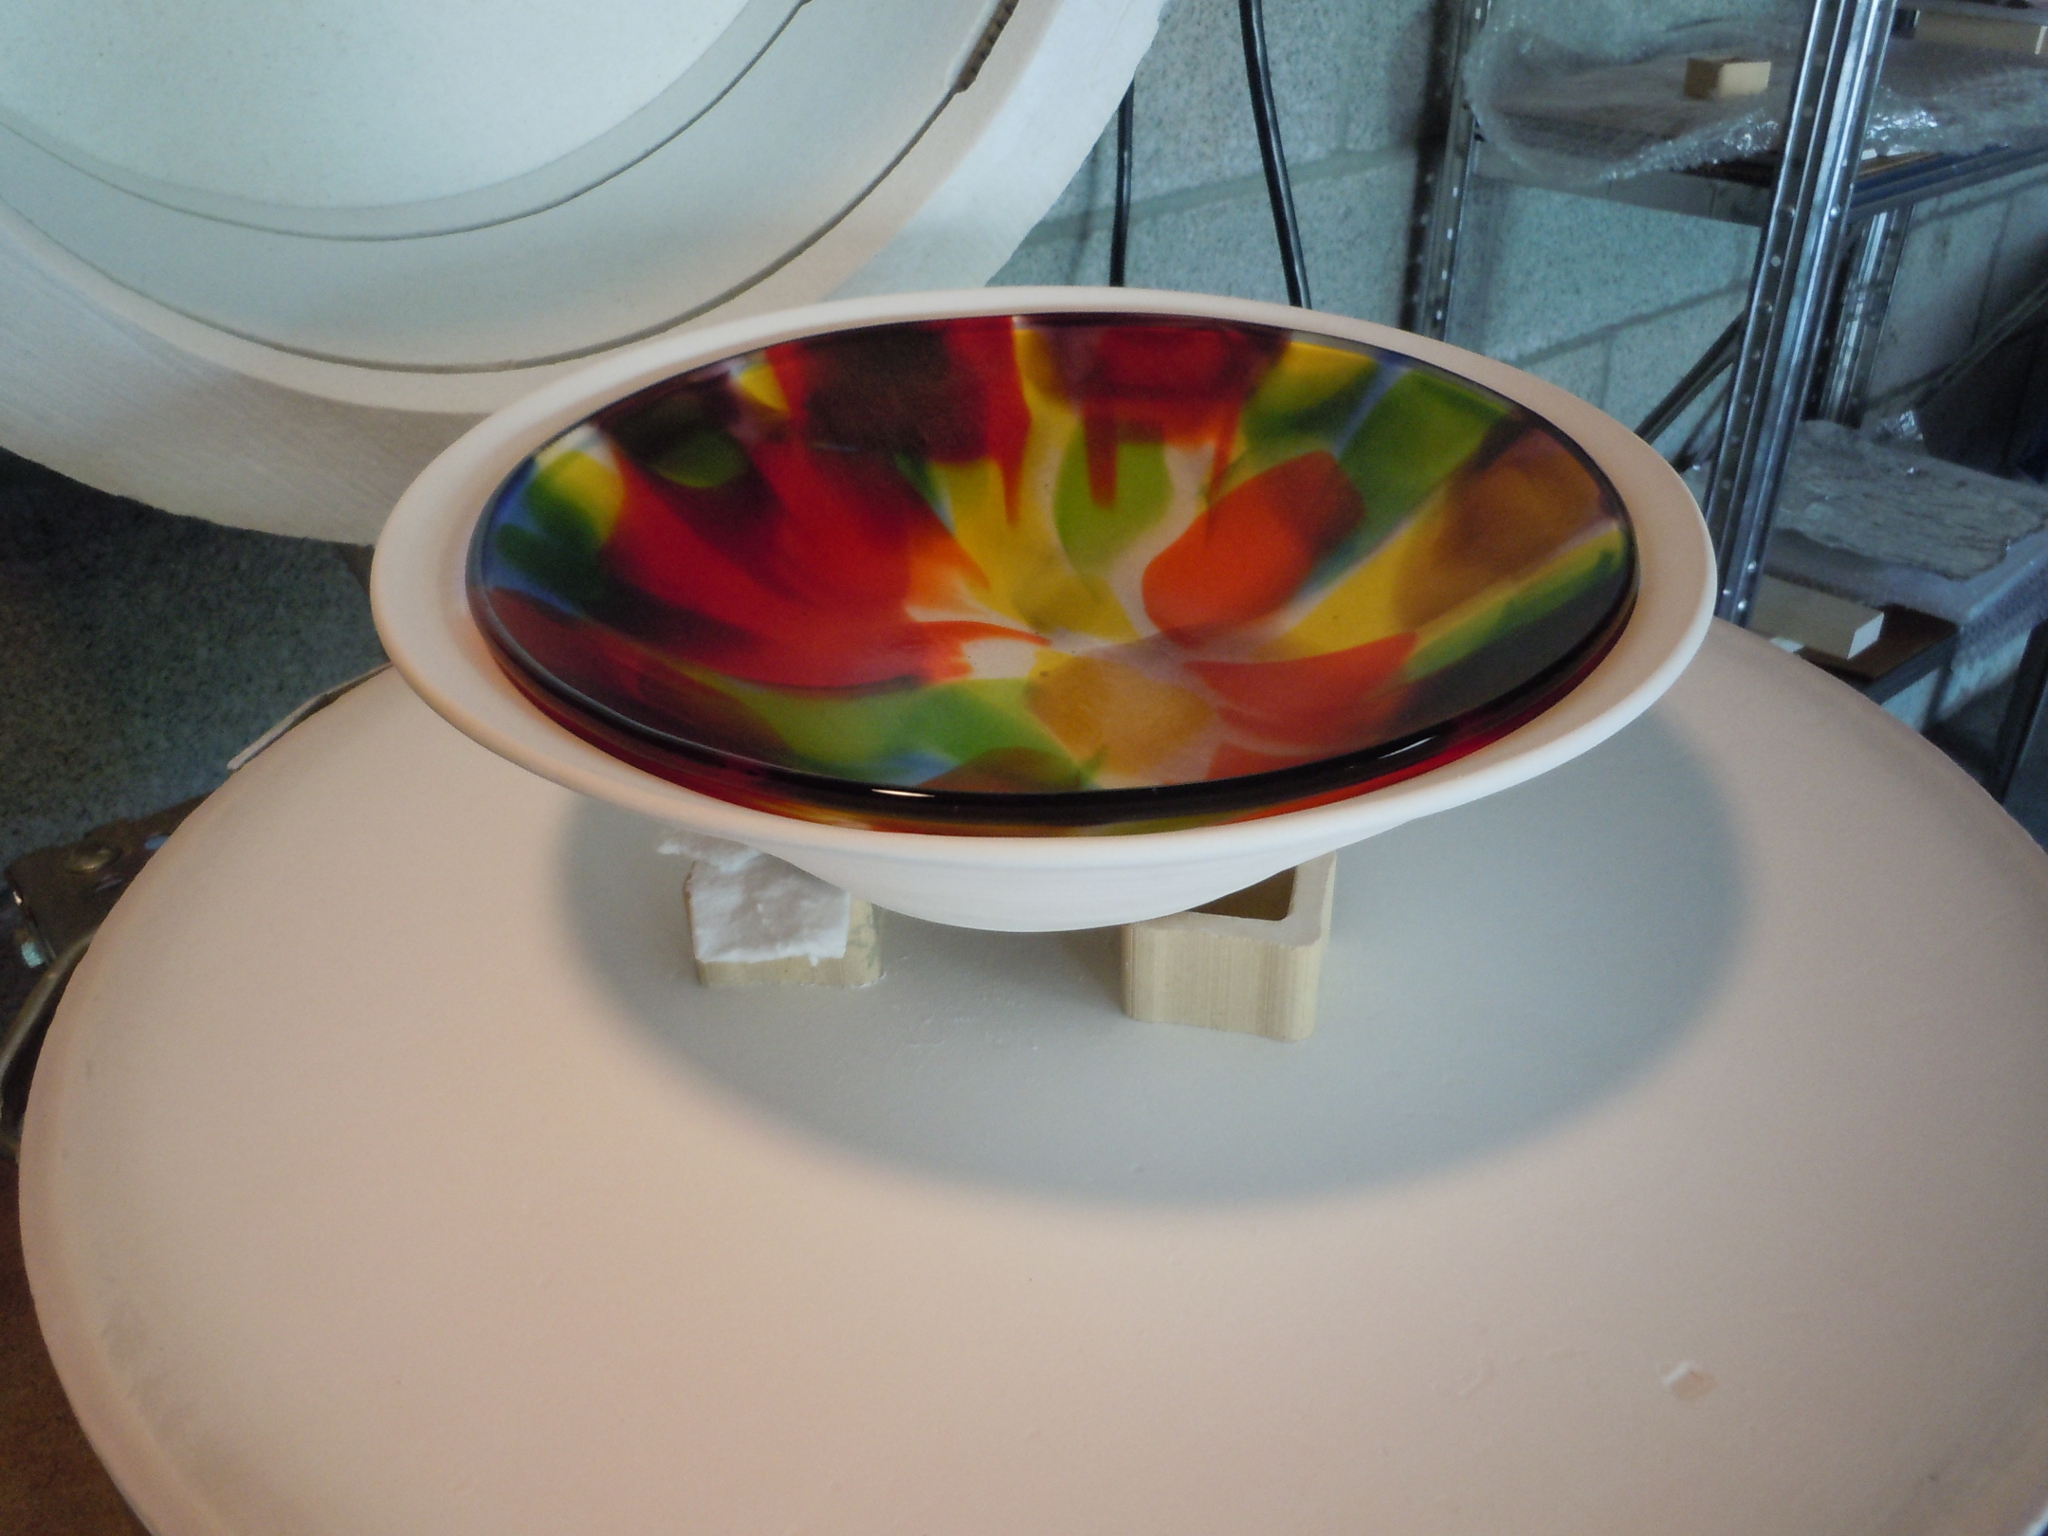
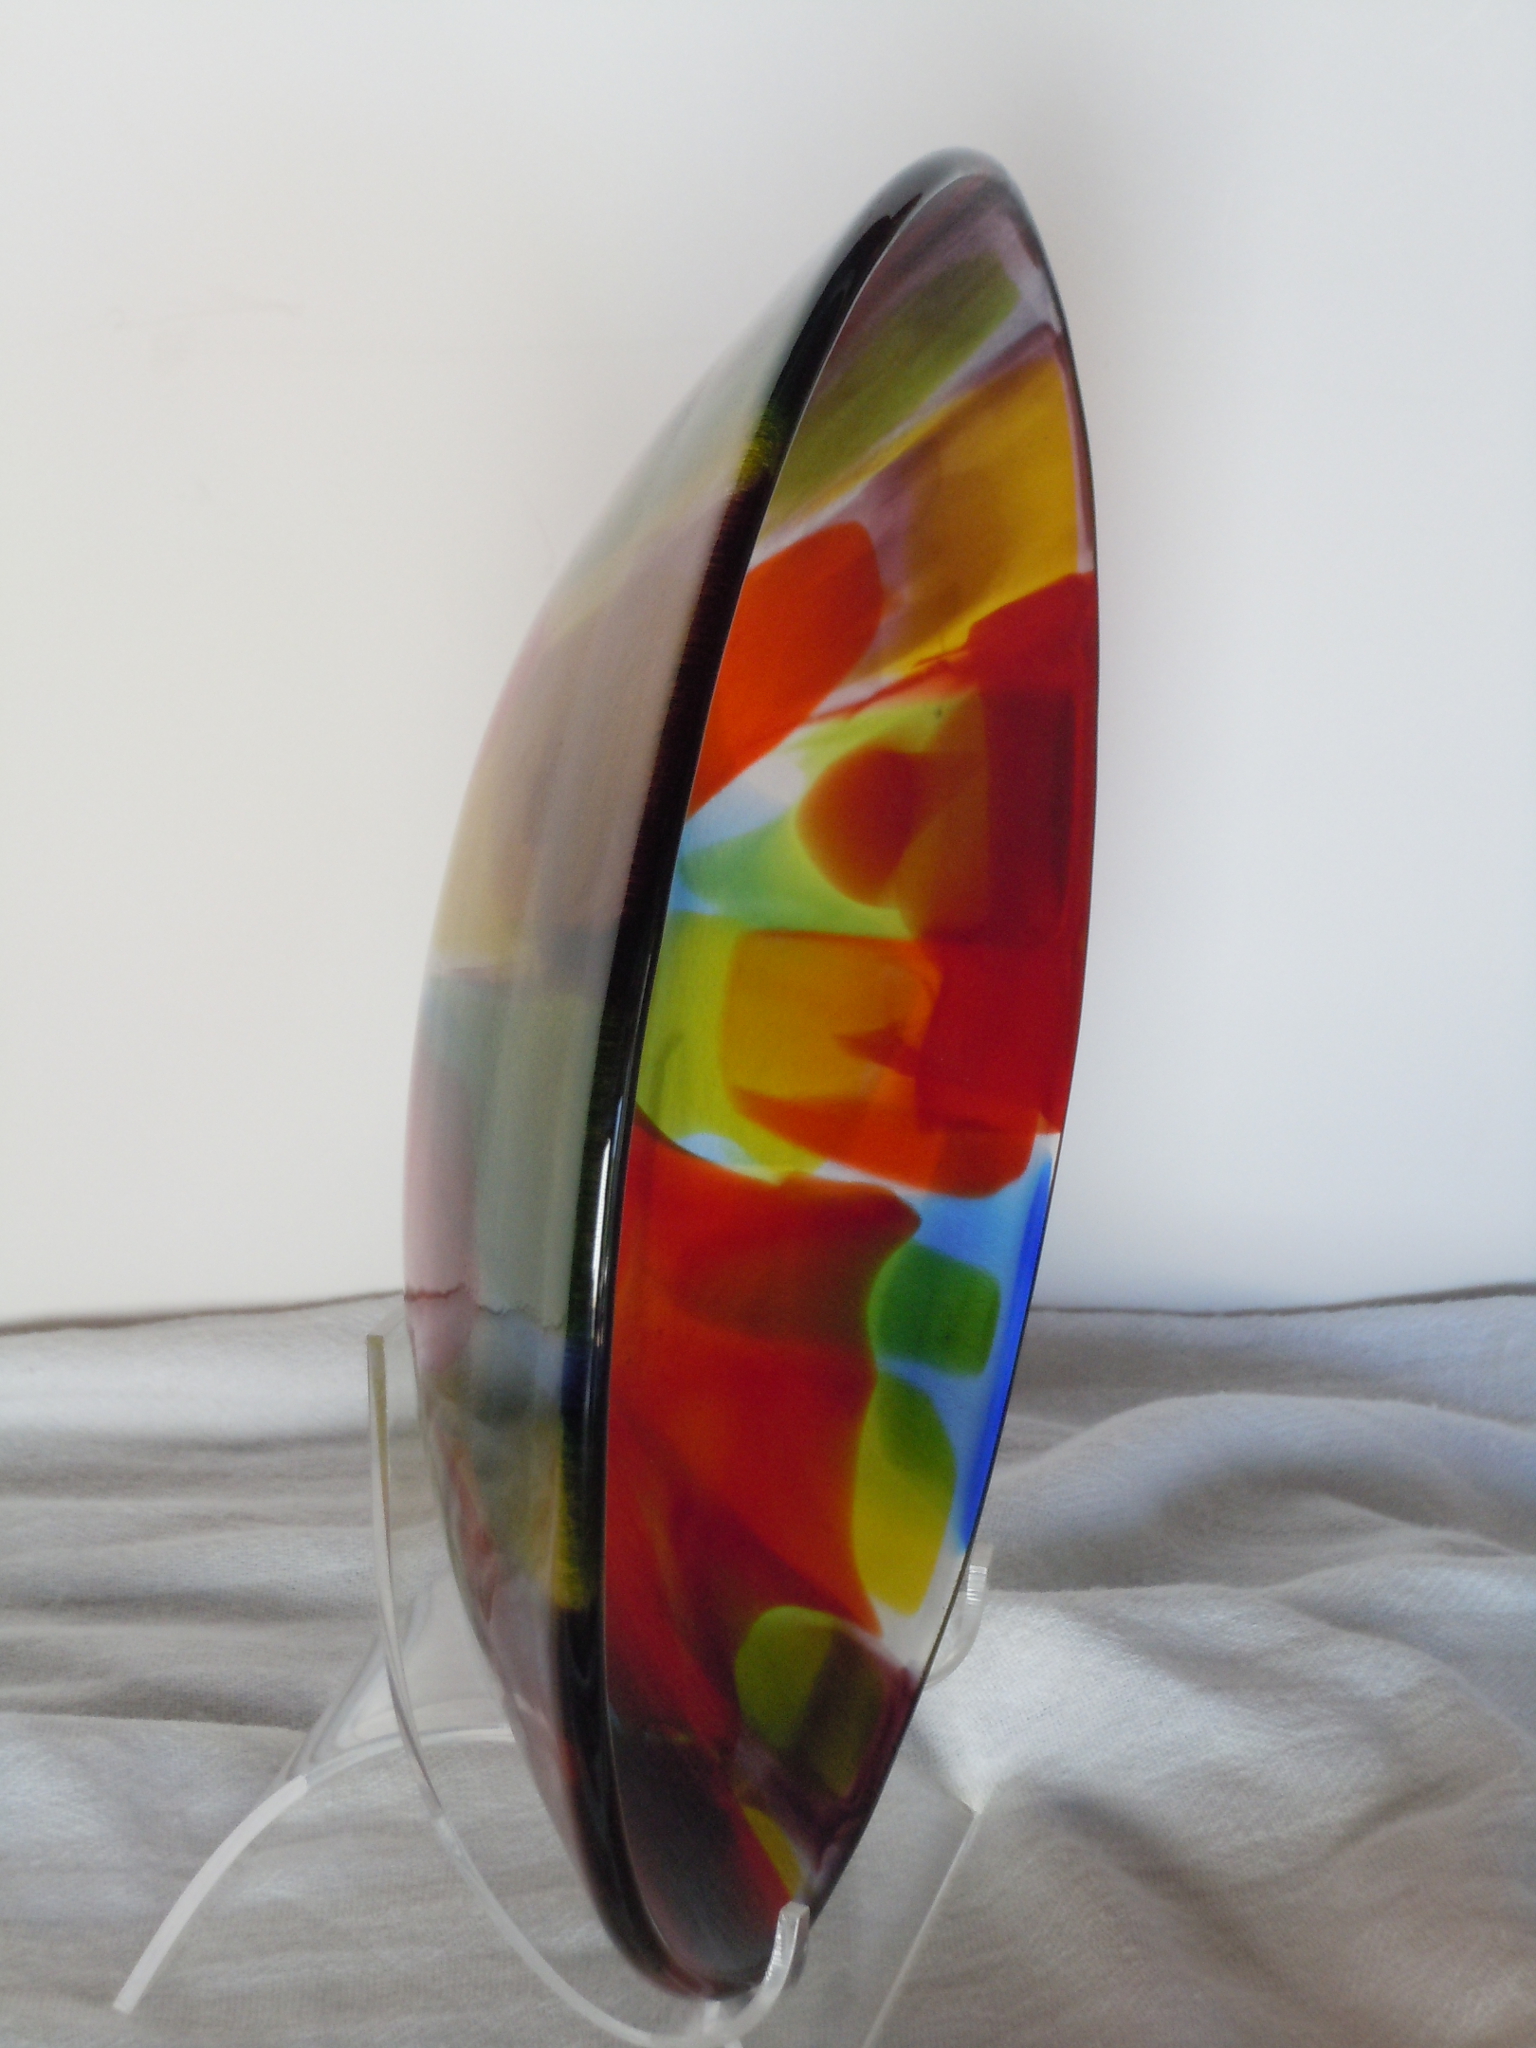
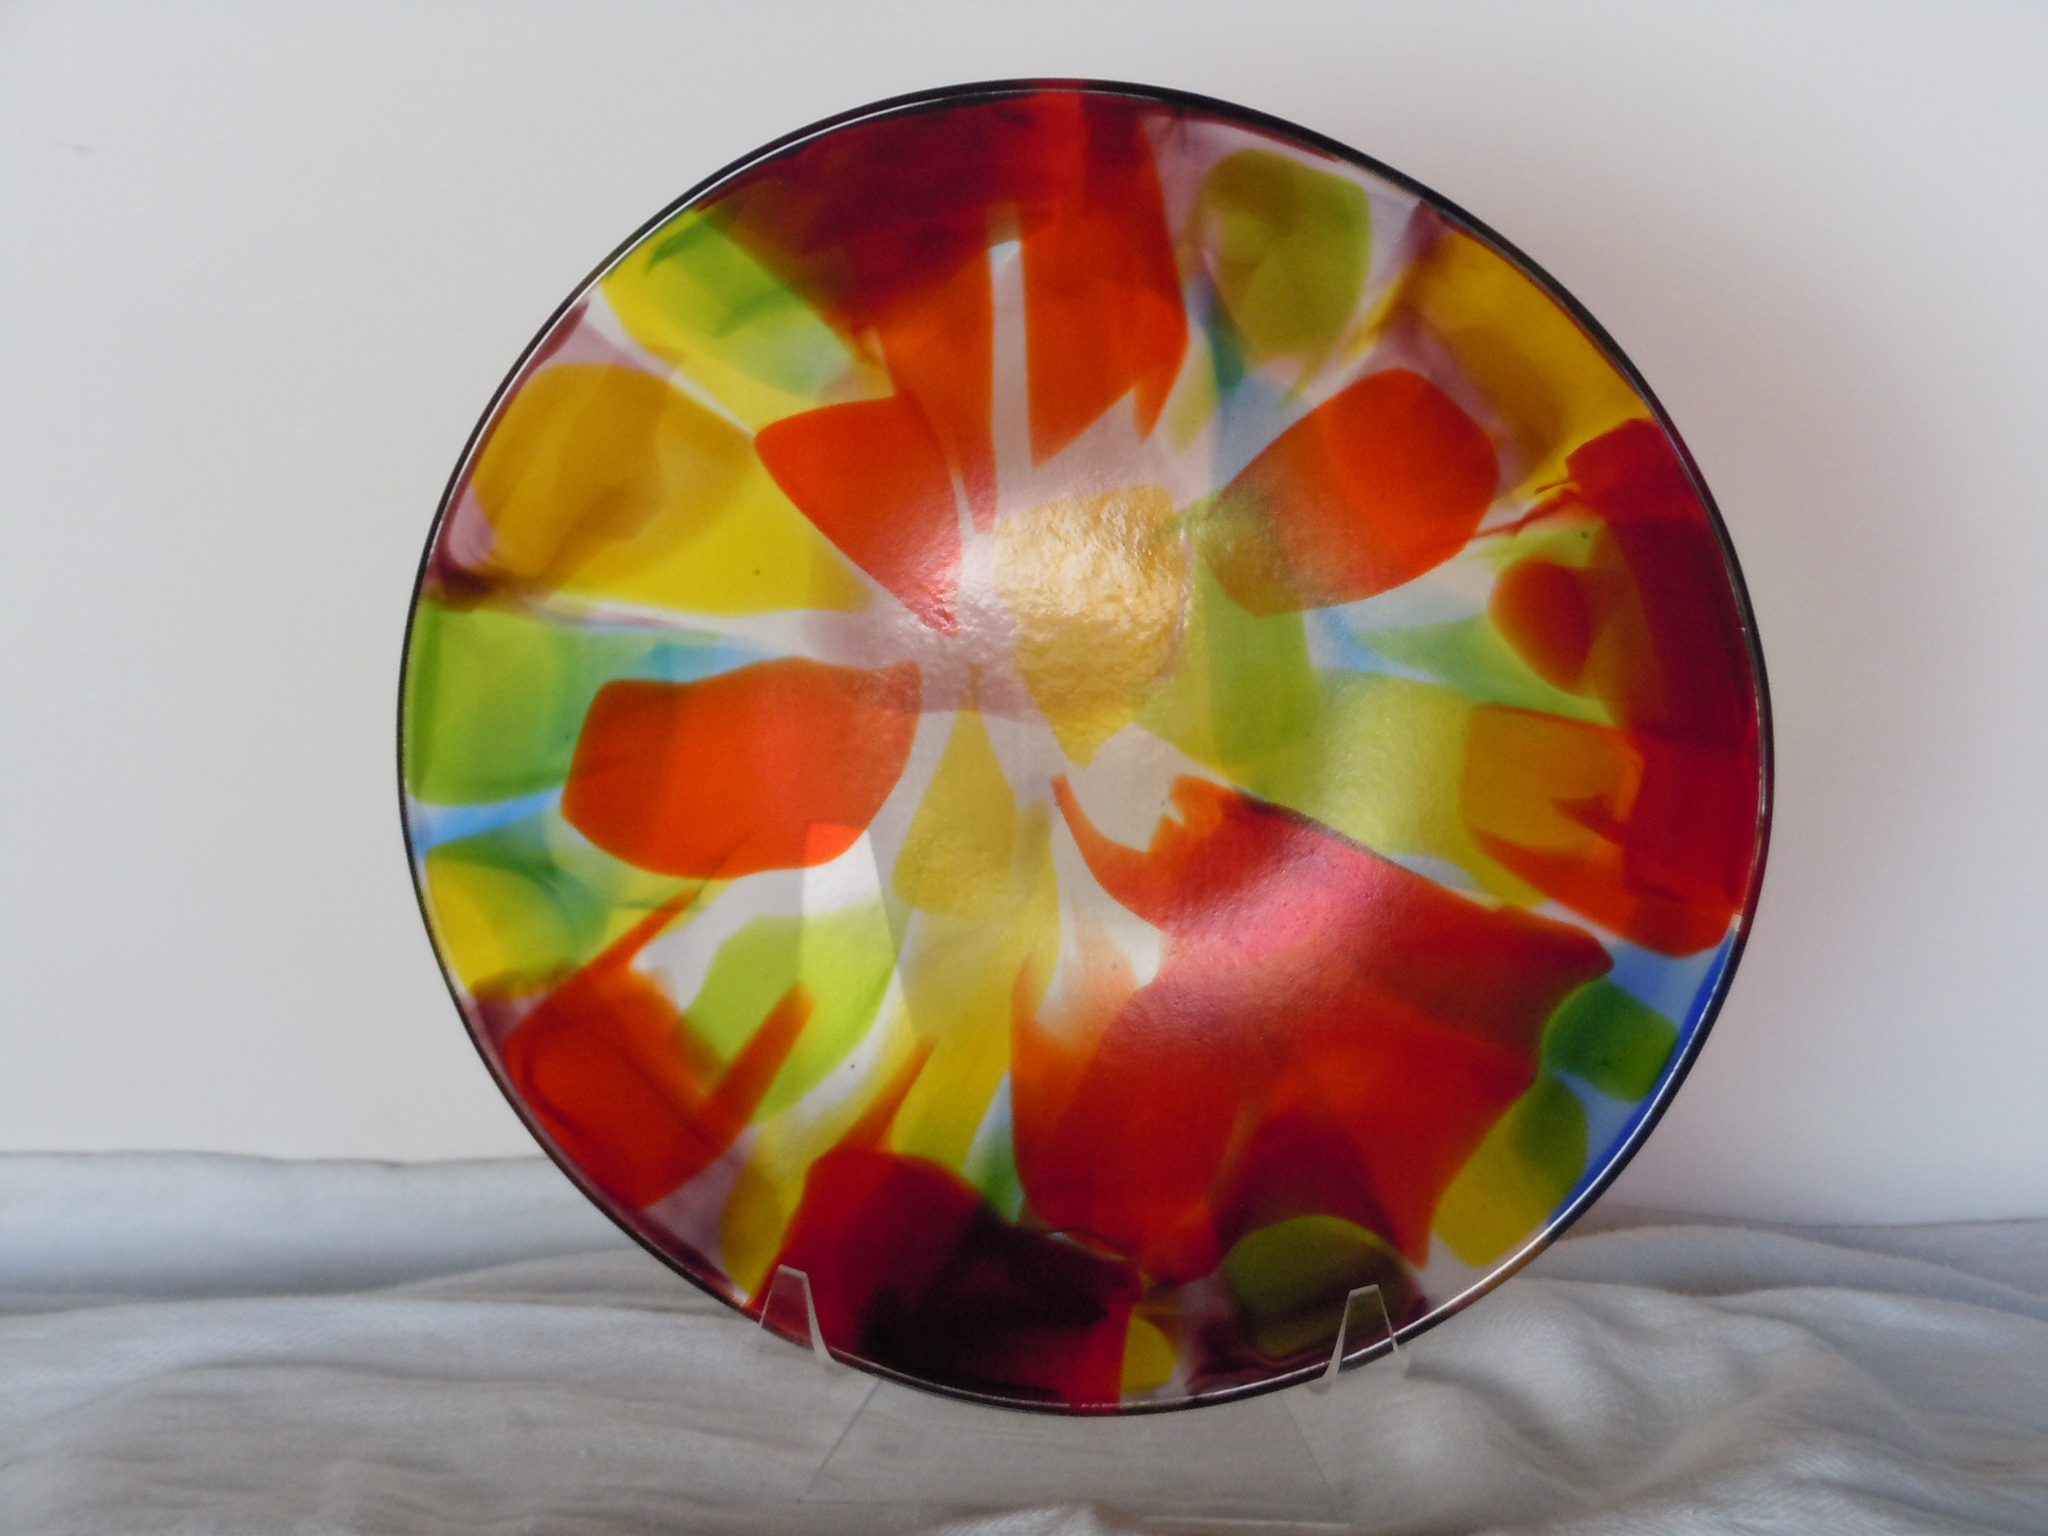
Here’s the poem we all interpreted, by Stephanie Pruitt.  My piece represented the lushness of alliteration in the phrases “the floats and falls” and “shadow and shine”.  The recirculating water was a metaphor for “The End is an invitation to begin”.

Close Reading  (bold emphasis mine)

Ask questions both obvious and obscure.
Grow to appreciate the shadow and shine,
how most simmered pots of good vs. evil are an unseasoned soup.
Notice what is there and not. Notice patterns. Notice what you notice.
Embrace the barreling grasp of fear that can propel,
and the freedom of a blank page that can paralyze.
Know that scissoring backwards from the conclusion
can’t pinky promise an aha, but proves you’ve survived
the floats and falls & …ever after,
remembering The End is an invitation to begin.


Bowls, Kiln Formed Glass

Sapphire and Moonstone Bowl

Hot out of the kiln this morning! The second in my Birthstone Series: Sapphire and Moonstone for September.  It measures approx. 8 1/2 diameter by 2 1/4 deep and features iridized glass in both sapphire and clear as well a sprinkling of dichroic on top.  An alternate shot appears at the bottom of the post:

Bowl on Reflective Black   And a close up…Close Up-Sapphire Moonstone Bowl

As usual, for my kindred, Cube’ster spirits interested in how things work I present a sketch of the process.   Being quite literally unable to let precious, gorgeous remnants go to waste, first comes the re-purposing of scrap glass:

Workbench

Next the “gemstones” (technically referred to as “frit balls”) are formed in the kiln.  It took several firings to get all the colors done that follow:

Frit Balls in Kiln


Frit Balls

After which they are fused together to render this:

After Fusing in Kiln

Then another round of firing in a mold to slump into the bowl shape:

Bowl on white

I am grateful to always be genuinely surprised and delighted by these outcomes.  Although this glass is System 96 (because that’s what I had on hand), I thank the folks at Bullseye for sharing this technique on their website (http://www.bullseyeglass.com/).

Bowls, Kiln Formed Glass

Success with the Kiln-Pressed Glass Technique!

In my last post, the first of the year, I promised to do and THEN talk about it.  After several months of home renovation which put both my in-home studio space AND my garage workshop (and ME) out of commission I am FINALLY putting the pieces back together .  So without further ado I bring you —  drum roll please:

Finished Bowl

This 10″ diameter, vibrant bowl was created using the “Kiln Pressed Glass” technique generously shared online at http://www.fusedglass.org.  This multi-step, high temperature process is decidedly NOT for the faint of heart but the results are rewarding.  To my knowledge there is no other way to get this watercolor effect in kiln-formed glass.  For kindred spirits interested in process a picture(s) is worth a thousand words…

DAY 1: First comes the cutting and the weighing.

Assembly on 5.75 inch clear base

After cleaning the glass bits they’re set up in the kiln. Diameter starts at less than 6 inches:

Layup in Kiln 1st Firing

And here’s the “pressed” part: loads of weights are stacked ON TOP OF THE GLASS.  Yes, what you see above is indeed UNDER this:

Under Weights 1st Firing

With breath held and fingers crossed, the lid is closed and the firing cycle is programmed. Target temp is 1500 degrees with a lengthy hold.  Entire cycle lasts nearly 24 hours.  The result is over 8 inches in diameter, nearly 3 inches larger than the start:

After 1st FiringBut wait, there’s more…

DAY 2:  After soaking to remove stuck on kiln wash, coldworking both surfaces with diamond hand laps then re-coating the kiln shelves and curing those (WHEW!) comes more glass cutting, cleaning and weighing (see step one) and THEN…

DAY 2 1/2:  back in the kiln with the additional glass for the second firing:

Layup in Kiln 2nd Firing

It, too, is completely covered with loads of weights:

Under Weights 2nd Firing

The next day…

After 2nd Firing

The piece that started at somewhere between 5 1/2″ – 5 3/4″ is now 10 1/2″D with an overall thickness averaging just under 1/4″ according to my trusty calipers.

DAY 3:  Next the piece went back into the kiln for a “Fire Polishing”: a lower temp and less lengthy process but basically adds a work day to the project.  This provided a glossy top surface and a satin bottom (see pics at end).

DAY 4:  Time to slump.  The piece was centered and leveled on a bowl mold inside the Jen-Ken fiber kiln.  Now when riding my motorcycle I endeavor to keep the shiny side up.  But in this case I decided to go shiny side down and satin finish up top:

Leveled on Slump Mold

DAY 5:  Here’s what I got when I opened the kiln:

After Bowl Slump

And here are alternate snapshots of the finished piece which hopefully show at least a little the glossy exterior vs. satin interior finishes I achieved:

Finished Bowl on Stand_Glossy Exterior_Satin Interior14 Finished Bowl Satin Interior REDUCED

I am thrilled with the results and can’t wait to see how this technique will figure into my craft as a whole. Thanks for reading and stay tuned, Cube’sters!